By reading this article you will gain information on how to set up free Gmail accounts for schools.
Overview
Google is known for having great apps, and many of them are free of charge. One of those fantastic applications is Gmail - Google’s Webmail Service - which provides a free e-mail account to anyone.
Gmail, also known as Google Mail, was released to the public on April 2004. When it first started, people could only join if they were invited by a friend, however, as Google grew in quantity and quality, they eventually allowed people to sign up themselves. According to Google Press Center “The inspiration for Gmail came from a Google user complaining about the poor quality of existing email services.”
Today we are going to learn how to set up Gmail accounts for schools. The task requires a bit of knowledge about web development, but just about anyone can do it.
Part One: Signing up
-
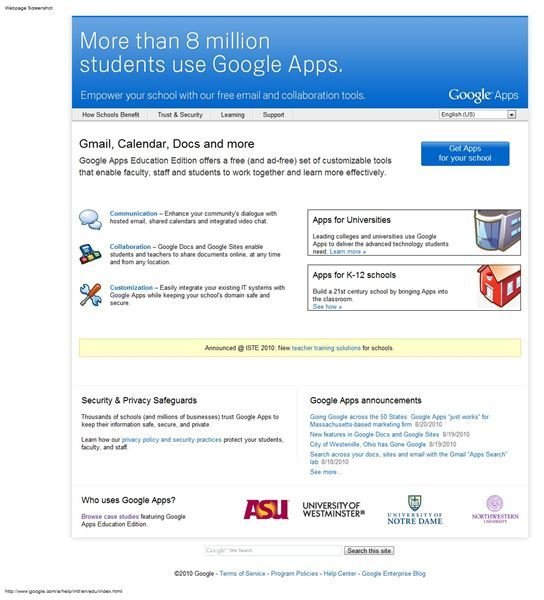
Go to the Google Apps for Education website and click on “Get apps for your school.”
Advertisement -
Click on “Sign up now!.”
 Advertisement
 -
Enter your primary domain name and click on “Continue sign up.”
 Advertisement
 -
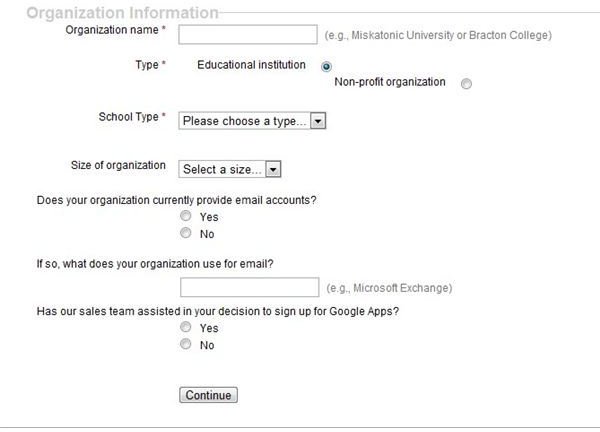
Enter your details and the details of your school, and click on “Continue.”
 Advertisement
Part Two: Creating the Gmail for Schools Administrator Account
-
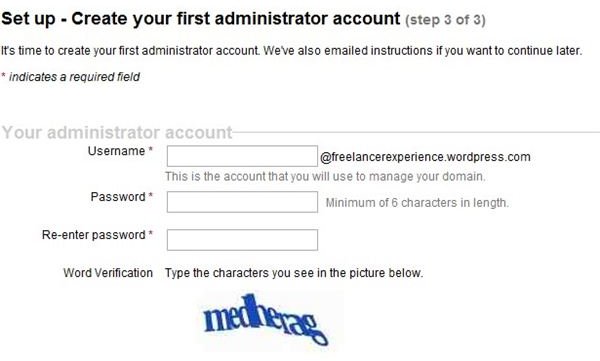
Create your first Administrator Account by entering your desired username and password details. Then read the terms and conditions and if you are happy with them, click on “I accept. Continue with Set up.”
 Advertisement
 -
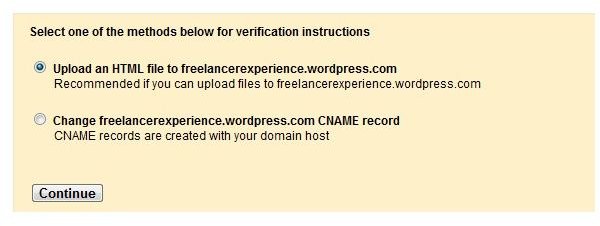
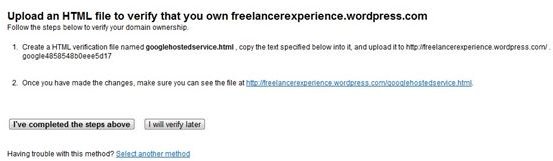
Select one of the two options provided to verify that you are the owner of the domain that you had previously entered. After that, click on “Continue.”
 Advertisement
 -
Upload an HTML file to your domain if you chose the first option or change your CNAME as requested by Google if you chose the second one. Once you have done it, click on “I’ve completed the steps above.”
 Advertisement
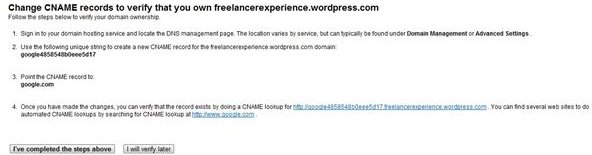
-
Click on “Launch Guide.” Two websites will open, one of them with your account “Dashboard” and the other one with detailed instructions on how to set up the services.
Advertisement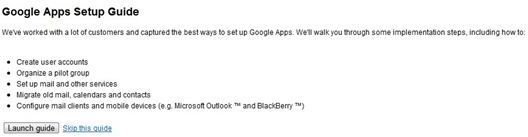
Part Three: Adding More Services
-
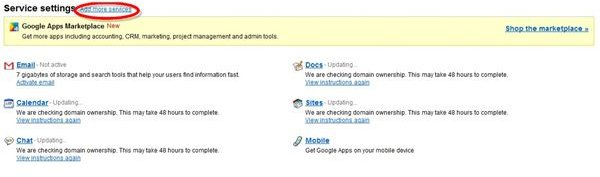
Click on “Create new Users” if you wish to create a new user account. You can also add more services by clicking “Add more services.” Then choose the services you wish to add by clicking “Add it now.”
Advertisement
 Advertisement
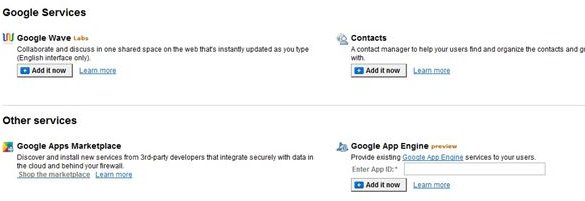
-
Click on “Service Settings” to change a service details and default settings.
Advertisement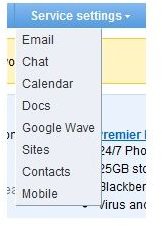
-
Click on “Inbox” to manage your e-mail account.
Advertisement
Now your school’s Gmail account has been created, set up and It is ready to use.
Tips
You can manage every service from the “Dashboard” page, therefore, you might want to bookmark it.
References
Google Press Center: Google Gets the Message, Launches Gmail. https://www.google.com/press/pressrel/gmail.html
Resources
How to set up a Gmail account: https://www.brighthub.com/internet/google/articles/1817.aspx


