Picasa began as a photo organizer and viewer created by Idealab and has since evolved into one of the largest photo sharing sites on the Web, owned and operated by Google. The Picasa instructions in this tutorial will show you how to get Picasa and how to use it to organize and share photos.
Getting Picasa
This Picasa tutorial shows you how to get started with the program, using it as a tool to organize and share photos. In another Picasa tutorial you can learn to use Picasa to edit photos.
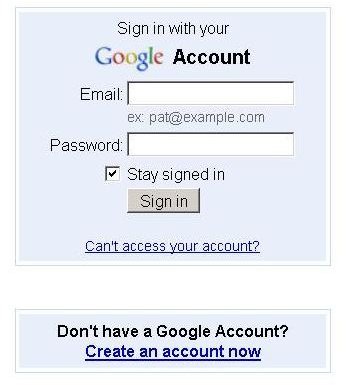
Obtaining Picasa requires that you have a Google account. If you do not have one, you can create one by visiting Google . Once there, click the Sign in link and then select the Create an account now link below the sign in box.
Once you have a Google account, log in. Click the Settings option at the top right and then click Google Account Settings.

Under the Try something new section, click the More link.

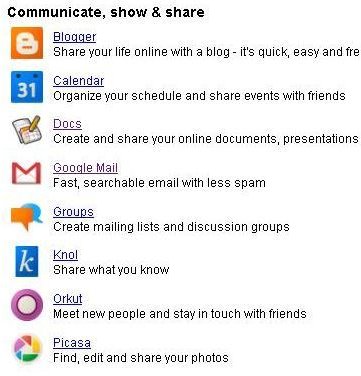
Under the Communicate, show & share section, click the Picasa link.
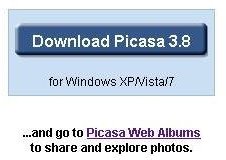
You now are at a Web page where you can click the Download Picasa 3.8 button to download and install the Picasa program.
Using Picasa
This Picasa tutorial will now show you how to launch Picasa and tag people that appear in your photos and images.
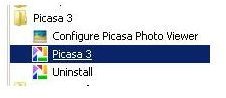
Picasa can be launched using the Windows Start menu. look under All Programs and select Picasa 3.
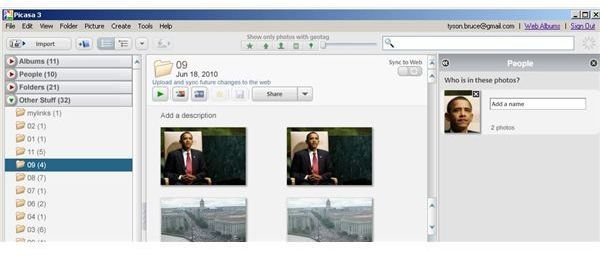
When the program first starts it begins to search for and index all the images found on your computer. When it is done you can create additional albums sorted by people, date, and other attributes. Your folders and albums are on the left, the contents of the folders and albums are in the center, and the ability to tag the people in each image is found on the right.
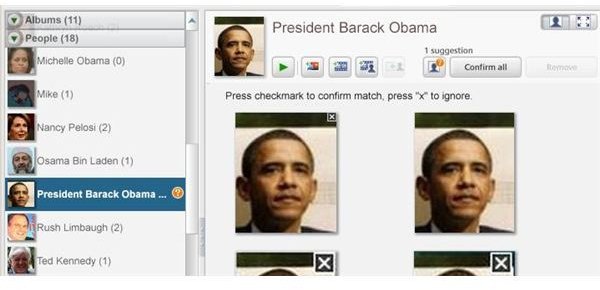
You may be surprised at the power Picasa brings to the table in the form of free software. After you tag a face with a name, the software will automatically begin to identify other photos that contain the same person. You, the user, can confirm the contents of each photo and the program will continue to learn to identify the different faces it encounters.
To tag a photo, select a photo in the center panel. You will see the face from the photo appear in the People panel on the right.
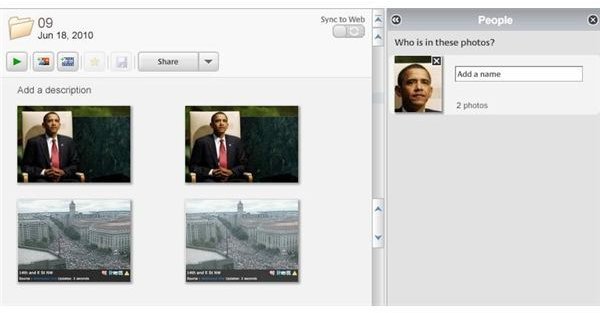
In the Add a name field, type in the name of the person in the photo. If the name has been used before or is in the Picasa database, you will see it begin to automatically suggest it as you type.

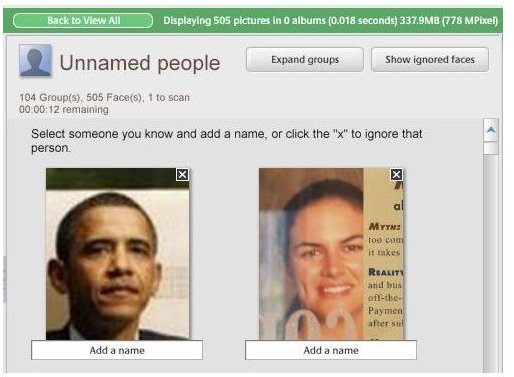
You can also use the Unnamed people folder to quickly tag a large number of photos.
Your photo will now automatically become a member of a folder bearing that person’s name.
Online Options
The last part of this Picasa tutorial shows how you can upload photos to your Picasa Web albums . Picasa features an online component that allows you to share your photos in albums privately or grant them public access.
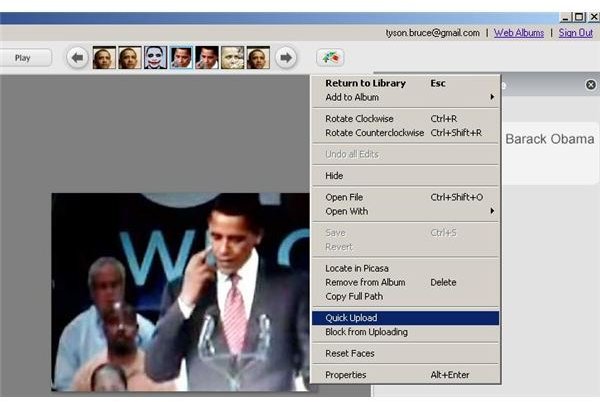
The easiest way to upload a photo is to right click on it and choose the Quick Upload option.
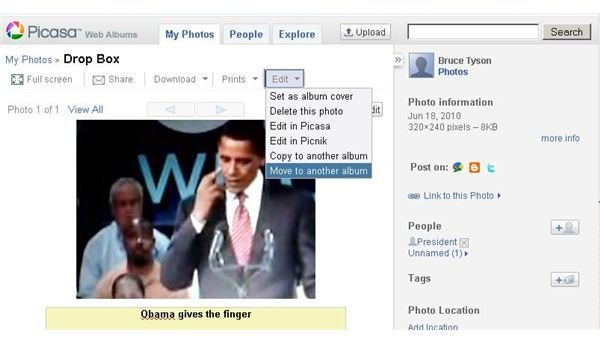
You will then be taken to your online Web album where your photo is located in the Dropbox folder. Here you can give your photo a caption, tag faces, and move or copy the image to a different folder.
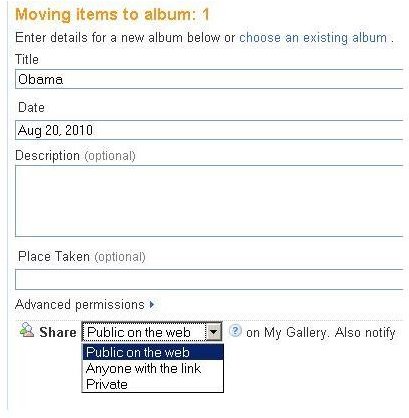
You can use an existing folder or create a new Web album on the fly, defining whether it is public or private. You can also choose to notify your Gmail contacts that you have added a photo online.
Picasa Wrap Up
This Picasa tutorial took you through the process of downloading and installing Picasa, tagging images, and uploading images to online Web albums. You now know enough to get started with Picasa. As you use the program, you will learn more about the features it has that enable you to organize and share your photos according to your preferences.
Image Credits: Screen shots taken by Bruce Tyson


