You can use Outlook with Gmail to be able to more quickly access your Gmail account as well as use your Gmail account for all outgoing mail that you send when responding to email when you are not in your Gmail account.
Send and Recieve Gmail Through Outlook
One great feature of Gmail is the ability to use your Outlook client in conjunction with Gmail, allowing the client to send and receive Gmail messages.
To use your Outlook client with Gmail, you must first enable the POP setting in your Gmail account. Here are the complete steps for configuring Gmail and Outlook.
How to Enable POP
-
Sign into your Gmail account.
-
Click Settings, located in the top right corner of any Gmail page.
Advertisement -
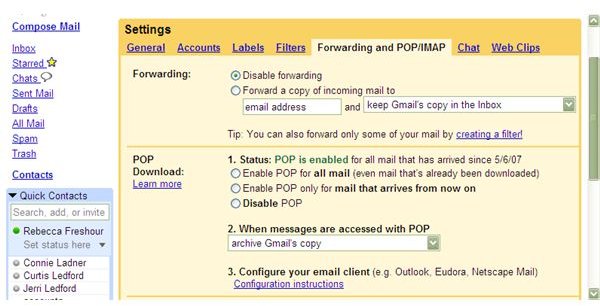
Click the Forwarding and POP tab.
-
Select the radio button next to Enable POP for all mail or Enable POP only for mail that arrives from now on.
Advertisement
-
Choose the action you would like taken after your Gmail messages are accessed with POP.
-
Click Save Changes.
Advertisement
Once you have enabled POP in your Gmail account, you will need to configure your Outlook client to work with Gmail.
Configuring Outlook
-
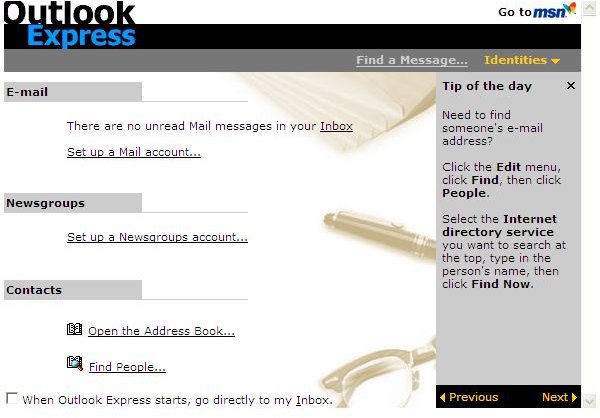
Open Outlook.
Advertisement -
Click the Tools menu.
-
Select Email Accounts.
Advertisement -
Click Add a new email account.
-
Select Next.
Advertisement -
Click the radio button next to POP3 to select it as your server type.
-
Click Next.
Advertisement
-
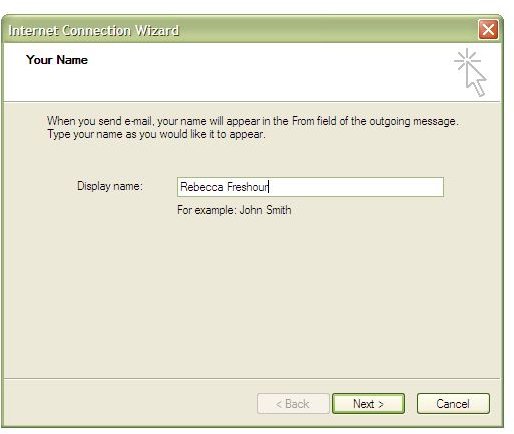
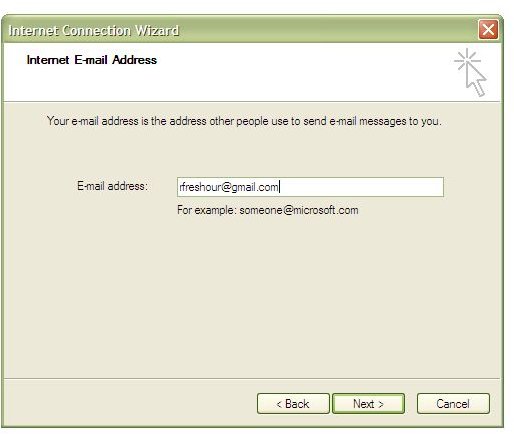
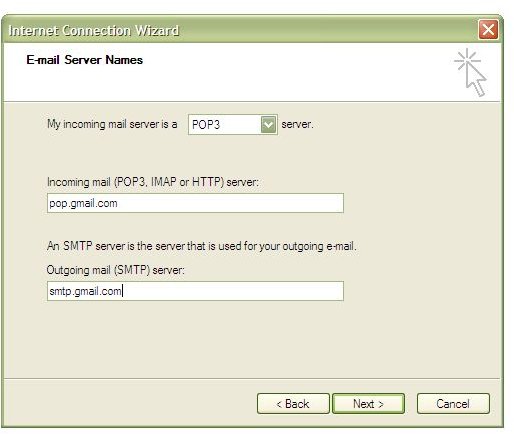
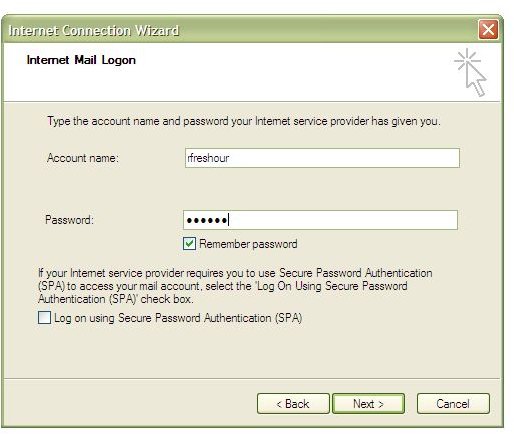
Enter all information in the fields provided. Your Incoming mail server (POP3) will be pop.gmail.com Your Outgoing mail server (SMTP) will be smtp.gmail.com
-
Once you have entered all of the requested information, select More Settings.
Advertisement -
Click the Outgoing Server tab (second to the right).
-
Check the box next to My outgoing server requires (SMTP) requires authentication.
Advertisement -
Choose the radio button next to Use same settings as my incoming mail server.
-
Click the Advanced tab.
Advertisement -
Check the box next to This server requires an encrypted connection (SSL) under Incoming server (POP3).
-
Under Outgoing Server (SMTP), check the box next to This server requires an encrypted connection (SSL).
Advertisement -
For Outlook 2002, enter the number 465; for Outlook 2007, enter the number 587.
-
Click OK.
Advertisement
-
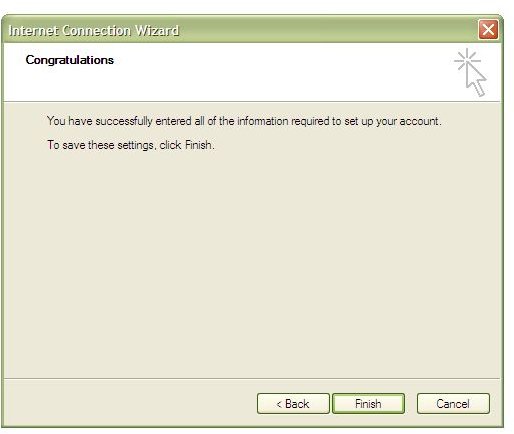
Select Test Account Settings; once all tests have successfully been completed, click Close.
-
Click the Next button, followed by the Close button.
When you are finished configuring your client, you need to download all available updates for your client to help prevent any errors that might occur. Once the configuration and downloads are completed, you will then be able to send and receive Gmail messages through your Outlook client.
Images