Google Docs has been making people’s lives easier for a while now. For example, you can now create your own labels using Google Docs. Above all, it’s all free!
Creating a Google Account and Picking a Template
Life without labels would be tiresome indeed. Before the handy-dandy printing of labels began, everyone had to hand-write their letters and cards. Now, it’s just an automated process. And, to make your life even easier, Google Docs has gotten into the act with their Labels templates. To start creating your labels, you need to log into your Google account or create a new one. Google makes you create an account so that it can easily keep track of all your documents and open them whenever you need them. To create a Google account, follow the below procedures:
- Go to the Create an Account .
- Input the necessary information.
- Click I accept.Create my account.
Once you have your account created, you can start creating your labels.
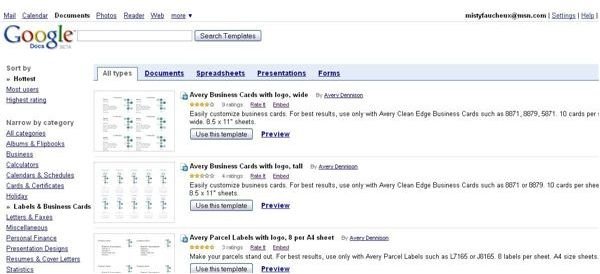
- Lick on Create (on the left side of the screen). From there click on From Template.
- On the left-hand side under All Categories, click Labels & Business Cards. This will take you to the templates for your labels.
- Scroll down until you find the label template that you wish to use. You can preview the labels by clicking Preview.
- Once you have decided which template that you would like to use, click Use this Template.
Editing Your Labels
When you click Use this template, it will take you to the screen for your labels.To edit the information for your labels, do the following:
- Double click the label that you would like to edit.
- Double click the pre-entered text.
- Type or insert the shipping information for your contacts.
If you wish to have the text added to all the labels all at once, go to Edit -> Find -> Replace. If you wish to change the type of picture that is on your label, you can do this as well.
-
Click on the box for the given image.
-
Go to Insert-> Picture.
Advertisement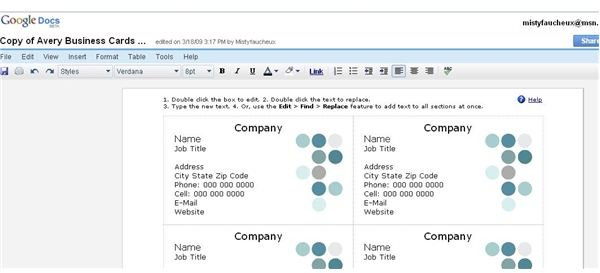
-
Browse for the picture that you would like to use, select, and click Insert.
Advertisement -
Resize if necessary. You may also have to fix the text once you do this.
Sharing Your Labels
Once you have edited your labels, they are now ready for printing. Or, if you wish to share the labels with others, you can either invite collaborators or viewers with the Share -> Share with others button. If you are working on a project with others, this could be a good way for them to add people or correct address information. If you wish to send this document as an attachment, go to Share -> Email as attachment. Most of the Google Docs templates for labels are for around six to eight labels per sheet. If you need a large amount of labels created, you should use the Avery Address Labels with logo, 21 per A4 sheet or for return addresses the Avery Return Address Label, Snowflake, 60 per sheet. Just be sure that you buy the correct size labels for the template that you are using. To learn more about Google Docs, read Google Docs: Sharing Documents by Yvette Davis.


