Most files in Google Sites are seen as attachments and have certain restrictions. Learn more about how these attachments are treated and what that means for your file usage.
File Usage with Google Sites
Creating your own online presence with Google Sites can be a simple way to build a website. The hosting is free and theme templates are in place for you to chose from but there are some fundamental differences in creating through Google Sites and building your own site from scratch. The main difference is in using files within Google Sites.
For more information on other Google Sites related topics or to just learn more about what Google Sites is, check out Editing Pages in Google Sites and Site Settings for Google Sites .
File Attachments, Images and HTML
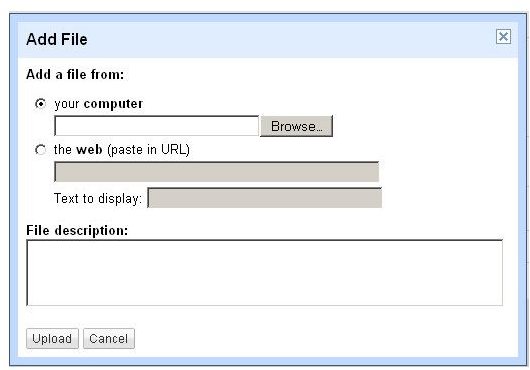
Separate files that cannot be embedded into the site code are considered add-ons and categorized as attachments. In attaching a file, Google Sites will allow you to attach a file to a page created within the site.
When attaching a file to a created page, click on the Attachments button that appears at the end of the page you have open to edit. Upload your file for attachment and then click Save. Google Sites will then allow for a link to be added within the page that will take a viewer to the attached file and that will look like another page within the site.
Now, in order for a viewer to see the attachment correctly the best way is to have them use the link added to the page you loaded the attachment under. In Google Sites you cannot just copy and paste the attachment URL directly to allow your viewer to see or download the attachment. The viewer must follow through the created site page to get to where the attachment will be hosted.
Image files are also seen as attachments in Google Sites. In order to upload an image file, you’ll need to be in a created site page
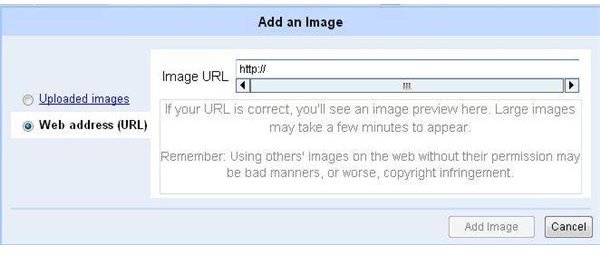
where you can click Insert on the top page menu bar and select Image from the drop down that appears.
Currently, any image file that is uploaded through Google Sites is converted to either a JPG or PNG file. To make sure that your image shows as clear as possible, it is best to have already created the file to be a JPG before uploading it. Each image file is by default linked itself as an attachment. This means that each image file can be clicked on to allow the viewer to see it in a full screen mode.
Now, it is important to note that when using Google Sites you cannot upload HTML files from an exsisting site. If you want to carry over your HTML information from another exsisting web page you will have to create a new page within Google Sites for it.
*images used were provided by Google


