Google Earth is an excellent tool, but there’s a lot going on and it can be a little daunting at first. This detailed guide will provide all the information you need to get started with Google Earth.
Downloading and Using Google Earth
To use Google Earth, you’ll first need to download it. Go to the Google Earth website and click on the download tab to get started. The standard version of Google Earth is free, but they also offer a Pro version for businesses at a pricetag of $399 with a few extra features, such as ones for making movies and spreadsheets, and an “Enterprise” version for even higher-end business use that doesn’t actually have an official price, but instead asks you to contact Sales, which probably translates to “expensive.” Still, for businesses that are going to be using the extra features, both the Pro version and the Enterprise version are worth a look. The free version is more than enough for the casual user, however.
Once you’ve downloaded it, start up the program. It will give you a few helpful tips at startup, and I do recommend reading through those before you dive right in, because they give a brief explanation of some of the helpful tools. At any rate, once you’re past that, you’re ready to get started.
Navigation works very similar to how it does in Google Maps . First, you can rotate the map by clicking and dragging the compass in the top right, and you can use the tools underneath to move and zoom. You can also use the mouse to drag the map or zoom with your mouse wheel, just like in Google Maps. And, just like in Google Maps, there are street view images available if you zoom in all the way to the ground, at least in a city where there are streets for there to be images of.
All of the images in Google Earth, with the exception of the streetview images, are taken using satellite imagery, and there are some very interesting tools beyond simple navigation to allow you to see and learn a lot of different things.
Satellite View: Google Earth and Its Basic Tools
Most of the more general tools available are on a toolbar along the top of the window, so we’ll talk about those first. From left to right along the first set of icons, you can add a placemark or a polygon to mark a specific point on the map, you can add a path to create a tour of points that you wish to follow, you can add an image overlay to notate the map, or you can record a tour, either one designed by yourself or one of the sightseeing tours that Google Earth provides by default.
Next, you can show historical imagery, which is a very interesting way to see how places have changed over the years, or change the amount of sunlight, moving a slider in each to progress through either the date or time of day. The next icon will let you leave earth altogether if you’re getting tired of it. Thanks to satellite imagery provided by NASA, you can move into space to explore continents, or you can explore either Mars or the Moon.
The remaining tools are fairly basic. You can use a ruler to scale points on the map, then you can email or print your images, and you can switch to Google Maps if you’ve found a particularly interesting location that you’d like to see a map of.
Using Layers In Google Earth
Layers are by far the more interesting tools that bring Google Earth far above its counterpart in Google Maps. Down the left hand side of the window, there will be a search box, to find specific addresses or businesses, just as in Google Maps, and underneath that there will be a box of saved “Places” which you can use to create tours.
Lastly, there is the box of layers. This will allow Google Earth to overlay your map with data points corresponding to the layers you choose, allowing you to learn more about whatever you’re interested in. The satellite view Google Earth provides can be overlayed with all kinds of information. You can place or remove borders and labels corresponding to cities and nations, and there’s also a tab for roads, for buildings, for the things in your places window and a “photos” tab that will highlight certain spots with relevant user submitted photographs.
Beyond that, however, it gets much more detailed. The ocean tab expands to reveal photographs and information gathered with the help of organizations such as National Geographic and Costeau Ocean World. There are historical marine maps, as well as marine census information, information on shipwrecks and lots more. There’s a weather tab with helpful meteorological information, a Gallery tab with all kinds of photo information from various news outlets and travel sites and a Global Awareness tab that will place relevant markers on the map for charities and activist groups. And, as if that isn’t enough, there’s a “More” tab with miscellany that didn’t fit into the previous groups, such as traffic, transportation and even information from Wikipedia.
Selecting any of these layers will place markers on the map, and clicking on those markers will give you photographs and more information. This is a great way to learn about the world in a geographical sense and a cultural sense all at once.
Putting It All Together
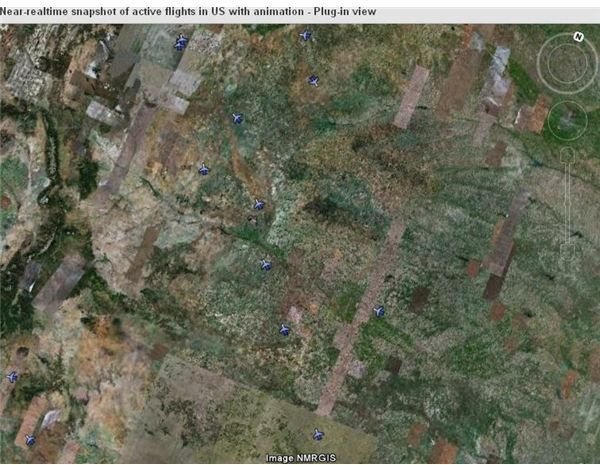
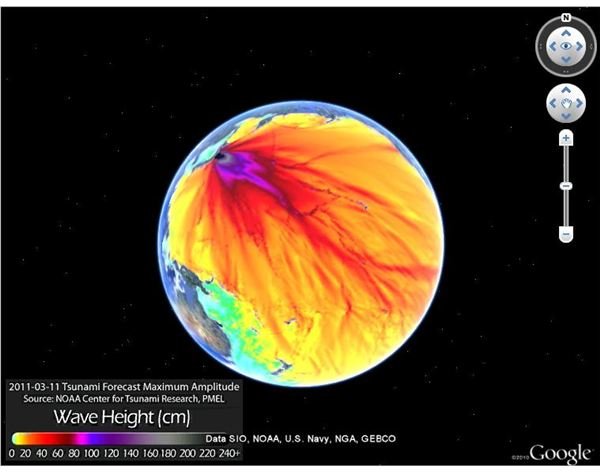
Using the tools along the top and the layers, you can learn a lot using Google Earth, and you can see some great snapshots of our planet. If you come across anything you really like, you can save it as an image, using the standard “File - Save” command, and you can even share those images with the community. You can access the Google Earth gallery, with images submitted both by Google and by users, at any time, directly from Google Earth. Simply click on the “Earth Gallery” button in the layers toolbar, and it will open the Gallery in a browser window.
Play around with the various tools, and use Google Earth to uncover more about your interests. View the gallery to see what other users have to add to those same discussions, and even add your own voice by submitting your images. However you want to use it, Google Earth is a very versatile tool, and shows that you can do an awful lot with satellite images.
References
Source: Author’s own experience.
Screenshots from Google Earth’s online gallery


