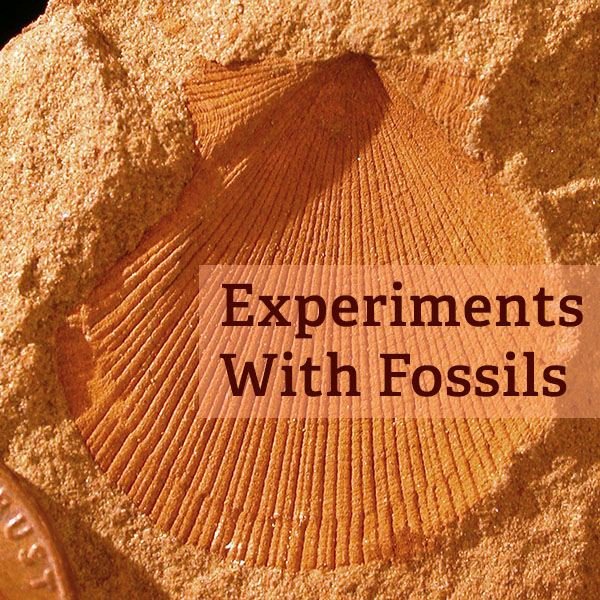
Fossils transport us to the days when dinosaurs roamed the earth. They are the historical and scientific evidence that dinosaurs, plants and sea life existed millions of years ago. These experiments on fossils give students a solid idea of what fossils are and how they developed.
Stuck in the Mud
Dinosaur fossils, those of other animals, formed after their soft tissues decayed, leaving only their bones and teeth. These remains were covered by sand and silt. Other fossils, those of plants, formed when the plant was covered with sand and silt so quickly that decay never happened.
Under extreme pressure and over millions of years, the bones, teeth or plant matter turned into minerals, while the sand and silt became rock. After many years of erosion and geological upheaval, these rocks, once again, find themselves on or near the earth’s surface. Archeologists painstakingly uncover the rock to reveal the fossils , giving the world a picture of the past.
Making a Fossil
Experiment #1 Salt Dough Fossils
Materials needed:
- 4 cups of all purpose flour
- 1 cup of salt
- 1 and a half cups of water
- bowl
- water color tempera paint
- paint brushes
- shells
- dinosaur toys
- cookie sheet
- rolling pin
- clear varnish spray (optional)
- First, mix flour, salt and water in a bowl until a dough forms.
- Note: add extra water a little bit at a time as needed if the dough is too dry.
- Shape the dough in small flat shapes using the rolling pin; allow students to be creative.
- Press the toy dinosaur or shell into the dough.
- Remove the toy or shell, leaving an impression. This is your fossil.
- Young students can make fossils of their hands by pressing their palm into the dough.
- Place the dough fossils on the cookie sheet.
- Bake for one hour at 350 degrees Fahrenheit.
- Note: depending on the thickness of the dough, you may need more or less time.
- Remove from the oven, allowing the dough to cool completely.
- Once cool, students may paint or decorate their fossils.
- Varnish to preserve over a long period.
Sediment Layers
Experiment #2 Dinosaur Bread
The experiment comes from the Oklahoma Oil and Natural Gas Kids page.
Materials needed:
- slices of three different types of bread (white, whole wheat, rye, etc.)
- gummy animals: worms or fish
- paper towels
- several heavy books
- On a paper towel, stack the three different types of bread like pancakes.
- Insert the gummy animals into the center of the bread.
- Cover with another paper towel.
- Stack the heavy books on top of the bread.
- Wait for 24 hours. Don’t look!
- Ask students to predict what the bread might look like,
- Uncover: What has happened?
- Ask the students what happened to their “fossil.” Can they pull the layers apart?
Where to Find Fossils
Experiment #3 Lasting Impressions
This experiment comes from Gale Schools. It allows students to determine what soil type is best for creating fossils.
Materials needed:
- plaster of Paris (available at craft stores)
- a shell with distinctive markings - ridges, chips, or a hole
- 3 small disposable containers larger than the shell
- water
- disposable spoons
- measuring spoon
- ruler
- straw
- tweezers
- marking pen
- bowl
- 3 cups of sand
- 3 cups of moist, organic topsoil
- Before testing, have students make a sketch of the shell; have them measure its length, width and depth.
- Add 1 cup of sand into the first container. This is the dry soil
- Label the container: Dry.
- Mix 1 cup of moist topsoil with 1 cup of sand in a bowl. This is the moist soil.
- Place this mixture into another container.
- Label this container: Moist.
- Mix 2 cups of topsoil with 8 tablespoons water. This is the wet soil.
- Place the topsoil in the last container.
- Label this container: Wet.
- Note: there should be at least 2 inches of soil in each container.
- Level the surface of the soil.
- Mark a line on the straw at 0.8 inches, using a ruler.
- Place the shell in the soil with the ridges facing down.
- Gently place the straw in the center of the shell.
- Push the straw down with your pointer finger until the mark on the straw is level with the soil.
- Using tweezers, carefully remove your shell.
- Wash debris off the shell, drying completely.
- Repeat Step 6 for the other two soil samples.
- Mix enough plaster of Paris to make a 1-inch-deep layer in each container.
- Note: plaster should be the consistency of thick pudding.
- Pour a layer of plaster of Paris into each container.
- Let harden overnight.
- Carefully remove the fossil casts by slipping a butter knife or similar thin object in the side between the soil, fossil, and container.
- Note: it may be necessary to break the plastic containers.
- If possible, take pictures of the fossil cast.
- Have students compare the measurements of the casts to the measurements of the shell.
- Have students reflect on which types of soil made the best casts and hypothesis where the best place to find fossils might be.
Let’s Dig
Experiment #4 Them Bones
Materials needed:
- sand
- shallow pan
- water
- clean chicken bones (bleached and dried)
- note: bleach with chlorine water for a few minutes, rinse and dry
- Fill the pan with sand.
- Add enough water to make the sand compact.
- Place bones into the sand.
- Pat down to remove any air pockets.
- Using small brushes and small shovels have students excavate the area.
- Explain how an archeologist must clear away the sand and sediment before removing the bones.
Uncovering the Past
These experiments on fossils give students from kindergarten to high school a means to experience the thrill of discovery. Uncovering the past by learning how fossils form or creating a fossil gives students a hands-on experience that informs, enlightens as well as entertained.
References and Resources
All Kids Network: Salt Dough Fossils, 2011 - https://www.allkidsnetwork.com/crafts/animals/dinosaurs/salt-dough-fossils.asp
Author unknown, “Making an Impression: in which soil environment does a fossil most easily form?”, Gale Schools, https://www.galeschools.com/sci _try/fossils.htm
Oklahoma Oil and Natural Gas: Science Fair Project - Dinosaur Bread, 2011 - https://www.oerb.com/Default.aspx?tabid=174
Activity School Bus: Preschool Dinosaur Theme, 2010 - https://www.activityschoolbus.com/dinosaurtheme1.html
Photo: Fossil by Ghedoghedo under CC-BY-SA-3.0 Creative Commons License on Wikimedia Commons


