When the chill of autumn hits the air, it’s time for comforting fall favorites like pumpkin pie and pumpkin soup. Learn how to can homegrown pumpkin to make pumpkin recipes year round.
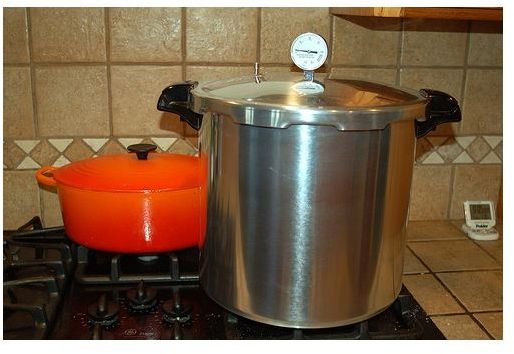
Necessary Equipment
Pumpkin, being a vegetable, is a low-acid food and therefore must be processed using a pressure canner - not a water bath canner. Pressure canners eliminate harmful bacteria and mold spores that can exist in low-acid foods. As long as you have a pressure canner, canning pumpkin is easy. You’ll love using your homegrown canned pumpkin in homemade pies, breads, muffins, and other favorite pumpkin recipes.
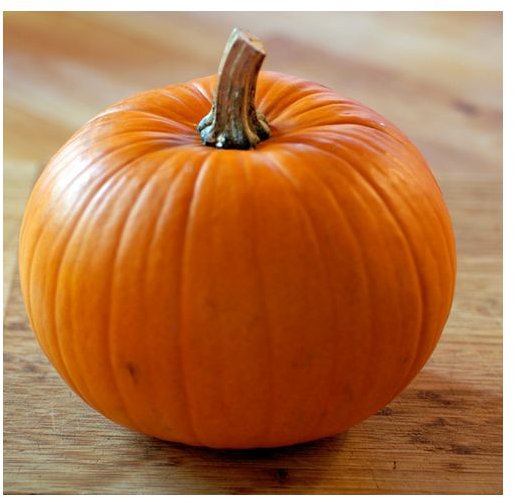
You can use any type of pumpkin or winter squash for canning; however, pie pumpkins have the sweetest flesh. Pie pumpkins, which are generally small and round, might be available at a local pumpkin patch if you don’t have a patch of your own (for next year’s garden seek out pie pumpkin seeds, such as Sugar Pie Pumpkin seeds from Millington Seed Company). To can 7 quarts of pumpkin, you will need approximately 15-17 pounds of raw pumpkins.
Along with your pressure canner and pumpkins, you will need canning jars (quart size work best), along with 2-piece lids. Always use new, unused flat canning lids each time you process food.
Cooking Instructions
Cut the pumpkins in half and remove the seeds. Cook your pumpkins until the flesh is soft using either use your microwave, oven, or stovetop. To microwave the pumpkin, place pumpkin pieces in a large microwave-safe bowl and add two inches of water. Cover the bowl with a plate or other microwave-safe cover and cook for about 12 minutes on high heat. Continue cooking until soft if necessary.
To roast the pumpkin in the oven, place pumpkin halves cut side down in a baking dish or on rimmed baking sheets. Add a half inch of water to the pans and roast the pumpkin at 350 degrees F for at least 45 minutes or until soft.
To steam the pumpkin on the stovetop, place pumpkin pieces in a double pot steamer or in a steamer basket in a large pot. Add water to the bottom of the pot and steam pumpkin for 20-30 minutes or until soft.
Remove the skin from the cooked pumpkin (it will come off easily) and cut the flesh into 1 inch chunks. Do not puree the pumpkin; pumpkin puree is not recommended for home canning due to safety concerns.
Processing Instructions
Step 1. Prepare a large pot of boiling water to use to fill the jars of pumpkin.
Step 2. Prepare your pressure canner by adding 3 inches of hot water to the canner and turning the heat to high. Fill the jars with
pumpkin chunks leaving 1 inch of headspace. Fill jars with boiling water leaving 1 inch of headspace. Wipe the jar rims clean with a damp paper towel. Adjust canning lids and rings, but do not over-tighten them. Place filled jars in the pressure canner.
Step 3. When the pressure canner is full of jars, place the lid on the canner. Leave the weight off the lid to allow the canner to vent steam. Let the canner steam for 10 minutes, then place the weight on and allow the pressure to build. Begin processing time when pressure gauge reads 11-13 pounds of pressure on a dial-gauge pressure canner. Adjust heat to maintain 11 pounds of pressure for the entire processing time. Process the quarts for 90 minutes.
For more information on preserving other fruits and vegetables read these home canning instructions .
Note: Recommended processing time and pressure is for altitudes less than 2,000 feet using a dial-gauge pressure canner. For more information, please visit the National Center for Home Food Preservation’s page on canning winter squash and pumpkin .
photos courtesy flickr.com creative commons license:
https://www.flickr.com/photos/elanaspantry/2971439925/


