Round up your favorite crochet hook and a crochet thread in your favorite color, settle into your couch, then begin crocheting your own hair net. Even if you are a beginner at crochet, you can quickly learn how to complete the mesh stitch.
The Basic Skills Needed
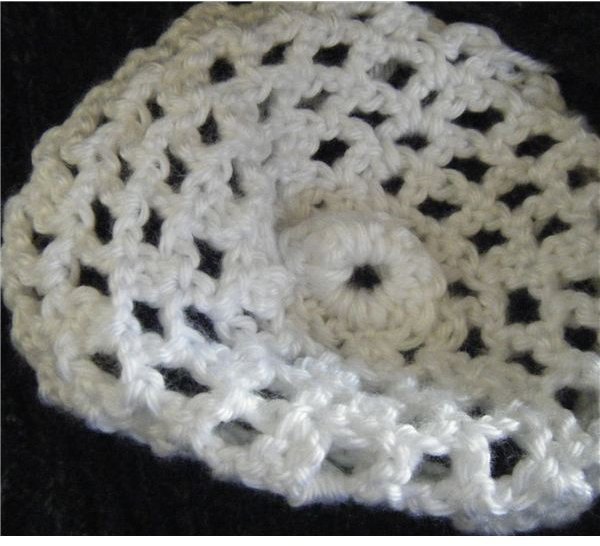
By learning and using the mesh stitch, you can make a hairnet, either to use as a fashion accessory or as a required uniform element for work. To make the hairnet, you will work with the mesh stitch, which progresses quickly. This stitch is composed of chain stitches regularly interspersed with double crochet (dc) stitches.
To crochet this project, you should have the basic crochet skills – you need to know how to hold the crochet hook and thread; you should also know how to crochet a foundation chain and the double crochet stitch. You also need to know how to weave the thread ends in neatly when you fasten off and cut your thread. Finally, you should know how to join a new thread to the work you have already done. You should be able to work this item up quickly because the stitches are so open – chain stitches and double crochet stitches worked to form a mesh pattern, so get started working on this crochet hair net pattern.
Items Needed
- No. 10 crochet thread, your color choice
- Size 6/180 mm steel crochet hook
- Stitch marker
- Scissors
- Large-eye tapestry needle
Crochet the Hair Net
Crochet four chain stitches for the foundation chain. Join with a sl st to form a ring.
Rnd 1: Ch 3 (for first dc) Crochet 11 dc into the ring–12 dc. Place the stitch marker into the top chain stitch of the chain-3.
Rnd 2: Ch 3 for first dc. *Work one dc, then two ch st and one dc into the next dc of the previous round.* Repeat this pattern to the end of the round and move stitch marker to the top ch st of the ch-3 on this round. 18 dc.
Rnd 3: Ch 3 for first dc. *Crochet one dc, then two ch st and one dc into each of the next dc of the previous round.* Repeat this pattern to the end of the round and move the stitch marker to the top ch st of the ch-3 on this round. 24 dc.
Rnd 4: Ch 3 for the first dc. *Work one dc, two ch st and one dc into each of the next 2 dc of the previous round.* Repeat this pattern to the end of the round and move the stitch marker to the top ch st of the ch-3 on this round. 30 dc
Rnd 5: Ch 3 for the first dc. *Crochet one dc, two ch st and one dc into each of the next 3 dc of the previous round.* Repeat this pattern to the end of the round and move stitch marker to the top ch st of the ch-3 on this round. 36 dc
Rnd 6: Ch 3 for the first dc, then crochet one dc, two ch st and one dc into each of the next dc of the previous round. Move the stitch marker to the top ch st of the ch-3 on this round.
Rnd 7: Ch 3 for the first dc. *Work one dc, two ch st and one dc into each of the next 4 dc of the previous round.* Repeat this pattern to the end of the round. Move the stitch marker to the top ch st of the ch-3 on this round. 42 dc
Rnd 8: Repeat round 6. Move the stitch marker to the top of the ch st of the ch-3 on this round.
Rnd 9: Ch 3 for the first dc. *Work one dc, two ch st and one dc into each of the next 5 dc of the previous round.* Repeat this pattern to the end of the round. Move the stitch marker to the top ch st of the ch-3 on this round. 48 dc
Rnd 10: Repeat round 6. Move the stitch marker to the top ch st of the ch-3 on this round.
Rnd 11: Ch. 3 for the first dc. *Crochet one dc, two ch st and one dc into each of the next 6 dc of the previous round.* Repeat this pattern to the end of the round. Move the stitch marker to the top ch st of the ch-3 on this round. 54 dc
Rnd 12: Repeat round 6. Move the stitch marker to the top ch st of the ch-3 on this round.
Rnd 13: Ch 3 for the first dc. *Work one dc, two ch st and one dc into each of the next 7 dc of the previous round.* Repeat this pattern to the end of the round and move the stitch marker to the top ch st of the ch-3 on this round. 60 dc
Rnd 14: Repeat round 6. Move the stitch marker to the top ch st of the ch-3 on this round.
Rnd 15: Ch 3 for the first dc. *Crochet one dc, two ch st and one dc into each of the next 8 dc of the previous round.* Repeat this pattern to the end of the round and move the stitch marker to the top ch st of the ch-3 on this round. 66 dc
Rnd 16: Repeat round 6. Move the stitch marker to the top ch st of the ch-3 on this round.
Rnd 17: Ch 3 for the first dc. *Work one dc, two ch st and one dc into each of the next 9 dc of the previous round.* Repeat this pattern to the end of the round and move the stitch marker to the top ch st of the ch-3 on this round. 72 dc
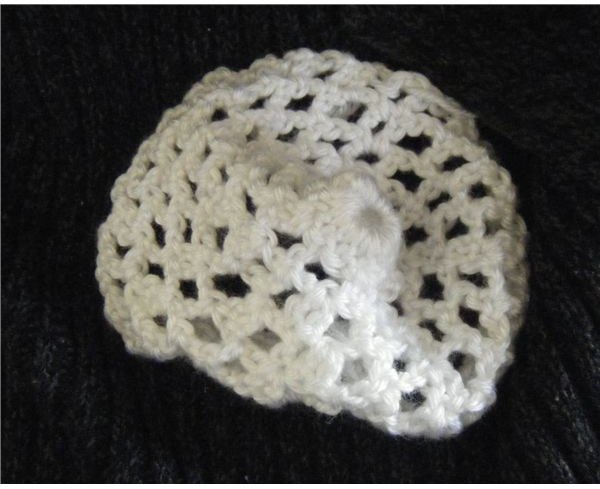
Rnd 18: Repeat round 6 until the hair net fits over your hair. Fasten off and cut the thread with the scissors. Neatly weave the ends in using the tapestry needle.
Finishing the Hair Net
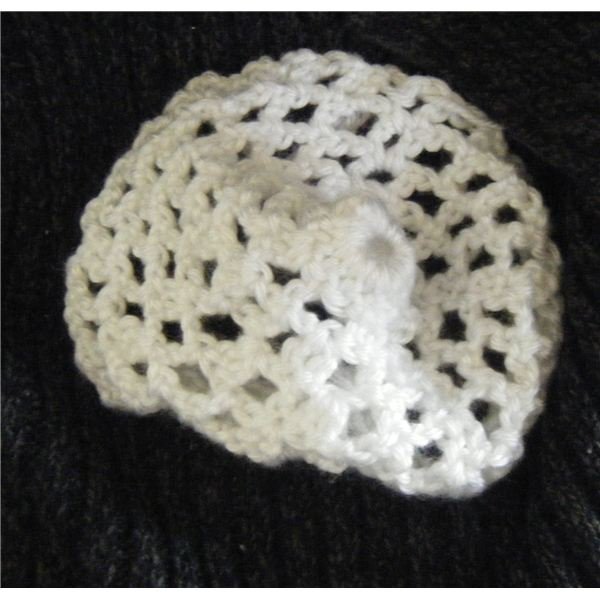
Crochet 15 ch st, then attach the 15th ch st to any mesh stitch of the last round on the hair net. Crochet one sc into each mesh stitch all the way around. Extending past the final sc into the last mesh stitch, crochet 15 ch st. Crochet a sl st, fasten off and cut the thread as closely as you can to the final stitch.
You have just completed working on a crochet hair net pattern – if this is a gift for someone who needs to confine their hair, they will enjoy it.
Reference and Images Credit
Swartz, Judith L., Getting Started Crochet, Interweave Press, LLC, 2006, https://www.amazon.com/Getting-Started-Crochet/dp/1596680067
Images provided by Barbara Alvarez


