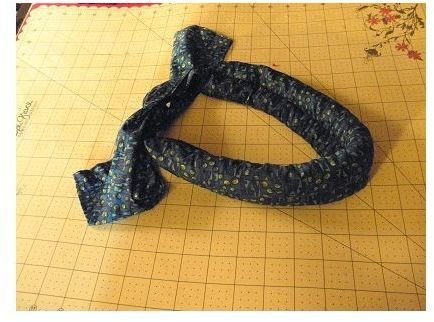
It is easy to make your own cooling collar – one that ties around your neck or is used as a headband. Use a narrow scrap, or a special fabric that matches a piece of summer clothing. Here are instructions showing how to make the collar, and pictures of the steps.
Cooling collars are a simple way to keep yourself cooler in the heat, and you don’t need to pay sports clothing shop prices. This tutorial shows how to use scrap fabric and polymer gel plant crystals to make one yourself. They also make great headbands.
These are also a very environmentally sound method of cooling without racking up the air conditioning bills
My family decided they all needed two. After you make one and wear it, don’t be surprised if friends and family want you to make at least one for them.
Project Level - Easy
This project is suitable for a novice. All of the seams are straight. It does not need precise measurements, although you can measure if it makes you more comfortable.
Supplies
-
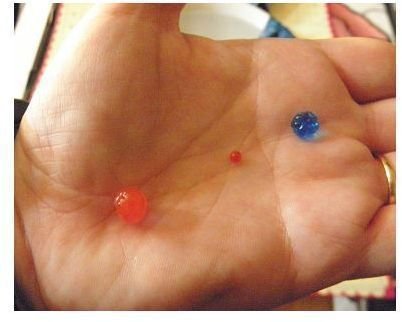
About 10 g Polymer water crystals.* These are also sold as water absorbing crystals, crystal mud, crystal soil… You get the idea.
 Advertisement
They are made of Polyacrylate. Sometimes you can find them at garden shops. Otherwise, they can be found on eBay from numerous sellers.**
-
Fabric. I used scraps that were a poly cotton blend. 100% cotton would be fine. You need a piece approximately 5" wide, and 44" wide. I used the width of my material.
Advertisement -
Thread
I recommend using a sewing machine for this, because the crystals are fairly small, and might slip through hand stitching. If you are going to sew by hand, take small stitches and go back across your stitching at least once.
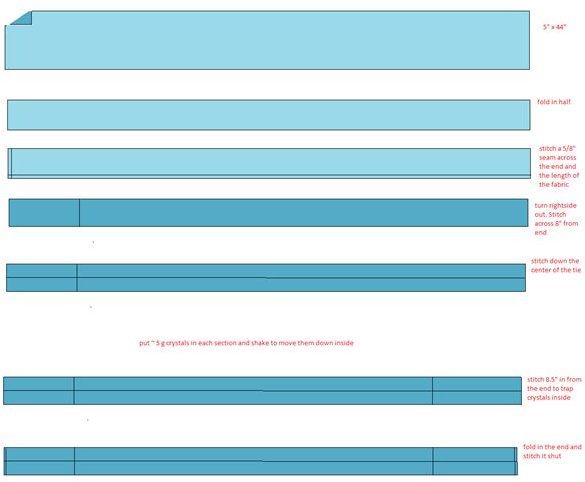
You can download a copy of this diagram to use as a reference making your collar . Click on it to enlarge.
-
Cut or tear a five inch strip. If you are using material more than 45" wide, you can cut it or just have longer ties.
 Advertisement
 -
Fold in half, right sides in.
-
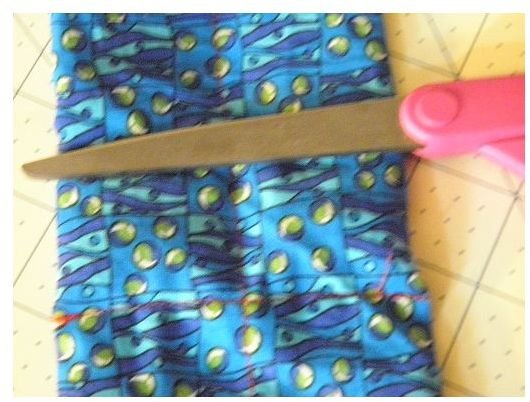
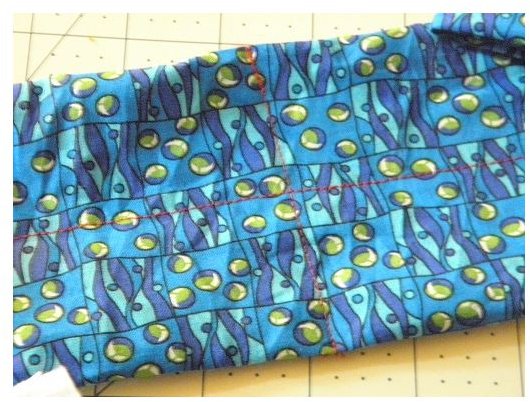
Sew the long edge with a 5/8th seam.
Advertisement -
Sew one end, up to the stitching, for the length.
-
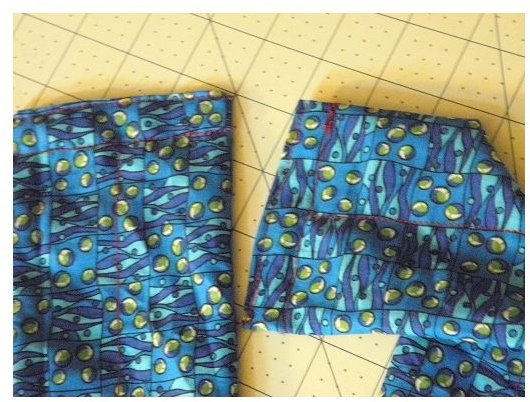
Turn your tube right-side out. This will be easier if you scrunch all the length til you can grab the bottom
Advertisement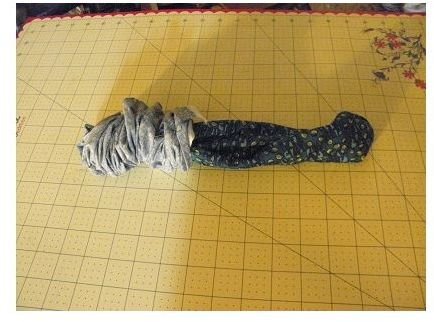
of the inside and pull it through, then smooth the tube along.
Advertisement
You can iron the tie if you want, but it is not essential.
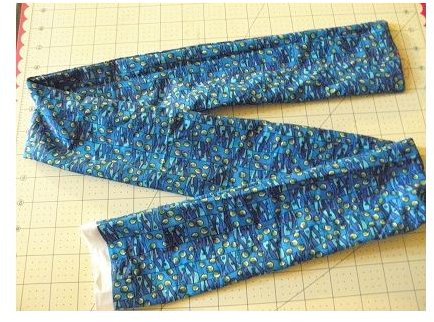
Fold it in half to find the center.
For a cooling collar, put the center of the tie at the back of your neck, or the neck of the person who will use it. Tie it loosely in front. Mark where the knot starts.
Sew across the tie on the closed end, leaving the center section the correct length to go around your neck.
For a cooling headband, loop the length of the tie around your head, with the center on the middle of your
forehead. The center section should be an inch or so shorter than needed to go around your head. Sew across the tie. The center section on the headband needs to fit snugly around your head when the Polyacrylate crystals have absorbed water, so the ends of the center section should not be long enough to meet.
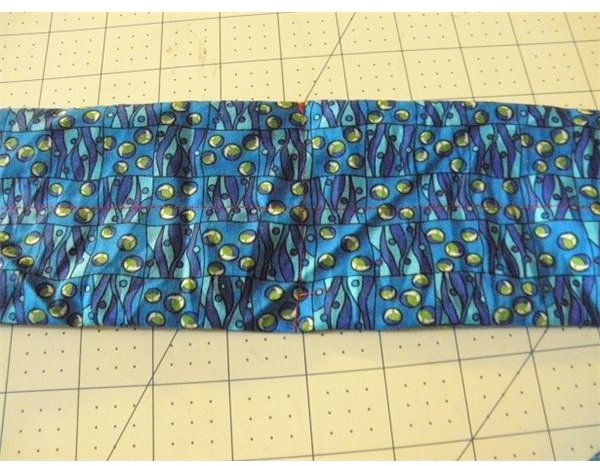
Sew down the center of the length of the tie, starting at the closed end. Just put the center of the tie under the sewing machine needle
and stitch.
Stop about 3/4 inch from the open end of the tie. This will allow enough fabric to be fold under and sewn shut.
Get your crystals.
For a cooling collar, drop about 5 grams in each section of the tube.
For the headband, you can use 6 - 7 grams in each section, since it is longer.
Shake the crystals down the tie. They will stop where you sewed across the lower end of the tie. Feel the crystals to make sure there is roughly the same amount in each section. Shake out a little and adjust the amount if necessary.
Fold the tie almost in half - the unsewn end should be about 1/2 inch longer.
Sew across the tie, so that the two end sections are the same length, not counting the unsewn section. Double check that the center section is the correct length to go around your neck or head. Pick out the stitching and resew if the center section is too long.
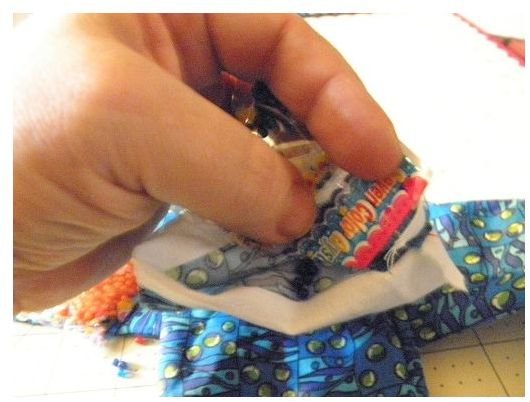
Fold in the end of the tie. Sew it shut, about 1/8 inch from the end. Sew across the tie 1/2 inch from the end. Stitch across the other end of the tie, so that the stitching makes the seams match.
You have made your first cooling tie. :)
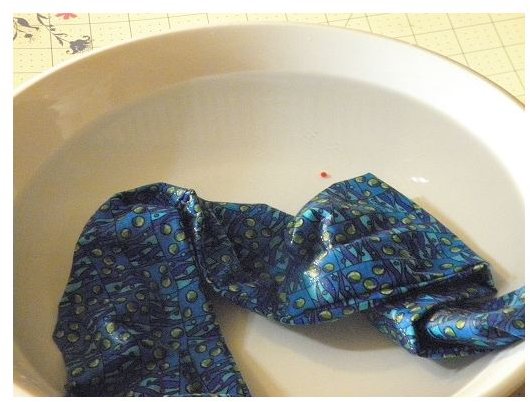
To use your tie, fill a large bowl partly full of cold water, or use your bathroom sink. Put the tie in the water. Only the center section needs to be immersed. Let the tie soak. Depending on the size of the crystals, they will need to soak anywhere from half an hour to a couple hours. The smaller the size of the crystals, the quicker they will absorb the water.
Check it every 10-15 minutes to see if you need to push the tie deeper or add more water. As the crystals
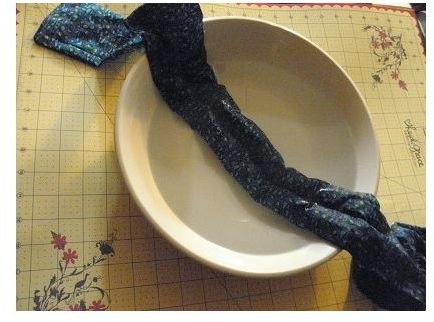
start swelling, push them along so the crystals are spaced along the entire center section.
When the sections are plump, but not sausage like, take the tie out of the water and let it sit on the counter. The water on the outside of the tie will finish being absorbed, and the surface will be virtually dry.
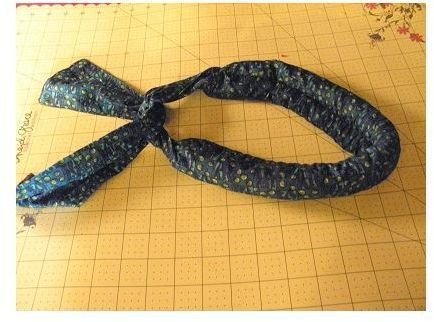
Your cooling collar or headband is ready to use. The gel crystals can hold water for several days.
When the collar is warm against your skin, put it in a bowl and sit it in the frig for 10 - 15 minutes. Or you can put it into the freezer for 3-4 minutes.
If you leave it in the freezer too long, the crystals will freeze, but when you take it out and bend it a little, the crystals will break apart – and it will be extremely cool.
You can also cool it by putting it under cold running water or in a bowl of cold water. It is a good idea to do that after the first day, as the crystals start shrinking as their water evaporates.
If you have any questions, leave a comment. Let me know how your cooling collars came out, or any ideas you have for variations.
* These are available in different sizes. They all work well, but the smaller the beads, the quicker they absorb water.
** Please note the price ranges drastically. It is worth it to comparison shop if you are going to order them. These are not going to be
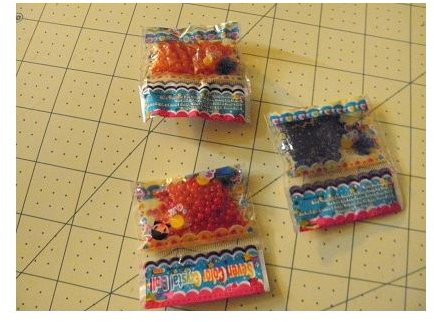
seen, so you do not need to pay extra for fancy colors. They are sold in small packages of 3 or 5 grams or little baggies of 10-14 g, and you should be able to get the equivalent of an ounce for around $3 - $4, including shipping. If you are willing to wait for shipping from China, you may pay just a dollar. If you are going to make a number of them, you can find them in 1 lb bulk for $8 -$15, and about $5 shipping.
References
-
Seeing one in use on a stranger.
Using one.
Watching my mother make them for sale in sports shops. Hers are spiffy and pressed, and have labels.
My own experience making cooling collars.
images by author


