There’s a lot more to Microsoft OneDrive than just using it as cloud storage. Learn how to organize your files and folders, edit documents right in your browser and more.
Setting up an Account
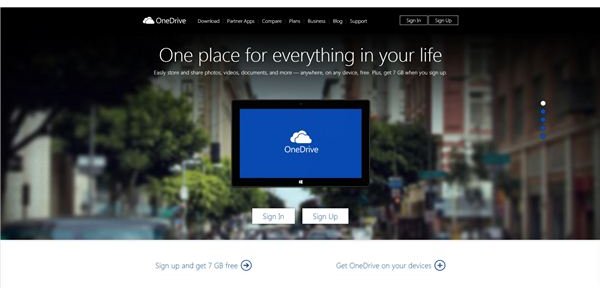
If you don’t have a Microsoft account set up, you’ll need one before we can get started. Head on over to the Microsoft OneDrive site and click the Sign Up button (Figure 1). The web page will ask you to log in. Again, if you don’t have an account, just click the Sign Up Now button. Fill out the requested information and follow the instructions to create your Microsoft Live account.
Once you have your account set up, go ahead and log in.
Getting Started
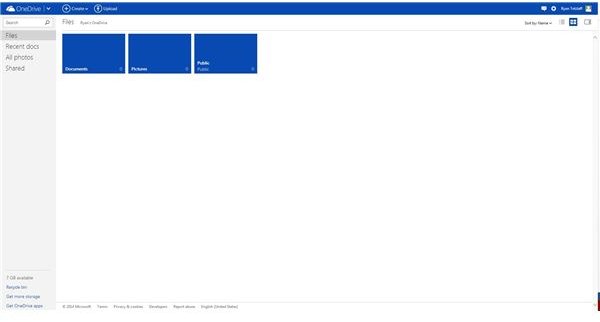
Once you log into OneDrive for the first time, the interface will be a bit sparse (Figure 2). Along the left side of the screen, you’ll see different categories to filter your files by Recent, Photos and Shared files. You also have a site-wide search field you can use to find specific files or folders.
Along the bottom left of the screen, you’ll see how much space you have available and you can also access your Recycle bin.
The top bar has several icons for managing OneDrive. The drop down arrow next to “OneDrive” will let you select other Microsoft applications such as Outlook.com, calendar and online versions of several Office applications.
Along the top right of the screen, you have various display options so you can list the files and folders in a grid or list format.
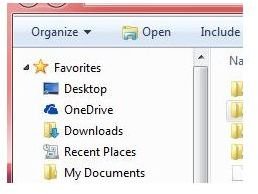
In addition to the web interface, you can also download the OneDrive application. This will install on a mobile device or computer. Once installed, you’ll have a folder icon in Windows Explorer that you can use to directly access your OneDrive.
Now that we have a better understanding of the user interface, let’s start using OneDrive.
Figure 2 - Figure 5
Using OneDrive
OneDrive is very easy to use. Below are some of the most common tasks you’ll want to perform when using OneDrive.
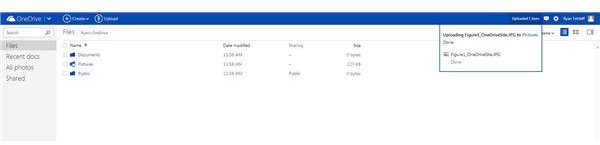
Uploading – There are three main ways to upload files to OneDrive. First, they can be uploaded by simply dragging and dropping them into the user interface. In Figure 3 I dragged a file to the Pictures folder. Once the upload is complete, you will see a confirmation box pop up. Note that you cannot drag folders from your computer up to OneDrive, but you can select multiple files to upload instead.
OneDrive is smart enough to ask you if you want to replace or keep files with the same name. You can also upload using the Upload button at the top of the screen. The third method for uploading is to use the OneDrive application to manage your files. Note that by using the OneDrive application you can upload files and folders (Figure 4).
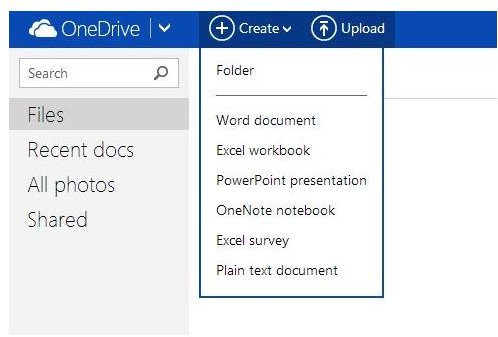
Creating Folders – You can easily create new folders using the Create button in the web interface (Figure 5) or by clicking the New Folder icon in Windows Explorer.
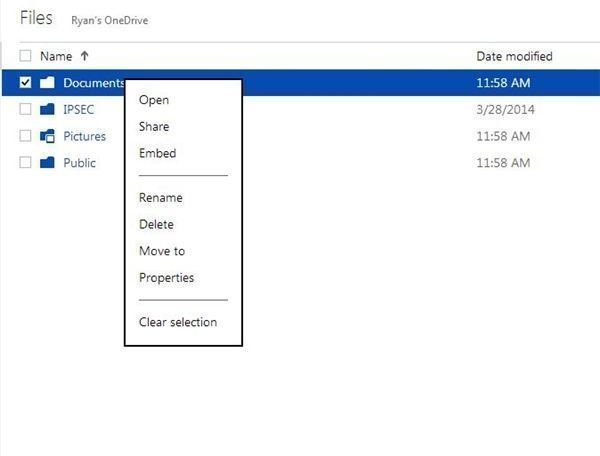
Renaming\Deleting Files and Folders – Delete or rename files and folders by right-clicking them in the web interface or OneDrive folder on your computer and selecting the appropriate action (Figure 6).
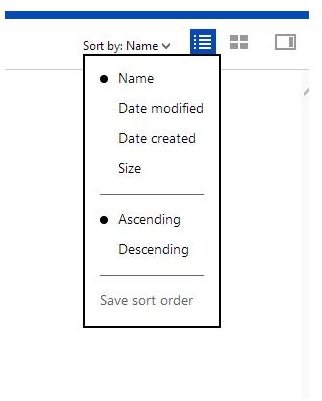
Sorting – Sort files and folders using the Sort By button on the top right of the web user interface. You have the option of sorting by name, date modified\created and by size (Figure 7).
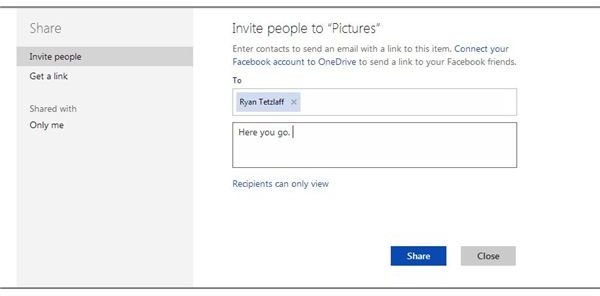
Sharing Files – You can share files (and folders) by right-clicking on them in the web user interface and selecting the Share option. From here you have the option of sending an invite or sending a link (Figure 8). The Invite option is better if you plan on giving long term access to a set of files or folders. Note that you can also decide whether or not the people you invite have the ability to modify your documents or only read them.
If you just need a quick way to share with others but don’t need them to log into their own account, use the Get a Link option. Anyone who has that link will be able to view or edit the files based on which option you chose when sharing out the files.
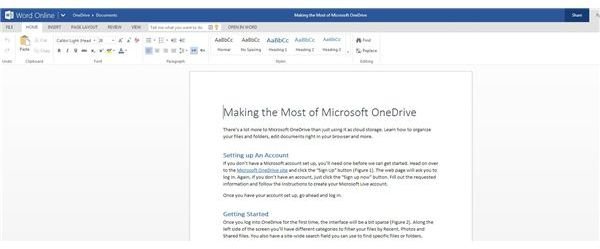
Editing Files – You can also edit documents right in your browser. This is one aspect of OneDrive that differentiates it from other cloud storage providers. Just click on an Office document in OneDrive (Word, Excel, PowerPoint and OneNote are currently supported) and that application will open in the browser (Figure 9). The browser version of each application is not fully featured, but comes with enough functionality to make it very useful.
That covers the basics of using OneDrive. Remember that the OneDrive application acts just like a folder on your computer but instead of saving locally, it saves out to the cloud. The web interface however is available on any internet capable device so keep that in mind the next time you’re on vacation and need quick access to a file!
Figure 6 - Figure 9