Adding YouTube videos to PowerPoint presentations can be a little tricky if you’re not familiar with the process. In this guide, we’ll walk you through all the steps so you can have your slide slow up and running in no time.
YouTube Videos and PowerPoint
So far in this series on Using Music and Videos in PowerPoint Presentations, we’ve restricted ourselves to looking at different ways that music can be incorporated into your slide show. Now, we want to move onto something a little more complex and cover how to embed a YouTube video into a PowerPoint slide.
Accessing the Developer Tab
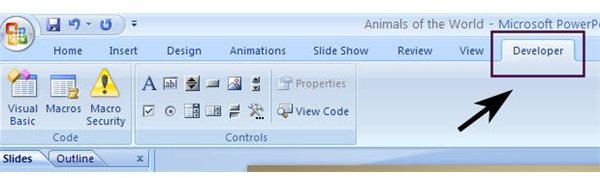
Before you can embed a YouTube video into a PowerPoint 2007 presentation, you’ll need to make sure that the Developer tab, as shown in the image below, is present on the PowerPoint ribbon.
Accessing the Developer Tab
If this tab isn’t shown, you can add it quickly by performing the following steps.
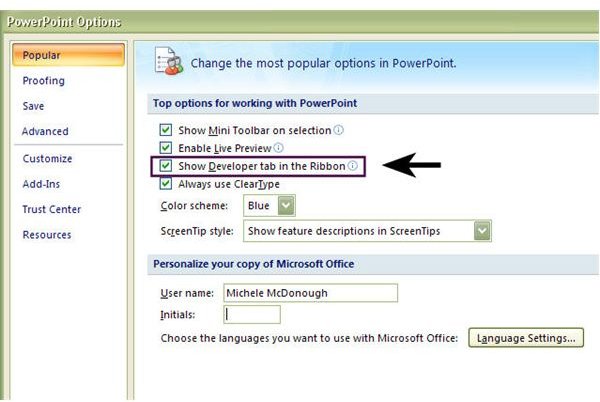
First, click on the Office button to open up the main menu of PowerPoint. At the very bottom of this menu is a button entitled PowerPoint Options. Click on this to continue.

Once the PowerPoint Options window opens, select the Popular category and put a check in the box next to Show Developer tab in the Ribbon. Click OK to exit, and the Developer tab will now be present on the PowerPoint ribbon. Note that the Developer tab may not appear in the exact same location on your ribbon as it does in this screenshot. Its location will depend on how you have personally customized your own PowerPoint ribbon.
Embedding a YouTube Video
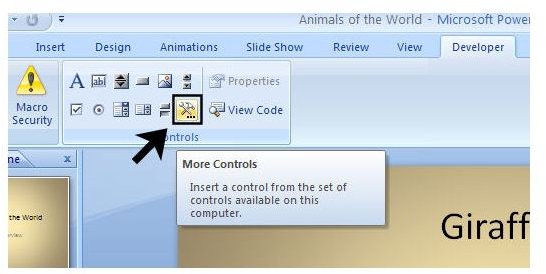
Now, we want to move on to the fun part and actually embed the video. First, navigate to the slide where you wish to add the YouTube video. Open the Developer tab and click on the More Controls button as shown in the screenshot below.
The More Controls window will now open and display a long list of controls that you can add to your PowerPoint presentation. Scroll through the list and select Shockwave Flash Object as in the following image.
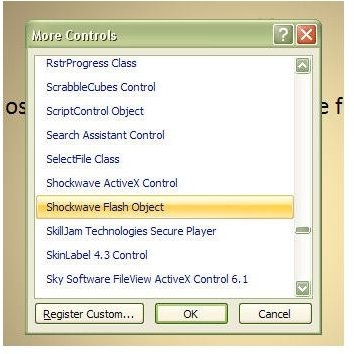
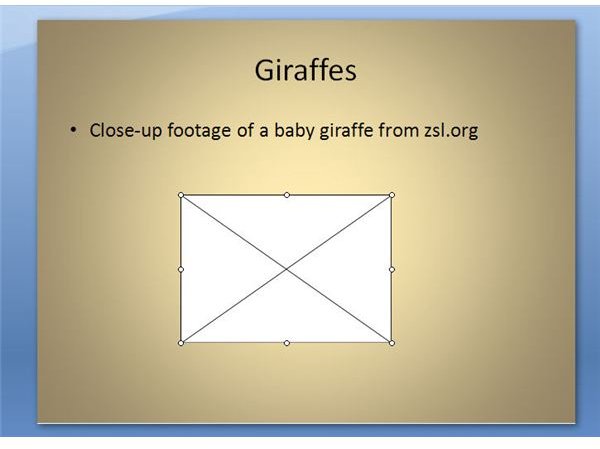
Click OK to continue. Once you click OK, it may seem like nothing has happened, but don’t get frustrated yet! Before you can go any further, you need to use your cursor to draw a rectangular image somewhere on the slide. This rectangular object will eventually hold the YouTube video, so try to draw it accordingly. Don’t worry too much if it’s not perfect; we can always go back and resize it later. When you complete your drawing, your slide should look something like the following screenshot.
Continue to the next page for the remainder of this tutorial on adding YouTube videos to PowerPoint presentations.
Embedding a YouTube Video in a PowerPoint Presentation - Continued
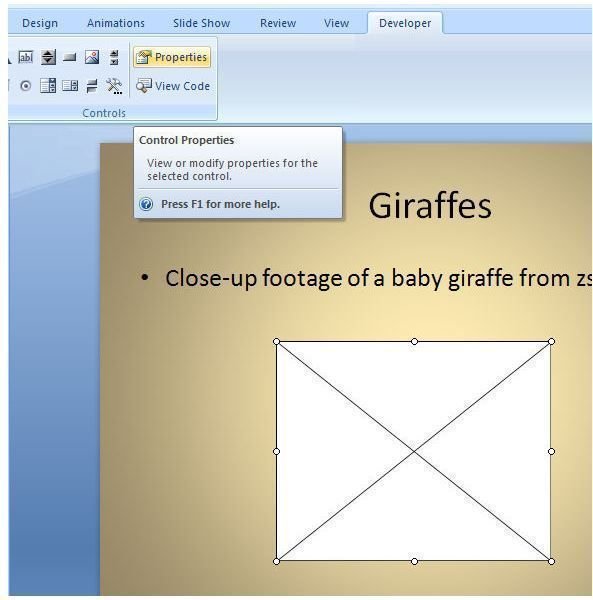
The next thing we need to do is associate this object with our YouTube video. With the rectangular object still selected, click on Properties in the Developer tab of the ribbon. This will open a Properties window for the Shockwave Flash Object as shown in the second image below. You may need to resize this window in order to better see all the field properties.
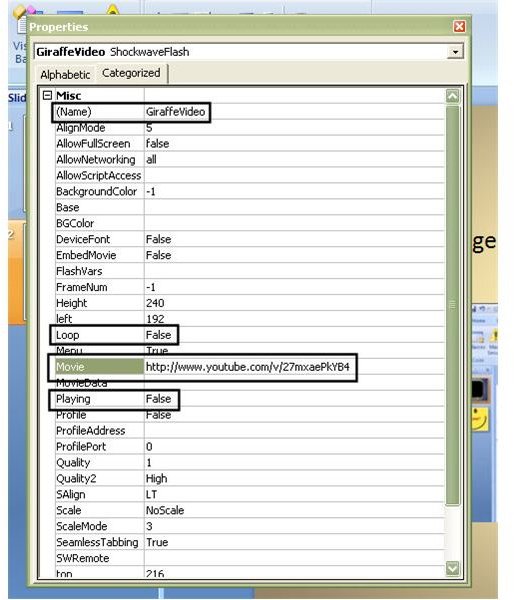
In this Properties window, we’ll have to make a few changes and additions to embed our YouTube video. Although this is optional, it’s a good idea to change the title of your object in the (Name) field. While not completely necessary, this could help later on if you plan to embed several videos within one presentation.
The most important addition to make is to add the URL of the YouTube video to the Movie field. You will have to make a couple of changes here to ensure that your video plays correctly. In our example, we are adding a video from ZSL that gives close-up footage of a baby giraffe. The original URL of this video on YouTube is:
https://www.youtube.com/watch?v=27mxaePkYB4
Before adding this URL to the Movie field, delete the “watch?” text and replace the “=” that follows the “v” with a “/” character. The resulting URL would look like this:
https://www.youtube.com/v/27mxaePkYB4
You may also choose to make other changes in the Properties window, depending on how you want your video to play. In this example, we’ve changed the Loop field to False since we only want the video to play through one time. In addition, we also changed the Playing field to False because we’d rather manually start the video than have it automatically begin to play when the slide is shown. Once you’ve finished making your modifications here, click on the “x” in the upper right-hand corner of the window to close it. All of your changes will be saved.
To check that you’ve set up everything correctly, hit F5 to preview your presentation. Remember that you need to have an internet connection in order for the YouTube video to be played.
Tip: If you find that you’ve made a mistake in modifying the Shockwave Flash Object properties for the YouTube video, it’s usually better to delete the current object, and start over by creating a new one. While you may be able to go in and modify the properties a second time, PowerPoint does not always seem to recognize this second set of modifications. This may cause the video to be blacked out when you try to preview your presentation. Deleting the object and starting from scratch will alleviate this problem.

For more tips and tricks, make sure to take a look at the other Microsoft PowerPoint tutorials and user guides found here on Bright Hub’s Windows Channel. New and updated articles are added on a regular basis, so bookmark us and check back often.
This post is part of the series: Using Music and Videos in PowerPoint Presentations
Adding music and videos to a slide show can definitely take your Microsoft PowerPoint presentations to the next level. In this series, we’ll take a closer look at how to incorporate music and embed videos into your presentation.


