If you’re new to ripping CDs or Media Player 11, you’ll want to optimize the process before you rip your first CD. Here we show you how Windows Media Player 11 helps you burn all those CDs and even automates the process of keeping your tags up-to-date?
Windows Media Player 11 makes the art of ripping Cd’s so much easier than it has ever been before, and now with the ability to configure Media Player to setup this process for seamless burning your task will be so much quicker and more fruitful. So lets take a look at configuring MP11 and using tags to complete your track details.
Configure MP11
Before you rip your first CD, take time to configure Media Player 11. Enable automatic ripping when a CD is inserted, automatic ejection when the rip is complete, and select the desired music file format. Here’s how:
-
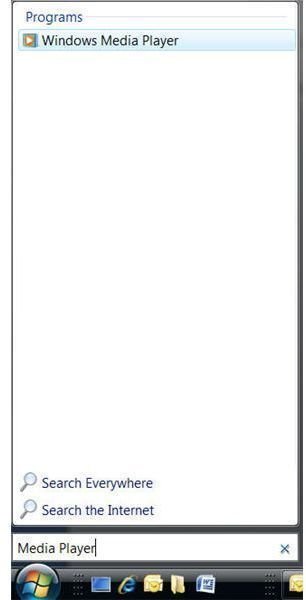
Click Start, and in the Start Search window, type Media Player.
-
Under Programs, select Windows Media Player. [See Image 1]
Advertisement -
Find the Rip tab and click the arrow under it.
-
Point to Rip CD Automatically When Inserted, and select Always. [See Image 2]
Advertisement
-
Click the arrow under the Rip tab again, and select Eject CD After Ripping.
-
Click the arrow under the Rip tab again, and select More Options.
Advertisement -
In the More Options dialog box, choose your format. If you don’t know anything about formats, choose Windows Media Audio.
-
Verify Copy Protect Music is not selected.
Advertisement
When ripping a CD, always connect to the Internet during the rip process. Media Player will automatically locate and update the media information regarding the CD being ripped and store the information on your PC. This can include album art, album title, track number and titles, and more.
About Privacy
If you are connected to the Internet when you rip a CD, Media Player will locate and save the album name, album art, year, genre, track numbers and titles, and more. I think this is awesome. However, if you’d rather not have Media Player obtain this information automatically, you certainly can change this. To make changes to Media Player’s default settings, from any tab in Media Player, click the arrow and select More Options. From there, work through the tabs to change the Privacy and Security settings as desired.
Images


