Streaming video to another room is becoming a popular activity. The ability to build small, quiet computers that can connect to the internet or other computers and play movies from them on a TV is certainly enticing. Learn how to build a Windows Media Server here.
What do I Need?
Servers are often thought of as complex computers beyond the realms of most people, and restricted to corporations or ISPs. Nothing could be further from the truth. In reality, servers can be anything that “serves” other computers. They can indeed be massive units the size of cars, but will be made up of smaller computers connected together. They can also be cobbled together units full of old hardware humming away in a cupboard somewhere on a home network.
In essence, servers are whatever you want them to be. There’s no need to go cutting edge unless you’re serving a business website or centralized email server. I use an old P4, Intel motherboard and 1Gb of Ram in an old HP case I had lying around. The only new hardware I use is a pair of terabyte drives to store the data.
You can spend as little or as much as you like on a server, just be aware that you don’t have to spend much at all if you don’t want to. Serving data to other computers isn’t as intensive as playing games, watching video or the other tasks an average computer does, so a server doesn’t need that kind of horsepower.
Many households are also using servers to stream media from the Internet to a TV. This needs a slightly different approach as noise will be an issue here. The last thing you need is a noisy computer interfering with your movie. Thus, noise will be the biggest consideration here, so thought will have to be given, and money spent on quiet components to make the server as silent as possible. There are plenty of passively cooled power supplies, cases and processors available at a premium if money isn’t an object. Intel Atom based processors are a current favorite.
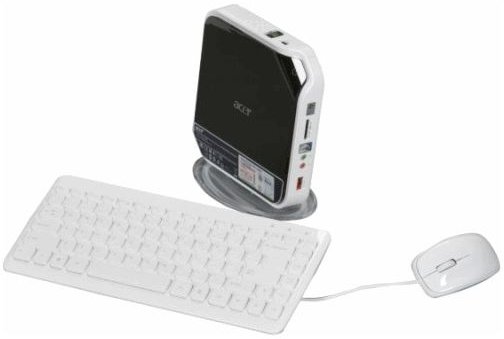
Alternatively you could buy an Acer Aspire Revo and a copy of XBMC Live or Windows Home Server and run that.
Creating the Server
To make our own media server we build a computer as normal using whatever hardware meets the needs. Old stuff for a file server under the stairs, or newer, passively cooled components for a living room media server, or a combination of both, whatever you decide. Then arrange the networking, either wire it or use wireless. We will also need to borrow a keyboard, mouse, monitor and DVD drive.
Assemble everything in a case and boot up to load Windows Home Server software. I covered installing the Home Server Software in another article . Once the install is complete, configure the server on your network and make sure it’s accessible from another machine, preferably also giving it a static IP address. Follow the configuration options in the Home Server software and complete the installation.
If you can connect to the server from another machine, you can remove the mouse, keyboard, monitor and DVD drive.
Use the Windows Home Server DVD in a machine you’re going to use to control the server. Install the Connector software on the PC and follow the instructions to configure it on the machine. The software is designed for people without much computer knowledge and is very easy to follow.
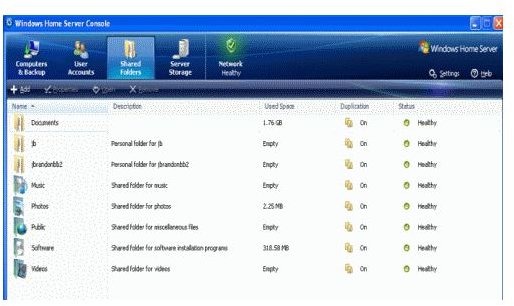
Connect to the server using the connector software and set up users and file shares according to the instructions. This will create the shared folders on the server within which the media will be available to the network through the server.
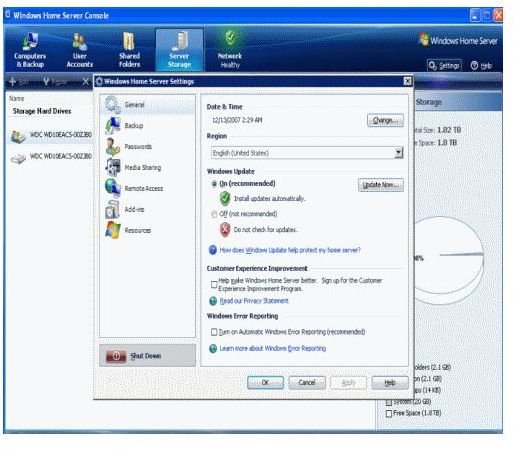
Once the server is configured, click the Settings option to add functionality to it, such as media streaming if you’re going to use it for streaming video. Once finished, your server is ready for use.