You’ve got Windows 7 installed – now’s the time to customize your new operating system, and what better way than the logon screen, the first screen you see when your PC or laptop boots?
Customize Your Windows 7 Logon Screen!
If you’re a fan of pimping your operating system, you’ll no doubt want to change your Windows 7 logon screen.
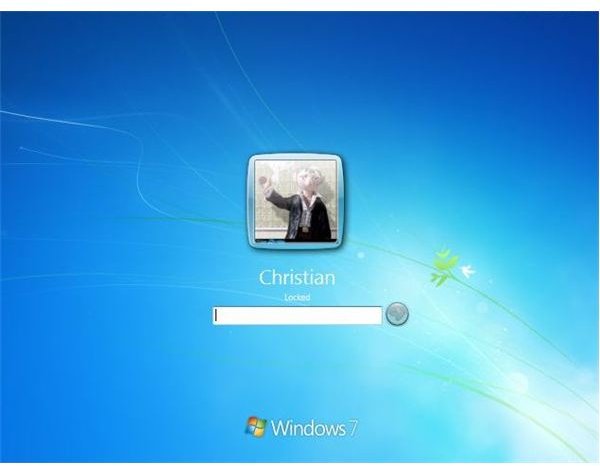
The logon screen for Windows 7 features a user avatar and password box, as well as by default an attractive blue background.
Using either of the methods explained here, you can customize the Windows 7 logon screen to display an image of your choice.
There are two ways in which this can be done. First of all there is the simple method which utilises a third party program, and second there is the independent but slightly more complex method that uses the Windows System Registry.
Utility Changes Your Windows 7 Logon Screen
The Windows 7 Logon Background Changer is a freeware application that quickly allows you to select a new background for your logon screen.
Available from Softpedia.com , the 718 KB utility very usefully allows you to preview how your logon screen will look once your chosen new background has been applied.
Download the Windows 7 Logon Background Changer, and once completed unzip the contents. Browse to the unzipped folder and within the folder named Setup launch setup.exe to install.
Once this process has completed, go to Start → Windows 7 Logon Background Changer – you will see that the tool has already imported some alternative backgrounds of its own. You can either select one of these and preview how your new logon screen will look, or use the Choose a folder button to browse to a new selection of images. Pictures within the new folder will be displayed across the top of the window.

Select an image from the row across the top of the Windows 7 Logon Background Changer window. When you’re happy with your new background preview, click the Apply button – you now have a new desktop background!
You can undo this and return to the default by selecting and applying image in the top left of the window, labelled Windows 7 default wallpaper – this option is present at all times.
Finally, you can check your new logon screen by pressing the Windows key + L on your keyboard.
Using the Registry to Customize the Windows 7 Logon Screen
Rather than download third party software, you might prefer to make the changes yourself. The following steps can be done in all versions of Windows 7, but you will need administrator privileges to access the Registry.
To begin, go to Start and in the search box type regedit and press Enter.
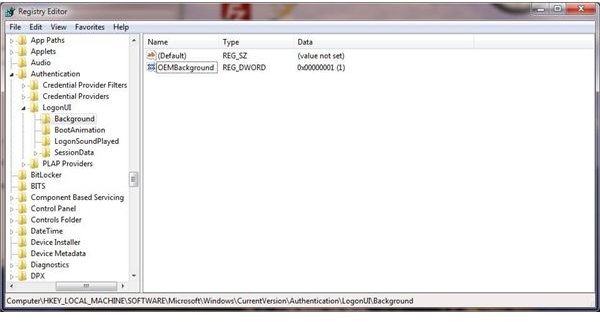
Once the Registry Editor has opened, browse to:
HKEY_LOCAL_MACHINE\SOFTWARE\Microsoft\Windows\CurrentVersion\Authentication\LogonUI\Background
Next, in the right-hand pane, right-click the entry OEMBackground, choose Modify… and change the Value data from 0 to 1. Close Registry Editor.
(If there is no OEMBackground key, simply right-click in the right pane, select New → DWORD Value, name it OEMBackground and set the Value data as above)
You have now stopped Windows 7 from using the default image. To continue and select your own image, go to Start and at the search box enter: %windir%\System32\oobe
This will take you to the folder with the default image in, background.bmp. Create a New Folder that should be named Info, and within this folder create a second folder called backgrounds. Your images will be stored within the backgrounds folder.
You can now save any image to this folder, however note the following:
- Your new background image must be called backgroundDefault.jpg
- The new background image must be less than 256 KB
- The new background image must be a JPG image.
Once you have selected and suitably named your new background image, you can check your new logon screen by pressing the Windows key + L on your keyboard!


