This article covers disabling the Windows XP Guest account as well as why you should disable the Guest account.
Overview
The Guest account in Windows XP is there to allow users without accounts to utilize resources on another computer in addition to allowing them the ability to log in locally to a machine. Every install of Windows XP comes with prebuilt accounts such as “Administrator” and “Guest”.
The Guest account is primarily useful in workgroup environments – environments without a domain. If you have two computers, they will by default attempt to communicate with the Guest account for activities such as Windows file sharing. It is still a good idea to disable the Guest account on all of your computers due to the security risks associated with this special account.
The very nature of the Guest account makes it unsecure – The Guest account does not have a password by default and is tied into the Windows file sharing service. This makes it easier for home users to connect between computers without the need to provide credentials, but it’s a huge security risk.
Disabling the Guest Account
There are a few ways to disable the Guest account – two valid ways and one not so valid way (depending on your Service Pack).
The best way to disable the account is by going through the command prompt.
- Go to Start, Run and type “cmd”. Hit Enter.
-
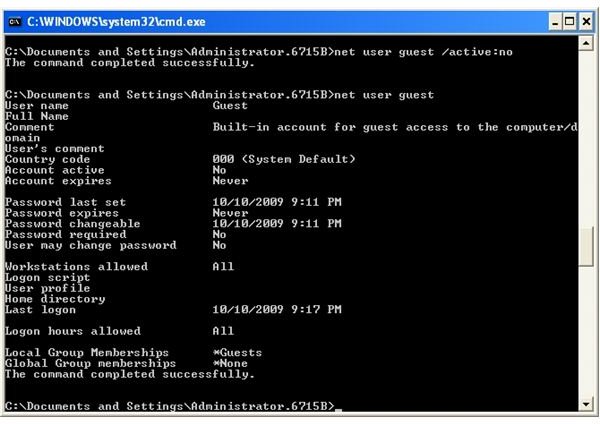
Type “net user guest”. You will see something like that in Figure 1. Note the status under “Account Active” – chances are it’ll say Yes.
Advertisement -
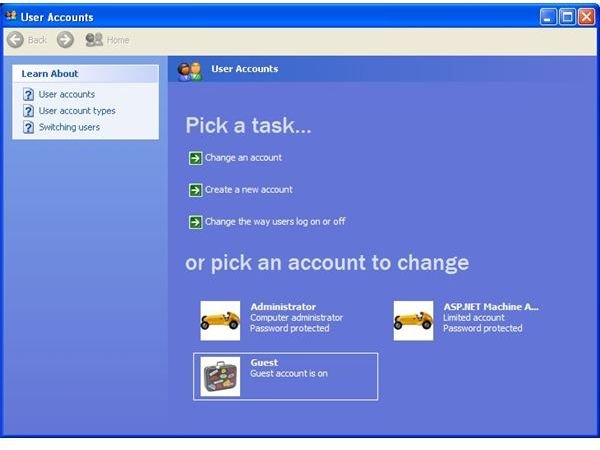
Type “net user guest/active:no”. You should receive confirmation that it worked (Figure 2). Running the “net user guest” command again should show “No” under the “Account active” heading (Figure 2).
Note that some articles out on the Internet tell you that you cannot disable the Guest account using the User Accounts Control Panel. Turning off the user in the User Accounts panel would only disable the ability for the Guest user to log in locally to a machine - the account itself would not be disabled. My guess is that using an earlier version of Windows this statement may have been true, but as of Service Pack 3, going through this method also works.
Note: If you’ve already disabled the account as explained above, there is no need to perform the following procedure.
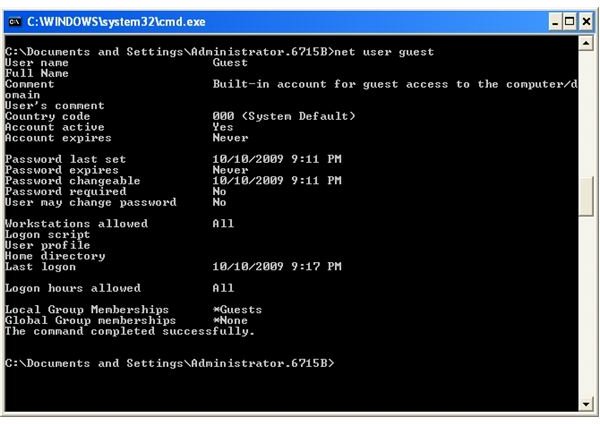
- Go to Start, Control Panel, User Accounts
-
Click on the Guest Account (Figure 3)
Advertisement -
Click “Turn off the guest account”. Performing the “net user guest” command as shown in Figure 2, you can see the Account is no longer active.
This is obviously an easier method to follow, but just to be safe, I’d still use the command line route.
Images