If you’re not looking for spectacular effects, Microsoft Publisher provides a simple way to give an image a transparent background without the use of any outside image editing software.
How many times have you found that almost perfect image for your flyer, newsletter, or brochure- with the only problem the background color doesn’t mesh well with the rest of your publication? One solution is to take the picture and modify it in an image editing program, but that can often take a lot of time, especially if that’s not something that you do on a regular basis. Besides, it’s always nice to be able to get all your work done in one application if at all possible.
While it does not always give the high-detailed results of an image editing program, Microsoft Publisher is capable of giving an image a transparent background. The process is not as fine-tuned as most would like it to be, but it is quick and easy. Even if the final result isn’t always “pixel-perfect”, it turns out just fine for the purposes of many publications.
How to Give an Image a Transparent Background
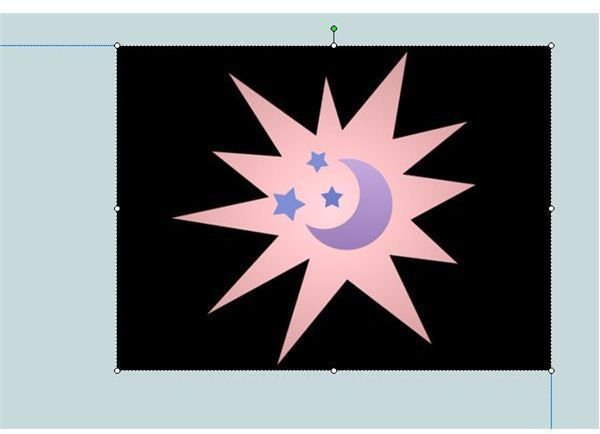
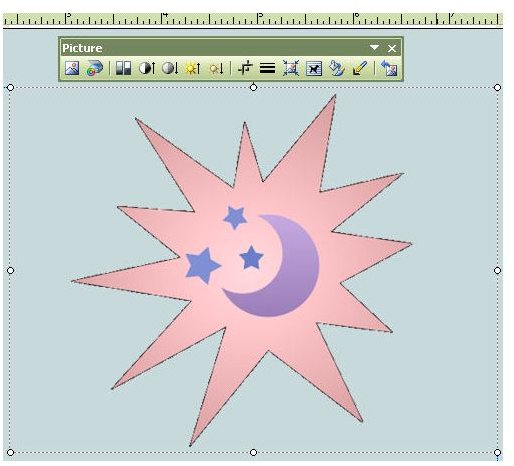
For the purpose of this tutorial, we’ll assume that you’ve already inserted your image in your Publisher publication. As an example, we’ll be working with the image shown in Figure 1.
-
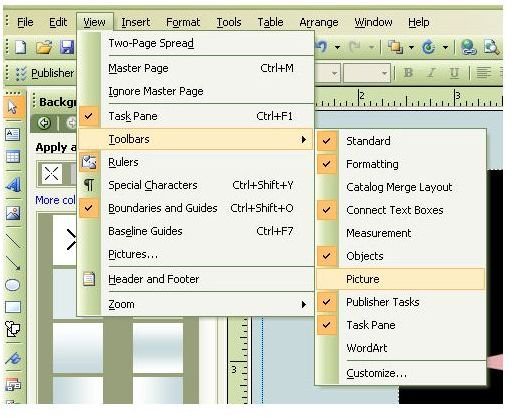
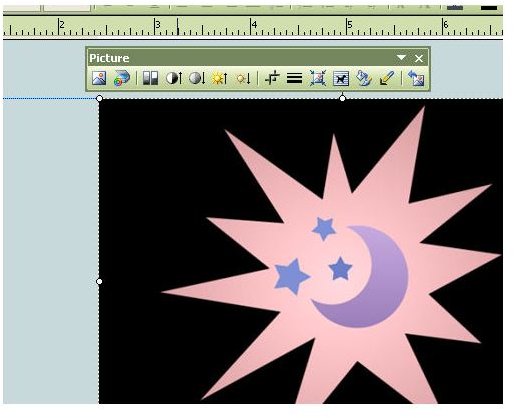
The first thing you want to do is make sure that the Picture toolbar is visible in your working space. From the View menu on Publisher’s main toolbar, select Toolbars and then Picture as shown in Figure 2. After doing this, the floating Picture toolbar will appear (Figure 3). You can drag this toolbar to any spot on your screen, making it easy to access but not getting in the way of your work.
Advertisement -
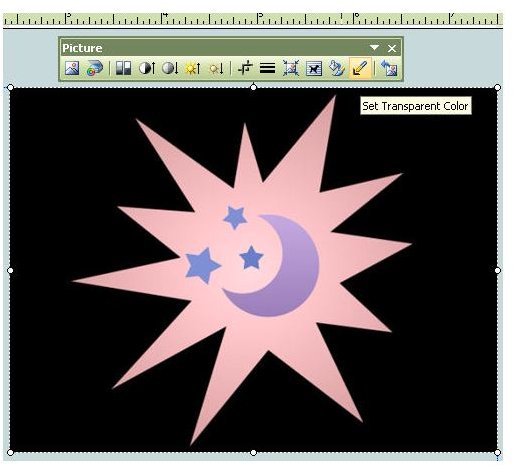
Next, after making sure your image is selected, click on the Set Transparency Color tool of the Picture toolbar. See Figure 4 for a screenshot of this.
-
Once you’ve selected this tool, move your cursor over the area that contains the color that you wish to make transparent. In our example, we want to get rid of the black background. Left-click anywhere on this colored area and it will become transparent. Figure 5 shows our result after clicking on the black background.
Advertisement
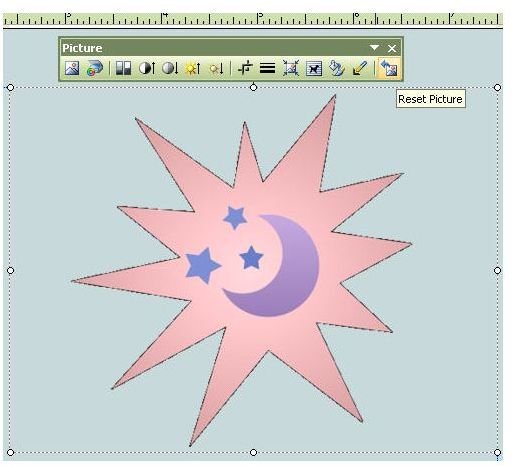
If you decide that you don’t like the changes you’ve made, you can always reverse them later by clicking on the Reset Picture tool shown in Figure 6. However, be careful doing this if you’ve also made other changes to your image. The Reset Picture tool will cause the image to revert to the state it was in when you first inserted it into your publication. When you finish, be sure to save the new version.
Screenshots for Giving an Image a Transparent Background in Microsoft Publisher
Related Reading:
>» Introduction to Microsoft Publisher 2007
>» Microsoft Publisher Tutorials: Creating a Publication from a Template
>» Microsoft Publisher Tutorials: Modifying Text
>» Microsoft Publisher Tutorials: Saving a Publication as a PDF or XPS File
>» Microsoft Publisher: How to Prepare a Publication for Commercial Printing


