Making a few simple changes to the appearance of text in a Microsoft Publisher publication is a quick and easy way to dramatically increase the document’s visual appeal. In this tutorial, we’ll show how to change fonts and use special text effects in Publisher.
Making Modifications to Text
One of the simplest things you can do to improve the look and feel of a publication in Microsoft Publisher is to modify the appearance of the text in the document. In this tutorial, we will cover some of the basic ways in which this can be done. A Microsoft Publisher sample flyer publication has been added to the Windows Platform Media Gallery to accompany this tutorial. Feel free to download this file and use it to practice making your own changes.
Changing Fonts
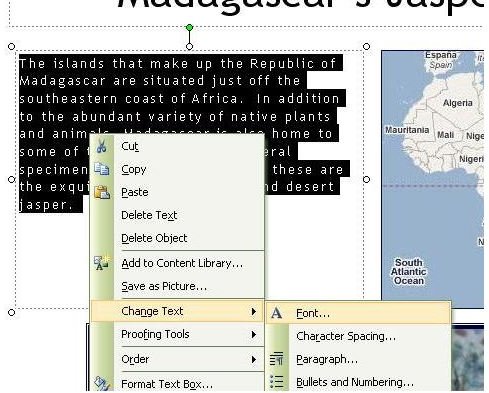
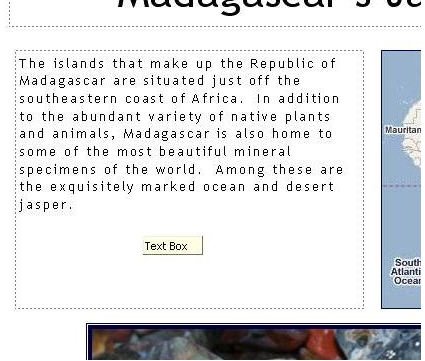
The most common type of change made to any block of text is modifying the font, size, and color. We’ll use a paragraph from the sample flyer publication, shown in Figure 1, to demonstrate how to make font changes in Microsoft Publisher.
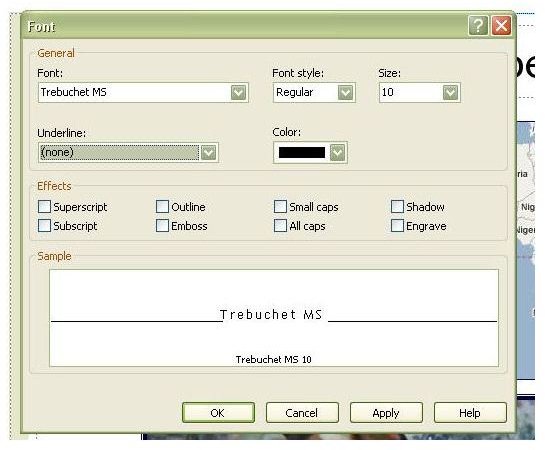
To begin, select the group of text to modify and then right-click on that selection with the mouse. Choose the Change Text option and another list will appear as seen in Figure 2. From that list, select Font. Once this has been done, a dialog box like the one in Figure 3 will appear. Here, changes can be made to the font type, style, size, and color. In addition, other options can be applied that include various forms of underlining and adding text effects.
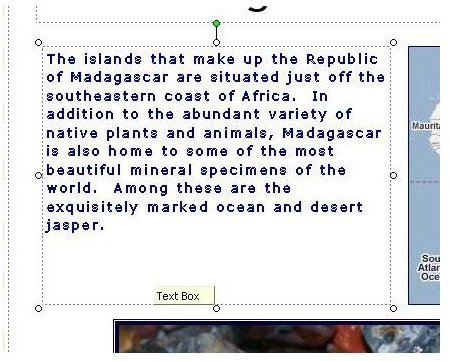
The preview pane in this dialog box allows you to see how the different changes will appear before they are actually applied. Using the preview pane is a great way to experiment with the many choices without having to be bothered with applying and undoing changes just to see what they will look like. As an example, we will choose to change the font type to Verdana, change the font color to blue, and apply the Outline effect. A screenshot of the dialog box with these changes made is shown in Figure 4. The resulting changes in the publication can be viewed in Figure 5.
Drop Cap Option
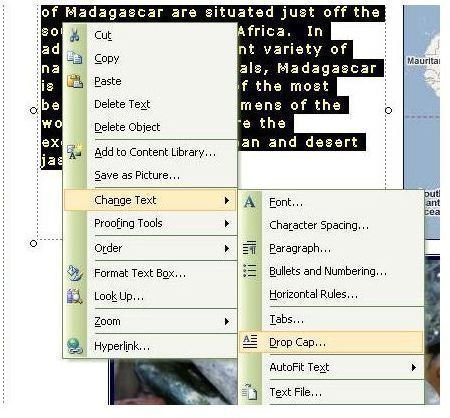
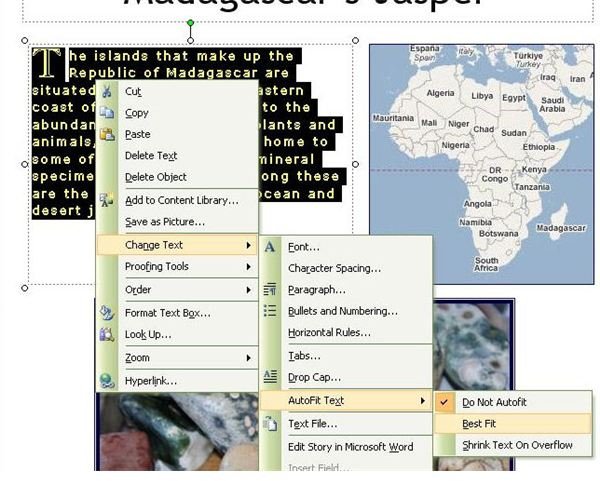
Another text modification that can add some spice to a publication is using the Drop Cap option. This feature enlarges the first letter or two of the text group, giving the selection a more stylish appearance. To use this option, highlight the text with the cursor and right-click on the selection. After picking the Change Text option, select Drop Cap as seen in Figure 6.
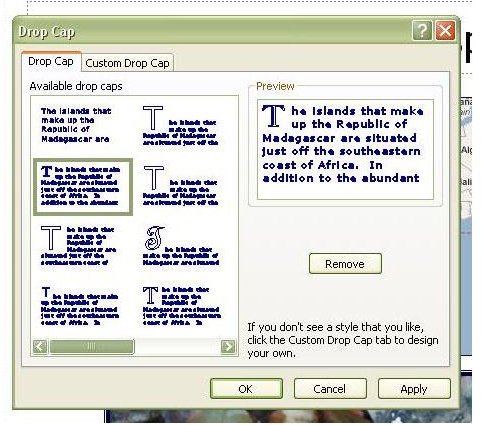
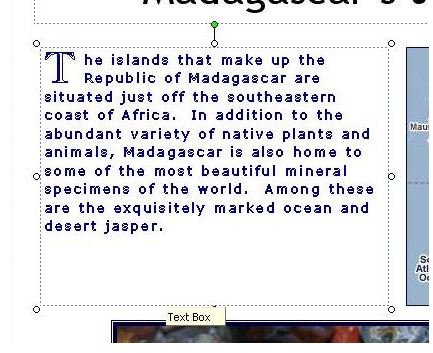
A new dialog box will appear showing several options. Along with the standard predefined forms, there is also the option of defining your own custom Drop Cap format. As before, the preview pane allows you to see how your proposed changes would appear. We’ll choose one of the predefined styles, seen in Figure 7. The resulting appearance of the text box in our sample publications can be viewed in Figure 8.
Using AutoFit
The AutoFit option in Microsoft Publisher is a tool that changes the size of the text to fill the area of the text box. This is an extremely useful feature to get rid of dead space in a publication without having to resort to the trial and error technique of continually changing the font size manually.
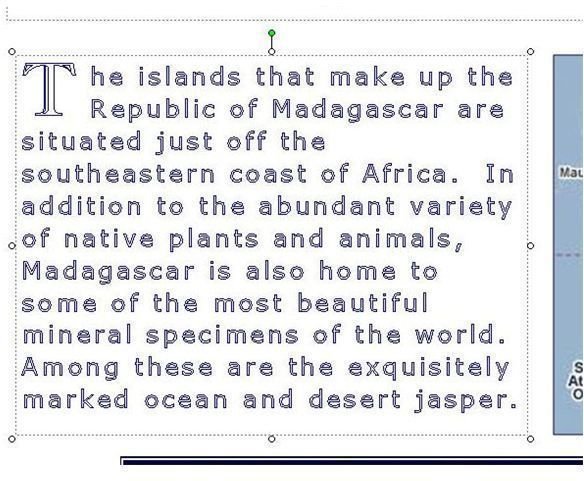
To use this feature, choose the Change Text option after selecting the group of text you wish to modify. Next, select AutoFit Text and three more options will appear: Do Not Autofit, Best Fit, and Shrink Text on Overflow. Pick the Best Fit option as shown in Figure 9. This will cause the text size to increase to the exact font needed to expand the selection to fill the entire text box as seen in Figure 10.
Screenshots for Modifying Text in Microsoft Publisher