This is an easy to follow guide on how to build your very own Windows Home Server Machine.
Installing Your Server
Windows Home Server is Microsoft’s first attempt at consolidating and organizing the digital home. The average household has at least a couple of computers, maybe a laptop and a network of some kind. With all of our lives becoming increasingly digital we have increasing amounts of media that we store on our machines. If there are multiple machines with multiple users the organization is key.
Windows Home Server is Microsoft’s answer to this problem. It is a full server system based on Server 2003, with all the unnecessary stuff taken out. It can run on older machines and is a good way of utilizing older hardware.
For the purpose of this article we are going to assume that you have such a machine and want to install Windows Home Server onto it and connect another PC to the server.
The setup is much the same as any other Microsoft install. Insert the CD/DVD into your drive and set the BIOS to boot from it. Pressing a key when prompted will allow the setup program to configure a RAM drive and load the setup files into it.
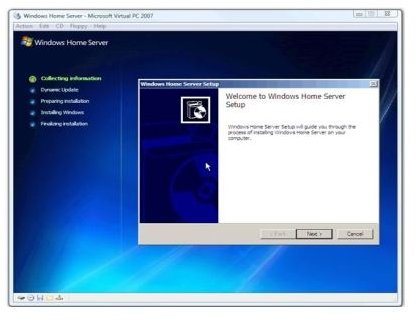
Once this has completed, you will be presented with the first setup screen. Keep the Installation Type as New Installation and press Next. Select your Region and keyboard layout then accept the EULA and click Next again.
On the Name Your Home Server screen, choose a name that all the users can recognize and click Next. The next screen requires you to enter your product key. This should be on the back of the manual that came with the software. Enter the code carefully and click Next.
Here you need to select the disk drive you want to install the software on. There will be a disk format needed so you will lose everything on the drive. Click Next, acknowledge the warning and then click Start.
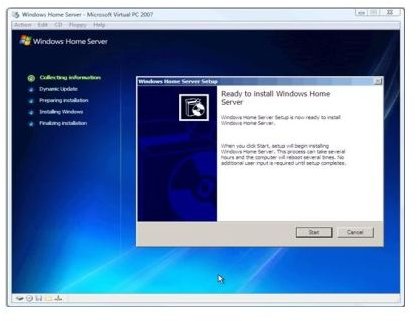
You will now be presented with the standard Windows installation progress screen. The process can take up to two hours, depending on your hardware, but most of it is unattended so you don’t have to watch it. There will be several reboots as is typical of any Windows install until finally you are presented with the Windows Home Server desktop screen.
Now the Windows part of the install is complete it is time to install the hardware drivers for your system. Windows may have generic drivers already installed, but it is always best to have up to date manufacturers drivers for each item.
A final reboot should give you a fully working Home Server system complete with network and Connector software.
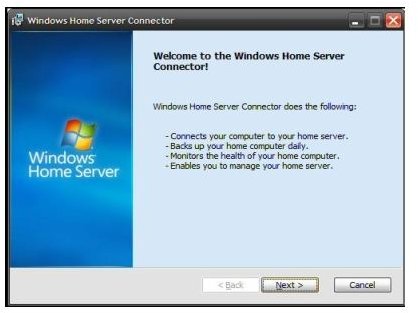
Now is a good time to point your other machines to the server. Assuming each is connected to the network, this is just a matter of inserting the Windows Home Server software into each machine you want to connect and installing the Connector application.
You will notice two new features. The first is the “Shared Folders” icon on the desktop and the second is an icon in the notification area which indicates the health of the network. This icon also grants access to the Home Server Console which has the tools to manage the server.
Windows Home Server not only allows the sharing of data across the network, or streaming media to other machines, but also allows for backups. This is an important feature, as any Windows user knows it is sometimes WAY too easy to lose important files. Having a backup of each machine on a central server will prevent any data deletion disasters.
Having set up your Windows Home Server and networked your other machines to it, where you go from here is entirely up to you!


