There are times when we get bored with our Windows XP desktop and want to add some spice to it. Did you ever think this empty screen can boost your productivity? How about adding some docklets and give it more eye-candy and more usability?
Introduction
If you are the type of user who has every shortcut and file on your desktop, then after a couple of days, it probably becomes impossible to find your way around. It could annoy you to go into the My Documents folder and its subfolders to search for files, so you want everything to be available to you with a single click. Although these possibilities may seem to counter one other, it is achievable. All we need to do is install a program and go for the necessary configuration. Let’s go step by step together and see how.
Rocket Dock: Installation
For all our purposes, we will use Rocket Dock software from Punk Labs . Don’t be fooled by the name, it is a very powerful application with a lot of customization options. Download Rocket Dock for Windows from its website – it is a relatively small download of 6.16 Megabytes for the current 1.3.5 release.
The installation is simple. Select your language from the first installation window and click Next to follow the default installation options. Do not forget to check the license agreement on the way. Reboot is not necessary when you complete the installation. Go to Start → Rocket Dock → RocketDock to start the program and click on the “Dock Settings” (the icon with the hammer on the golden wrench). In the “General” tab, make sure that “Run at start-up” is checked. Then click on the position tab and place it where you want it. Then select your theme by clicking “Style.” I have placed the dock on the right of my screen and selected the “Blank” theme for ultimate simplicity.
Rocket Dock: Customization
Customizing your Windows dock is extremely easy. We can download add-ons from its website (most of them come as zipped files) and mostly all we have to do is extract the contents of the zip file to the C:\Program Files\RocketDock\Docklets folder, which is the default installation folder. If you have changed the installation path, place the docklets inside the “Docklets” folder.
I will go with a simple docklet installation, which will be the Stacks docklet. This docklet lets you specify a folder on the Rocket Dock and upon clicking on the icon, the folder contents will be displayed.
Let’s keep going. Download the stacks docklet and extract the contents of the zip file to your Docklets folder. Then, go to Rocket Dock and right click, go to the “Add Item” option and at the bottom of the list you will see the “Stack Docklet.” Click on the name and a shortcut will be placed on the dock. Then, right click on the icon and select “Icon Settings.” Click on the “Current Settings” tab in the small window and select which folder the docklet will show upon click, the folder icon (I selected the space shuttle), the sorting method, and finally the display setting (Automatic, Fan and Grid depending on your taste). Click “OK” to close the window. Now, when you click on the icon, you will be able to see the contents.
To remove your docklets from the dock, click, hold, and drag them away from the dock.
In the screenshot, I am running two additional docklets: Stacks and CPU Monitor . The Rocket Dock for Windows website is full of add ons, so I am sure you will find one that will suit your preferences. Don’t forget – unless otherwise stated, extract the contents of the zip file to the “Docklets” folder and right-click on the dock to add items.
Conclusion
I think it is nice to have some Windows dock programs like Rocket Dock installed on your system. They are simple, nice-looking and save lots of time in terms of productivity. Although many classify Rocket Dock for Windows as eye-candy, I don’t and I don’t underestimate how much it can add to your productivity.
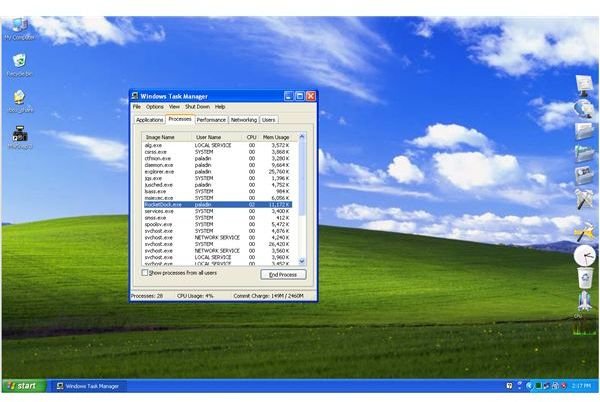
However, it consumes resources like any other Windows dock. In my personal monitoring progress, I have seen it use about 10-12 Megabytes from the main memory (RAM), although I have configured it to be run at the highest configuration. If you have more than 1 Gigabyte of RAM, you may not notice any slowdowns at all.
References
Article: Author’s own experience
Screenshot: Author’s own


