Working with long documents can be time consuming. Learn how working with sections can make them easier to manage.
Inserting Section Breaks
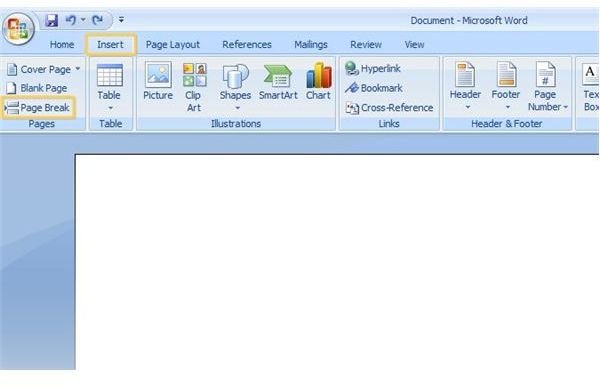
Creating section breaks in a Word document will keep text together and maintain separations, even if information is added to or removed from the Word document. Section breaks will also maintain formatting applied to the specific section. This is especially helpful in a long document, as you will likely review the first draft and make changes throughout the document. To insert a section break, place the cursor where the break should occur. In Word 2003, go to the Insert menu and click on Break. In Word 2007, go to the Page Layout tab of the ribbon and click on Breaks in the Page Setup group.
Select a type of section break from the Section Break Types list. To create a section break that forces the next section onto a new page, even if text is added or removed, select Next Page. To create a section break that maintains formatting but does not move the next section to a new page, select Continuous. Even and Odd page section breaks are typically used when creating a booklet, and will start a new section on the next even or odd page, respectively.
Working with Headers and Footers
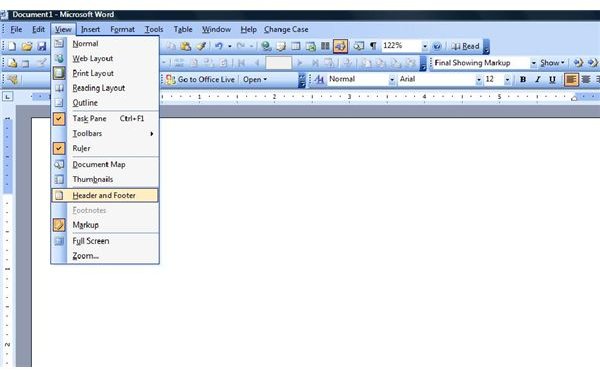
Creating headers and footers can help distinguish sections of a long document. To insert a header or footer in a Word document, go to the View menu in Word 2003 and click on Header and Footer. In Word 2007, go to the Insert menu and select Header or Footer in the Header & Footer group.
You can use the header or footer to insert continuous information throughout the Word document, such as page numbers or the name of the author. When working in a long document, though, using different headers and footers can set sections apart. Once you have inserted sections into a long document, inserting separate headers or footers can be done in a few simple steps.
Click inside of a section of the document and open the header or footer as listed above. When working in a long document, creating a header or footer in the first section and working through the remaining sections is more manageable than jumping around between sections, as it is easy to forget what has been done.
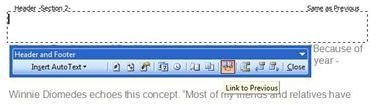
Nothing special needs to be done to the first section. Simply enter the desired information into it. Before editing the header or footer of the next section, however, you must unlink it from the previous section’s header or footer. To do so, place the cursor inside of the header or footer for that section. In Word 2003, deselect the Link to Previous button on the Header and Footer toolbar. This button resembles two side-by-side document pages with a dotted line arrow linking them. In Word 2007, Link to Previous is found in the Navigation group of the Headers & Footers tab.
Go to the header or footer of each new section and break the link from the previous section to create custom headers or footers for each section.
Viewing and Deleting Section Breaks
It is likely that, when working with a long document, you may create and edit it over a period of time. There may be instances when you need to change a section break, or are unable to recall whether a section break was inserted. When this occurs, you can use Word settings to view all of the section breaks in the document and make changes as needed.
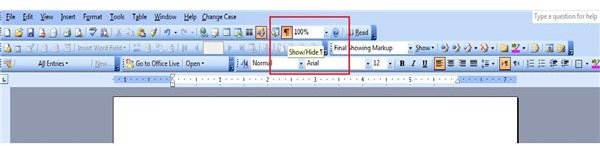
In Word 2003, simply click the Show/Hide button on the Standard toolbar. In Word 2007, the Show/Hide button is in the Paragraph group on the Home tab of the ribbon. Initially, clicking the Show/Hide button will display all formatting marks throughout the document. Clicking it again will hide these marks.
Section breaks will be clearly marked as such. To delete a section break, insert the cursor directly before the break and click Delete.

Section breaks allow you to apply formatting and styles to specific segments of a document, which is especially useful in long documents. Read Tips for Long Word Documents: Style and Formatting to find out more. Also, be sure to check out Bright Hub’s ever-increasing collection of other Microsoft Word tutorials .


