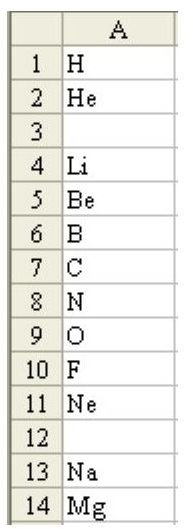
Problem: Someone has given you data pasted from Word, as shown in Fig. 774. There are a number of blank cells in the list. You want to eliminate the blank rows but need to keep the data in the original sequence.
The previous trick of sorting data to move the blanks to the end is effective, but it destroys the original sequence of the range. Before sorting, add a temporary column with the original sequence numbers so that the data can be sorted back. Follow these steps.
****
-
Insert a new row 1. Place the cell pointer in cell A1 and from the menu, select Insert – Rows. Since you have only one cell selected, only one row will be inserted.
Advertisement -
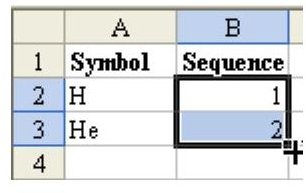
In A1, enter a heading such as Symbol. In cell B1, enter a heading such as Sequence. Make both headings bold with Ctrl+B.
-
In cell B2, enter the number 1. In cell B3, enter the number 2. Select cells B2:B3, as shown in Fig. 775.
Advertisement -
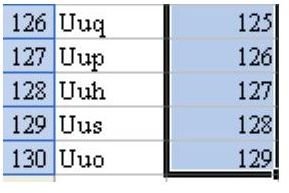
Grab the Fill handle and drag down to the last row with data. The series of 1, 2, 3 will extend down to 129 in row 130, as shown in Fig. 776.
-
Next, sort the data by column A. Select a single cell in column A and hit the AZ button in the Standard toolbar.
Advertisement
-
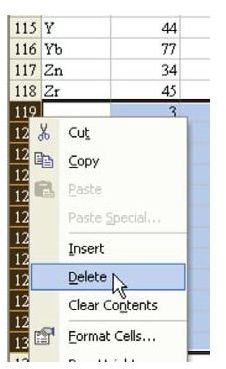
Hit the End key and then the Down Arrow key to ride the range down to the last cell in A with data. You will want to delete the rows below this last cell. These are the blank cells. It is important to delete the sequence numbers from B for the blank cells so that they do not sort back into the data in the next step. One way to delete these rows is to highlight the row numbers, right-click, and choose Delete, as shown in Fig. 777.
-
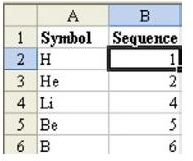
Move the cell pointer to B2. Choose the AZ button in the Standard toolbar to sort the data into the original sequence without the blanks, as shown in Fig. 778.
Advertisement -
You can now delete the temporary column B. From the menu, select Edit – Delete – Entire Column.
-
You can also delete the temporary row
Advertisement
1. Move to A1. From the menu, select Edit – Delete – Entire Row.
**
Result:
The blanks will be removed from the list and the list will retain the original sequence.
Summary:
To remove blanks while keeping the original sequence, add a temporary column with sequence numbers to allow the list to return to the original sequence.
Commands Discussed:
Data – Sort
**
****
Images