To help you personalize your PC the way you like it, whether for aesthetic or readability reasons, today I’ll show you ways to change default icons, fonts and their sizes in Vista.
Before we start
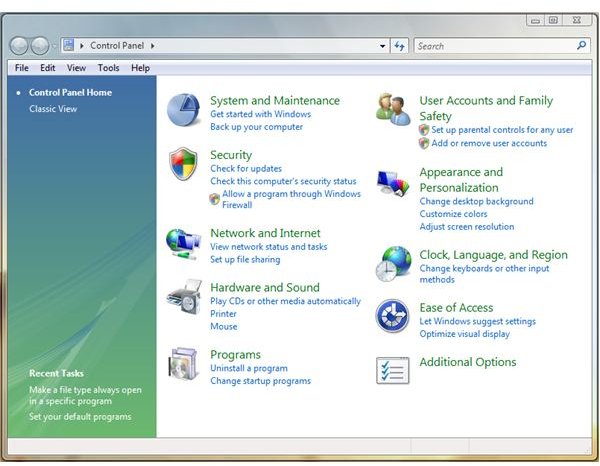
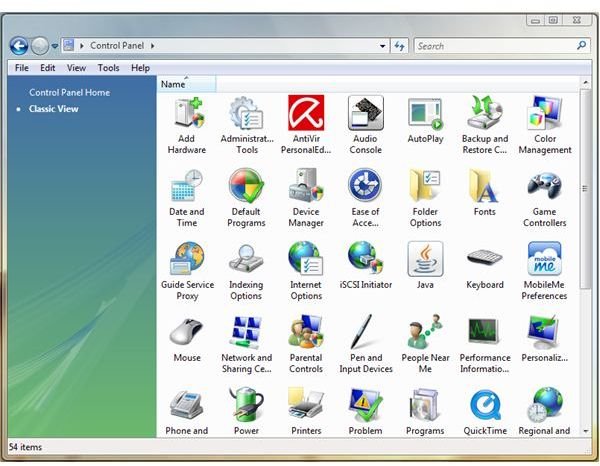
I don’t like the new control panel of Windows Vista, so I switched it back to the classic view. If you haven’t done so already, I suggest you do the same, as it will be easier to follow some of my instructions. It’s very easy to do:
-
Go to Start > Settings > Click on “Control Panel” to open it.
Advertisement -
Click on “Classic View” on the left panel.
Change the default icons
…of your desktop
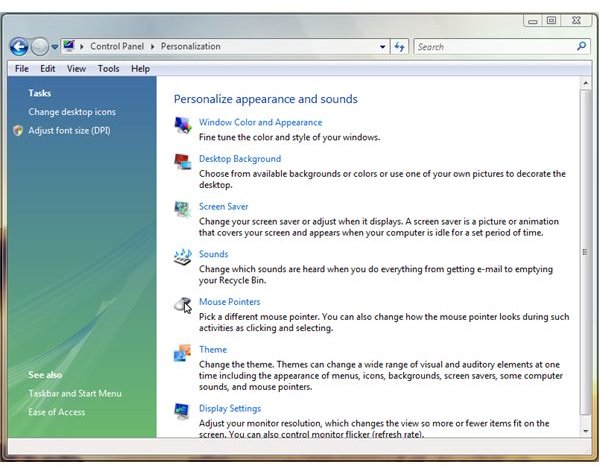
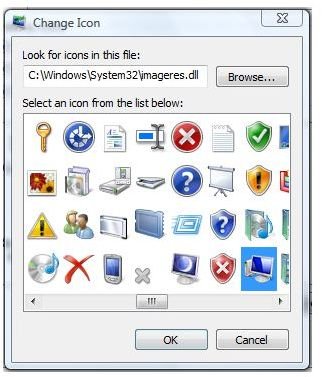
From the Control Panel, double-click on the “Personalization” icon. On the left panel, click on “Change desktop icons”. A new window will pop up. There you have icons representing your computer, user folder, network and recycle bin (full/empty). Select one of them and click on the “Change icon…” button. Choose a new icon and click on the OK button to save your choice.

…of your file types
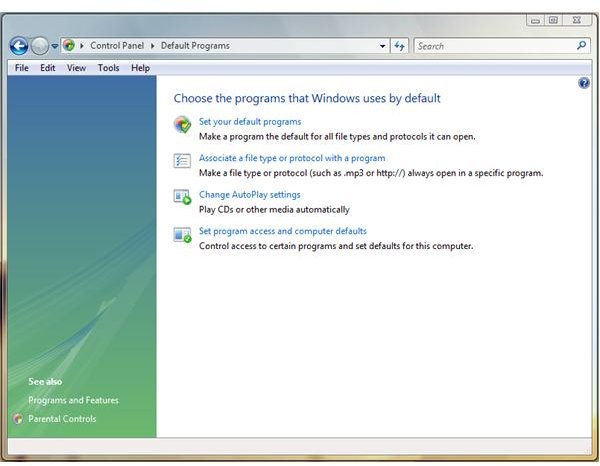
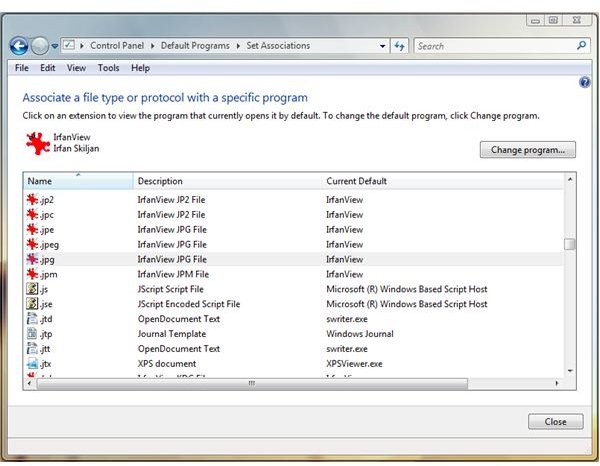
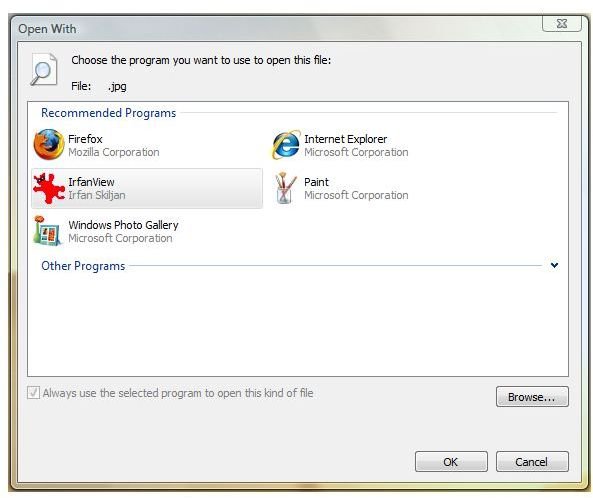
From the Control Panel, double-click on the “Default Programs” icon. On the right panel, click on “Associate a file type or protocol with a program”. Select a file type or protocol from the list and click on the “Change program…” button. Browse to a new program compatible to your selection and click on the OK button. Doing so will automatically replace the icon of your selected file type or protocol with their new associated program icon.
…of your shortcuts and folders
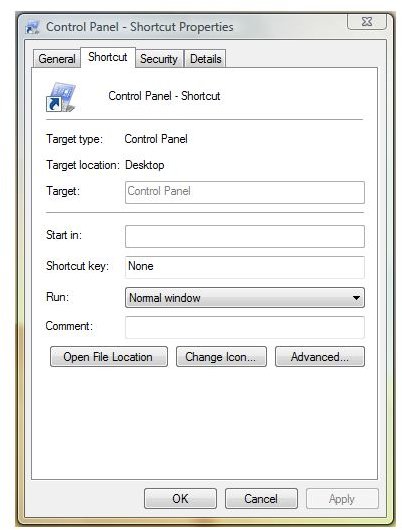
The procedure is pretty similar for both. Right-click on a shortcut or folder, and click on “Properties”. In the new window, under the “Shortcut” or “Customize” tab, click on the “Change Icon…” button. Browse for the icon you want to give your shortcut or folder and click on the OK button to confirm your choice.

Change default icons sizes
Right-click on your Desktop and go to “View”. You’ll be presented with the following choice of sizes for your Desktop icons: large, medium and classic (which is halfway between a small and a medium).
In Windows Explorer, you can do the same command, which gives much more icon size options: extra large, large, medium, small, list (small), details (small) and tiles (medium).
Whether you’re on the Desktop or in Windows Explorer, there is a way to finely control the size of their icons. Hold down the Ctrl key and scroll your mouse wheel up to increase and down to decrease icon size.
Change default fonts and their sizes
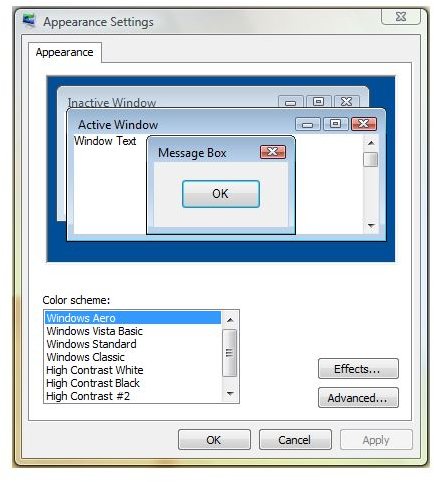
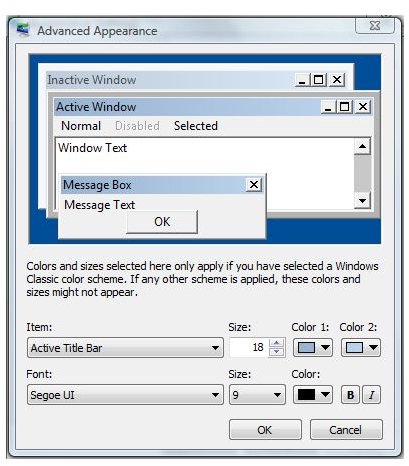
Right-click on your Desktop and click on “Personalize”. On the right panel, click on “Window Color and Appearance” and then “Open classic appearance properties for more color options”. Leave your current color scheme selected and click on the “Advanced…” button. In the dropdown list, select the item for which you want to set a default font and size. For example, select “Active Title Bar” from the list, and the font/size dropdown lists will automatically activate, allowing you to change their values. Click OK to save any modifications.

Change the size of icons and fonts at the same time
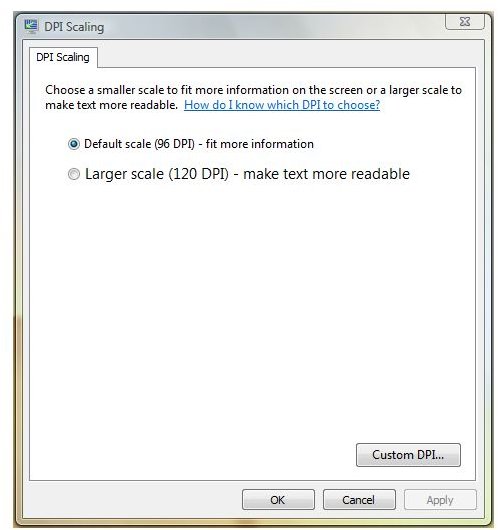
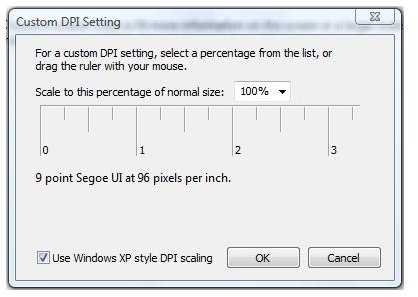
A quick way to do that is to change how many DPI (dots per inch) are shown on screen. Right-click on your Desktop and click on “Personalize”. On the left pane, click on “Adjust font size (DPI)”. You can then choose a preset DPI value of 96 or 120, or set a new one after clicking on the “Custom DPI…” button.