The Developer Tab in Excel allows power users to utilize automation functions such as macros and allows you to develop applications using forms and controls within Excel. This guide will show you how to enable the Developer tab in Excel and will go over the options on the tab.
Displaying the Developer Tab
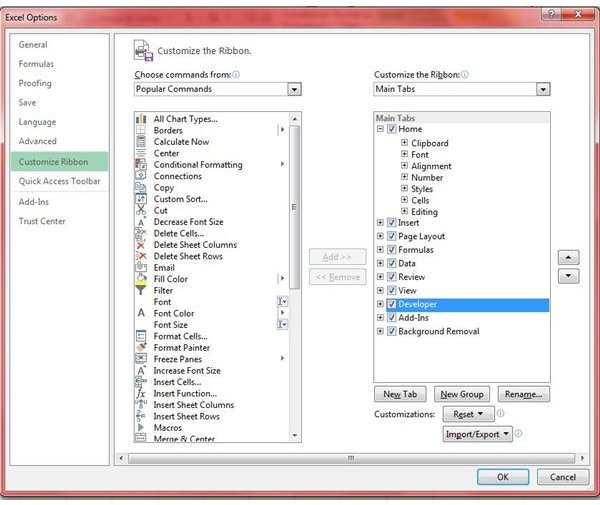
To display the Developer tab, open Excel. Click on File tab and then click on Options. When the Excel Options window opens, click on Customize Ribbon. In the right hand side of the window, click the checkbox next to ‘Developer’ under ‘Main Tabs’ (Figure 1). Click OK and you should see the Developer tab show up in the main Excel window.
The Developer tab is broken into five main sections including the following:
- Code
- Add-Ins
- Controls
- XML
- Modify
Code
The Code section of the Developer tab contains functions that let you create Excel applications or automate repetitive tasks using Macros. This section is broken into the following functions.
Visual Basic
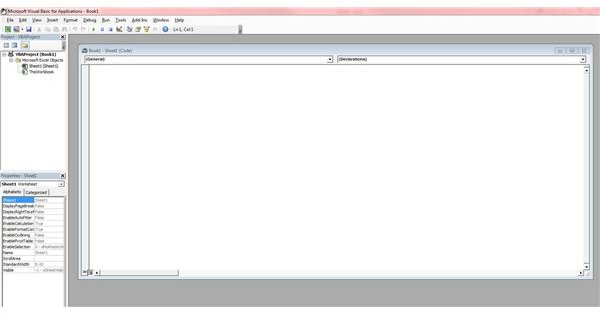
Visual Basic for Applications or VBA for short, is a programming language that can be used to create applications utilizing Excel. When you click the Visual Basic button you will be taken to a code editor for your VBA application (Figure 2).
Macros
Macros allow you to capture a repetitive procedure and ‘play’ it back in Excel. Recording a macro will capture each task you complete within your spreadsheet. When you want to perform that set of tasks throughout the workbook, you can play back your Macro.
The Developer tab has several buttons related to Macros including the Macros, Record Macro, Use Relative References and Macro Security buttons.
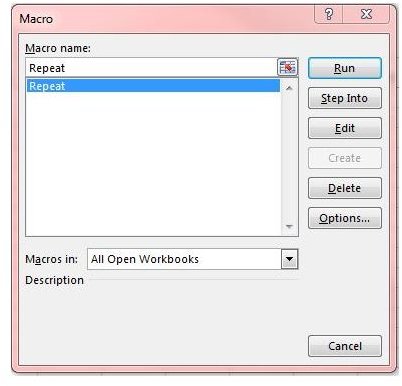
The Macros button will give you a listing of all Macros that exist in your workbook. From here you can type in a name for a Macro and click the Create button to create a new Macro (Figure 3). Note that creating a Macro this way will lead you right into the VBA editor.
If you wish to have Excel record your actions as you perform them, use the Record Macro button. Give your Macro a name, description and shortcut key and click OK. The Record Macro button will now change to one that says ‘Stop Recording’. Perform your tasks and click the Stop button to save your Macro.
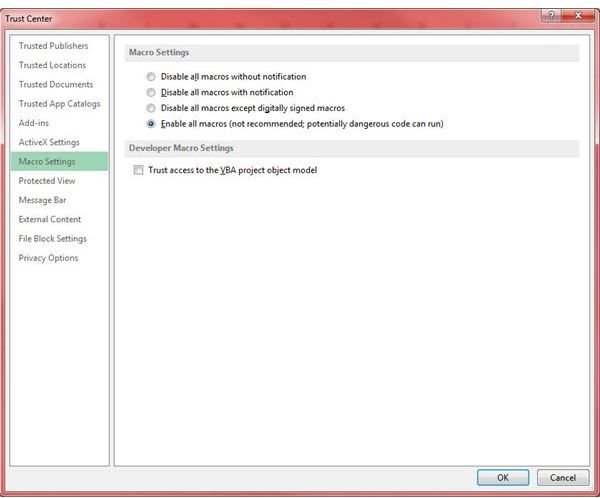
In order to use Macros you will need to enable them by clicking on the Macro Security button and then clicking ‘Enable all macros’ (Figure 4). Be aware that Macros obtained through spreadsheets of unknown origin could contain malicious code that could harm your computer. Be wary of using spreadsheets from unknown sources with this option turned on.
Controls
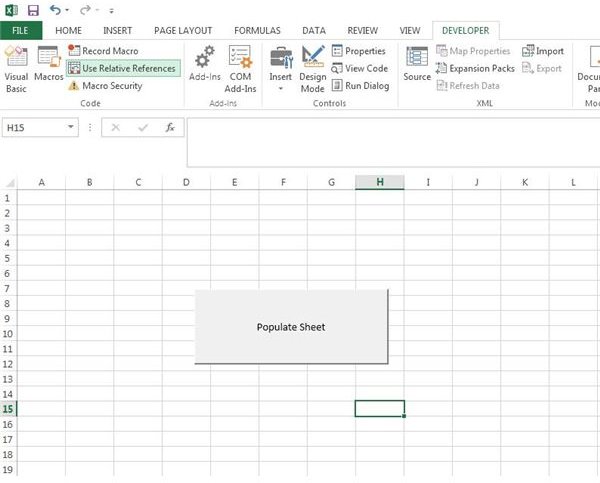
The controls area of the Developer tab contains various controls such as buttons and drop down lists that you can add to your spreadsheet. These controls can then be tied to a Macro or the VBA that you create. For example, in Figure 5 I created a button that is tied to the Macro I created in an earlier step. When I push the button my Macro runs through the sequence I created.
XML
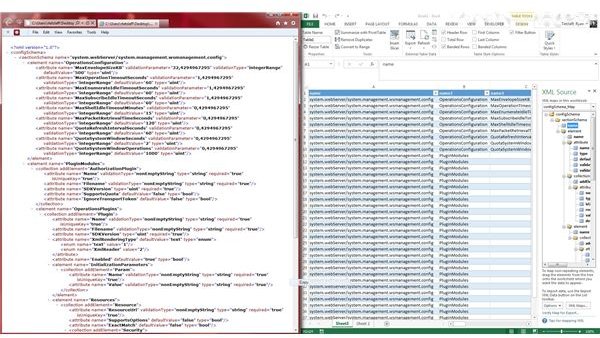
XML allows you to store and share structured data in a readable format. Excel can import data from databases and other applications in XML format and likewise it can output XML files to be imported into other applications. This makes it easier to obtain and manipulate data from other sources that support XML. Figure 6 shows an example of a raw XML file on the left next to the same file imported into Excel.
Add-Ins and Document Panel
The last two sections of the Developer tab are the Add-Ins and Document Panel. The Add-Ins section handles just that – add-ins to Excel. Various 3rd party products can be installed that work within Excel. If these add-ins cause issues you can Disable (and re-enable) them.
The Document Panel allows you to specify templates that open in various Office compatible programs such as SharePoint.
The Developer tab is hidden by default as most users wouldn’t have a need to use any of these features. However, if you consider yourself a power user, there are many things you can do to improve the efficiency of your work in Excel 2013.


