In the last article I described Microsoft Access’s new Web Application support and the steps you need to take before you start building out your application. This article will take a deeper dive looking at setting up your first web app.
Setting up SharePoint Access
Before you get started you’ll need to have a SharePoint 2013 site in order to deploy your Access web applications. If you don’t have a SharePoint site accessible, you can easily sign up for a free trial account. To do so, go to the Microsoft Office 365 Trial page and sign up for a trial account. Note that you’ll need to sign up for a Business edition in order to try out SharePoint.
Once you have your demo site credentials, open up Microsoft Access. Click the button in the upper right section of the screen to switch accounts. Enter the credentials for the demo site. Now, when you go to deploy an app, your new SharePoint site will be available as a deployment location automatically.
Deploying Your First Web App
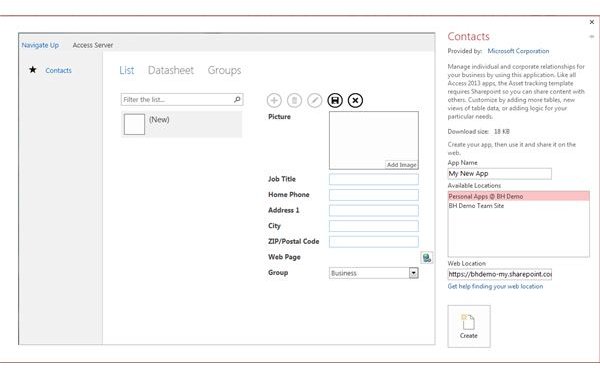
To deploy your first app, open Access, make sure you’re still logged into your Office 365 account and click the template or blank application you wish to deploy. For the purposes of this article we’ll create a simple application based on the Contacts template. As you can see in Figure 1, any available locations and URL’s will show up. Give your application a name and click Create.
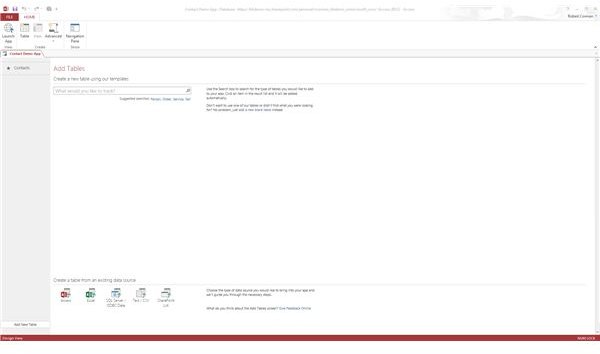
After your app is deployed, you will see the main Access interface. On the left will be a list of tables. The right side of the window will let you create additional tables. The top row lets you create new items or launches your application in a browser (Figure 2).
Working with Tables
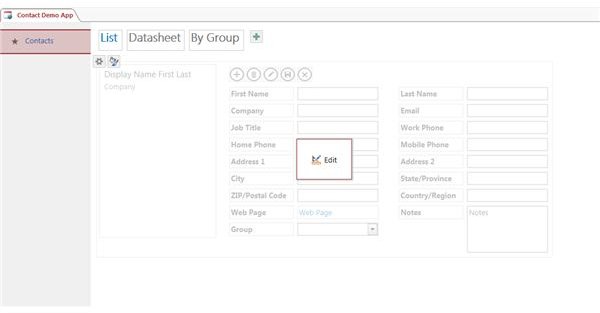
Left click on the Contacts table. The right side of the window will change to a form view showing you the fields that end users will interact with (Figure 3). Let’s say we want to track a contact’s middle name in addition to the other fields listed. To do this, we first need to add a new text field to the table.
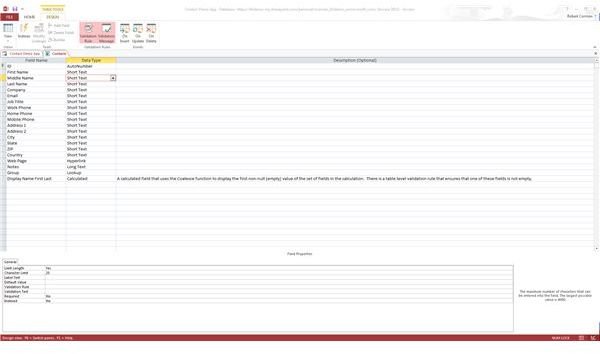
Right click on the Contacts table and select Edit table. In the table design view click the Last Name field and click Add Field. Enter a name for the field, hit Tab and make sure ‘Short Text’ is selected. You will notice details about the field on the bottom section of the window. For example, the ‘Short Text’ field can hold up to 220 characters. If you want to limit the number of characters an end user can enter, change the number and hit Tab.
As you can see in Figure 4 I’ve added the ‘Middle Name’ field and limited it to 25 characters. Right click on the Contacts table and select Save. Click back on the App tab so you can see the form view again.
Working with Forms
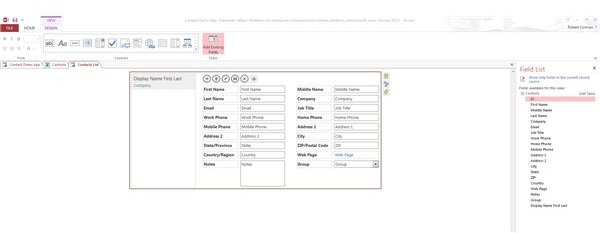
We’ll want to add our new field to the Contacts form so end users can see it. Now that you’re back on your Contacts form, click the Edit button in the center of the screen. The Form view will open. Hey! Access was smart enough to add in our new field without us doing anything (Figure 5). Nice!
In the center of the screen is the form itself. This is how end users will interact with your application so think about things like layout and spacing. The right hand window pane will have a list of all fields. Note that our new ‘Middle Name’ field is there. Although Access will automatically add new fields to the form, you may want to lay it out differently. To move a field, simply hover your mouse until you get the movement cursor – simply drag and drop it where you want it to go. The great thing is that Access will automatically move other fields out of your way if you hover over them.
Once you edit your form you can also add in new controls although you will need to tie them back to a field in the database. There are a lot of powerful things you can do with Access Web Forms but let’s launch our app and see how it looks.
Launching Your App
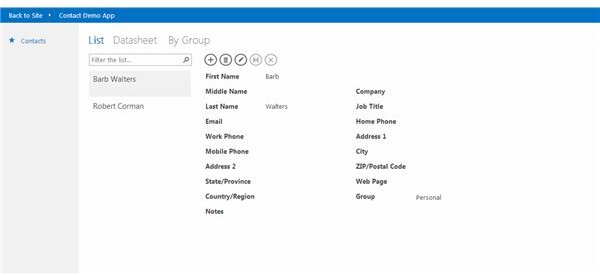
Be sure to save any open tabs with your modified tables and forms. Go back to the Home Tab and click Launch App. You’ll need to log into your SharePoint site with the credentials you set up earlier. Once logged in you should see your new web app (Figure 6)! Use the controls along the top of the page to create new records, save and edit them.
This was just a high level tutorial to get you started with Microsoft Access 2013’s new Web Application feature. Don’t be afraid to try something new!
This post is part of the series: Creating Web Apps in Access 2013: Getting Started
Creating web apps is a brand new features available in Microsoft Access 2013. Want to jump in and get started? Read this series first.


