Microsoft SkyDrive has – in various incarnations - been around since 2007. However, with the introduction of Microsoft Office 2013, it’s never been easier to use the free service to host your files in the cloud.
So what is SkyDrive? SkyDrive is a file hosting service that allows you to upload and save documents and files on Microsoft’s secure servers – also known as ‘the cloud’. Microsoft gives users 7 GB of free storage space with the option of purchasing additional storage if they need it. Users can upload and store several types of files including photos, PDFs and Microsoft Office documents.
Accessing SkyDrive
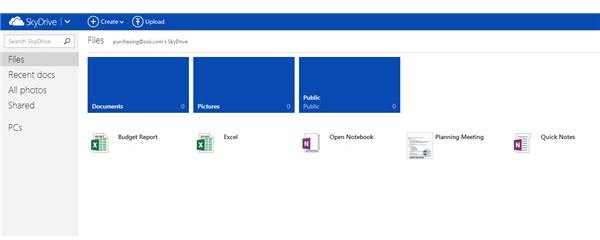
SkyDrive users can interact with the service in a number of ways. The first way is through the web. By visiting Skydrive.live.com and logging in, users can view their files, upload and even edit their documents using the free Office Web Apps (see figure 1 at the right).
A more convenient way of accessing SkyDrive is via the SkyDrive for Windows application. This small application will install a folder that links directly to your SkyDrive account on your desktop. From here you can treat it like nearly any other folder on your system – you can easily drag files and folders to the SkyDrive folder and manage them like they would as if they are on your system.
The third and most useful way to interact with SkyDrive is via SkyDrive enabled applications like Office 2013.
Using SkyDrive in Office 2013
The first thing you’ll need to do is create a Windows Live account if you don’t already have one. Microsoft uses a single sign-on for all of their services including Outlook.com, Hotmail, Xbox LIVE and SkyDrive. If you need to create an account, launch any of the Office 2013 applications. Click on File and then Account.
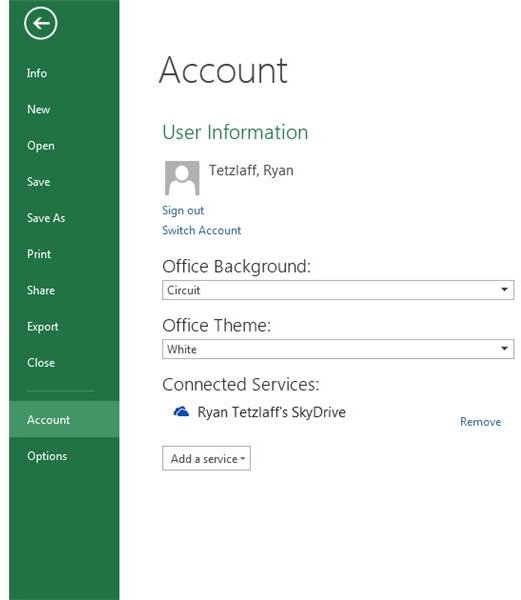
Click Sign In and enter an email address. If Microsoft doesn’t recognize the email address you provided you will have the option to Sign up for a new account. Once you are logged in, you will see your name in the upper right corner of the Office applications (see figure 2). This means you have a Live account but you will still want to tie your account to SkyDrive.
On the Account (File menu -> Account) page click Add a service and navigate to Storage and then SkyDrive. Enter your Email Address and then click Signup. Fill out the required information and then when you’re done you will now see your SkyDrive as a Connected Service (figure 3).
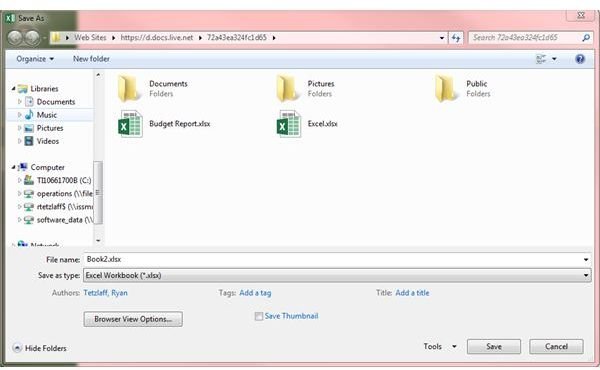
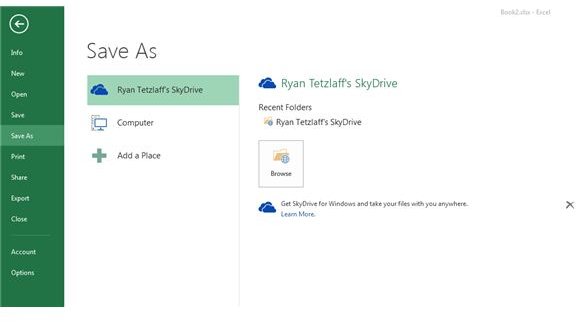
Now, when you want to save a document to SkyDrive, you can click File and then Save As. You will see your SkyDrive listed. Click on it on the left side of the window (Figure 4). On the right side you will be able to Browse or click on any recent folders to open the Save As window (Figure 5).
Note that any folders you created through the Windows SkyDrive application or the web interface will be consistent across all views of your SkyDrive. You can also create new folders when saving an item from Office 2013 to SkyDrive by clicking on the New Folder button.
SkyDrive is an incredibly useful service that gives you access to your files from any internet connected device. Better yet if you leave your computer with Office 2013 home you can still edit your SkyDrive files using the surprisingly functional Office Web Apps.
Images