Performing a Windows 7 Starter upgrade is a very simple process that only requires an internet connection, a few clicks of the mouse and less than 10 minutes of your time.
Upgrade Windows 7 Starter
Most instances of Windows 7 starter edition were loaded onto netbook computers without standard optical drives. This necessitates the use of the internet (or an external optical drive) to perform the windows 7 starter upgrade. The easiest way to do this upgrade is through the Windows AnyTime Upgrade option. Using Anytime Upgrade only requires a credit card and an internet connection. The other upgrade option (using a purchased CD) doesn’t have any tangible advantages to the anytime upgrade and will take considerably longer.
Windows 7 Anytime Upgrade
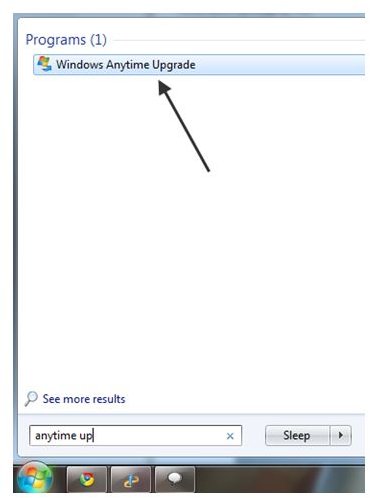
To access the Windows 7 Anytime Upgrade, open the start menu by clicking the windows logo at the bottom left of the screen. Type “Anytime Upgrade ” into the search bar. This will bring Windows Anytime Upgrade to the top of the start menu. Open this application. A pop-up menu will come up that asks you “How do you want to begin?” Unless you already have an upgrade code choose the option that takes you to the internet.
Choose Your Upgrade Option
Once you have navigated to the upgrade site you will be given the option to compare between Win 7 upgrades. Windows 7 starter can be upgraded to Home Premium, Professional or Ultimate. Each of these are outlined (minimally) on the Windows upgrade site. For more information on each version check the Microsoft website . Once you have decided on a version click on your choice to bring up current options. As of March 2011 the prices for these Windows 7 starter upgrades are as follows: $79.95 for Home Premium, $119.95 for Professional and $169.95 for Ultimate.
Install Process
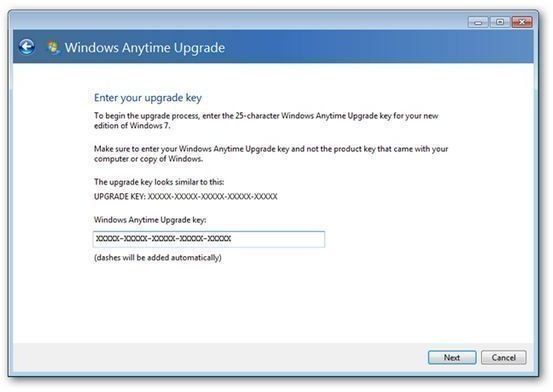
Once you have completed your purchase, a product key will be given to you. Depending on your internet security settings the key may be automatically transferred into the next verification box. If it isn’t you’ll have to enter it manually. Once this is done Microsoft will run through its verification process. At the end of this process click the “next” button.

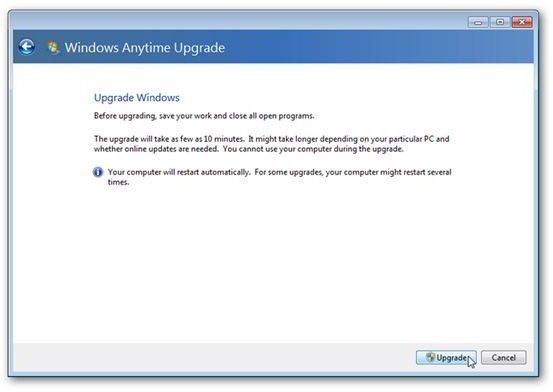
Next you have to read the license agreement and check that you agree with it. This will activate the “upgrade” button. Click the upgrade button to start the process.
The upgrade will take about 10 minutes, give or take, depending on your processor speed. If your computer needs additional online updates they will be incorporated into the upgrade process. Your computer may restart multiple times during this process but once it is complete you will get the “running windows for the first time” splash screen as well as a dialogue box to indicate it has completed.
This will complete your Windows 7 starter upgrade and you’ll be able to do all of those things you weren’t able to on your stripped down starter version.
References
All screen captures done by author during an actual upgrade.
https://www.microsoftstore.com/store/msstore/en _US/buy/pageType.product/externalRefID.83D7A62A


