This article will provide you with information on how to solve problems with the Intel 915g Graphics Controller in Windows 7. It will also include detailed information on the installation process of the driver software for this hardware device.
Installation
Upon installation of Microsoft Windows 7 , the graphics controller for the Intel 915g chipset is, in almost all instances, installed automatically by the operating system. However, there may be instances in which Windows 7 does not recognize the constituent devices in the Intel 915g chipset. If you bought your personal computer first hand, you may have received an Intel driver CD on which all of the drivers are present. If so, insert this CD into your computer’s CD / DVD drive and perform an installation of the graphics controller on the CD. This is a simple procedure because the software installs all of the drivers automatically once the installation application has been launched. If you do not have the aforementioned CD in your possession, you can download the drivers from the official Intel website: Click Here . The Intel website will automatically detect your hardware; you will be provided with a link for the Windows 7 Intel 915g graphics driver.
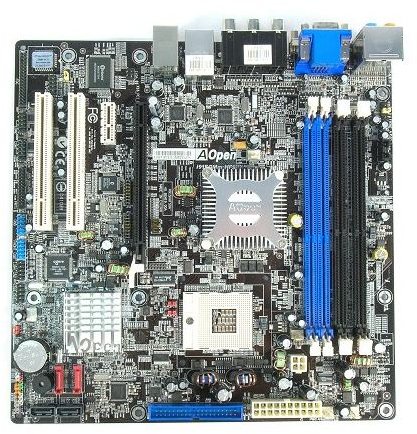
Intel 915g Motherboard
Solving Problems
There are many problems that you can encounter with your Intel 915g chipset and graphics controller . Occasionally, there will be an insurmountable issue with the hardware of the device in which case the hardware will need to be replaced — by the manufacturer or a computer hardware service center, for example. However, in most cases, problems with the Intel 915g graphics controller can be solved by the uninstallation — and the subsequent re-installation — of a corrupt Intel 915g graphics driver. The can be achieved by undertaking the following steps:
- Go to the Windows Start Menu;
- Click on the “Run…” option;
- Type “devmgmt.msc”;
- Expand the “Display adapter” option in the tree menu.
- Right click on the device and choose the “Uninstall” option.
- Check the “Delete the driver software for this device.” option and click on the “OK” button.
- Restart your computer.
Once your computer restarts, Windows 7 should produce a re-installation of the driver automatically. If not, you will be required to repeat the steps from the previous section — either install the driver from the CD or download from the official Intel website.
Important Notes
Never download executable driver applications from unknown websites; downloading executable applications from non-reputable websites could lead to being infected by malicious software programs such as viruses and spyware, for example. It is strongly advised that you always download a device driver from the official manufacturer of the hardware product; in this case, the “Click Here” link that was provided in the Installation section of this article directs to the official Intel website.
If your device driver is still not working correctly — after all of the steps, in this article, have been followed — it is likely that there will be a problem with the actual hardware of the Intel 915g graphics controller.


