This article will show you how easy it is to move your iTunes library from one computer to another computer using a DVD or portable hard drive
Overview
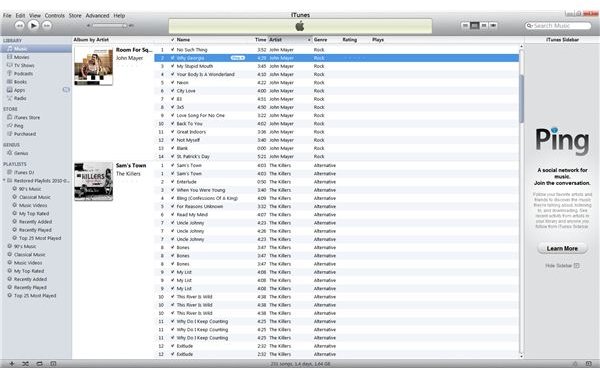
So you’ve built a gargantuan iTunes library filled with some of the finest music and videos on Earth and now you’re afraid to lose it all when you upgrade. Do you want to know how to transfer an iTunes library from one computer to another computer? You’ve come to the right place.
Luckily there are a few easy options for moving your entire library to another computer. There are three things you need to consider before jumping in and transferring your iTunes library. First, each of the below transfer methods will preserve your meta data. Meta data is used by iTunes to keep track of non-essential information, like the number of plays each song has had, the number of times you’ve skipped over a lame song and the star rating you’ve given your songs.
Second, you need to consider whether or not you want to move your entire iTunes library or just a portion of it.
The third thing to consider is how you want to transfer the data. Are you okay burning your library to a DVD or do you want to use a portable hard drive or USB memory stick?
The two options I’ll give you to transfer your iTunes library from one computer to another is the ‘manual method’ and the ‘iTunes method’. Each method has some pros and cons depending on the answers you gave above.
The ‘manual method’ will allow you to back up your iTunes library including all media and meta data. This method will allow you to backup exactly what you want and will allow you to back it up to any type of media you want – DVD, hard drive or USB. The only downside is that if you have your media spread out across your hard drive, it may be difficult to make sure you grab it all.
The ‘iTunes method’ is a bit stricter in how you back up the data and will only allow you to burn data to a DVD or CD, but it does the dirty work of finding all of your media and ensuring all of the data gets backed up. The other downside is that you can’t be selective in what gets backed up – you can choose to back up the entire library or only items you’ve purchased from iTunes.
The Manual Method
If you only want to backup a portion of your library or want to use an external hard drive, you’ll need to use the manual method. In this example I’ll assume you are backing up the library to an external hard drive. Make sure you see your external device under My Computer.
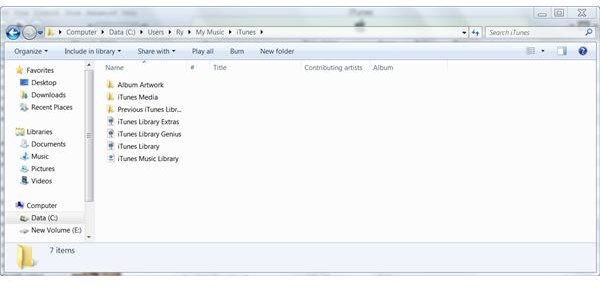
You first need to find your iTunes library folder. On a Windows XP system, this would be under c:\documents and settings\
If you don’t see your iTunes folder under these locations, open iTunes and go to Edit>Preferences>Advanced. You will see the location in the top box listed under ‘iTunes Media folder location’.
Drag the iTunes library folder to your external hard drive. Depending on how much data you have, this could take a while.

Next take your hard drive and plug it into the computer you are transferring to. Copy the iTunes folder to a location on the new computer. It is recommended that you use the same location as the previous computer.
Now, open iTunes while holding the SHIFT key. This will force iTunes to ask you where your media library is (Figure 2). Choose the location you copied your folder to and you will be good to go.
The iTunes Method
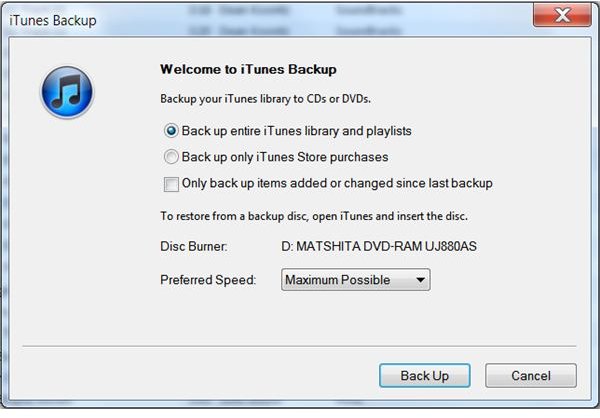
If you want to copy everything in your iTunes library to DVD, this is the method for you. Open iTunes and go to File> Library>Backup to Disc.
You now have the option of backing everything up or only items purchased from the iTunes store. You can also choose whether or not you want to only back up items added since the last backup was performed (Figure 3). Click the Backup button when you are ready to begin.
To transfer the iTunes library to the other computer, insert the backup DVD in your drive and open iTunes. iTunes will recognize the backup and will ask if you want to import the data. Click the Restore button and you should be set.
Congratulations, you have successfully transferred an iTunes library from one computer to another computer.
Credits: Screenshots taken by R. Tetzlaff


