Are you looking to install Windows Live Writer? Would you like some tips on how to set it up and use it to simplify your blogging experience? This handy guide will take you through all the steps you need to get started with this free and easy to use desktop blogging platform.
Windows Live Writer
Microsoft created Windows Live Writer to help make the task of writing and publishing blog posts easier. It is part of the Windows Live Essentials suite, and is literally just a desktop version of your online blog. Once you link up your blog you simply write your post and click ‘Publish’ to update it. Writer can handle multiple blogs from different platforms, and allows you to quickly and easily add pictures and videos to your posts. In short, it may be all you need to simplify and speed up your time as a blogger, so here’s how to install Windows Live Writer.
Installation Guide
1. Go to the Windows Live Essentials website and download Windows Live Writer. You can do that by clicking here .
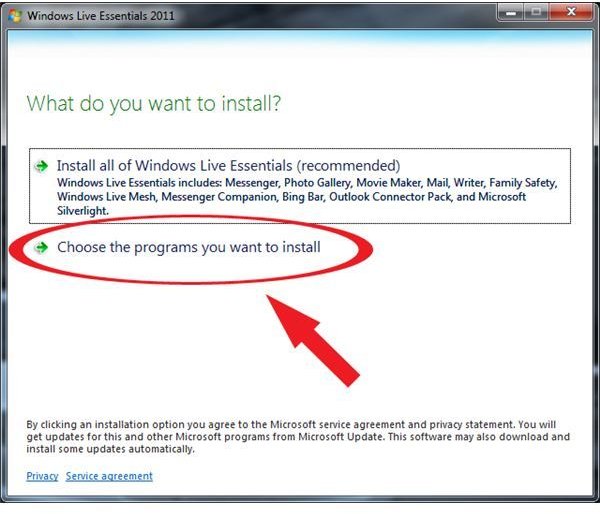
2. Now double click the installation file. Once it loads you will be given the option of downloading all the Windows Live Essentials programs, or just a selection. Seeing as this guide refers specifically to Windows Live Writer, click Choose the programs you want to install.
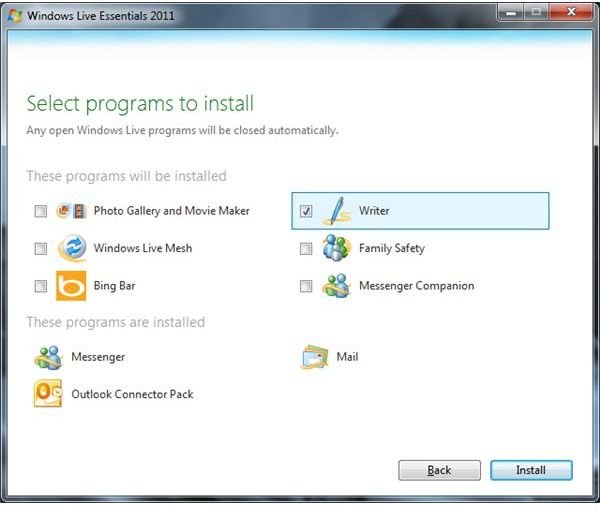
3. Uncheck all the boxes on the next screen, but leave the one next to Windows Live Writer checked. This will ensure that you only install Windows Live Writer, (see screenshot below). Now click Next.
4. Once the installation is complete, you can open Writer by going to the Start menu and selecting All Programs > Windows Live > Windows Live Writer, or by typing ‘Writer’ into the search bar of Vista and Windows 7 computers.
Setup Guide
1. When you open Writer for the first time, the setup wizard will ask you whether you want to create a new blog, (Microsoft has partnered with Wordpress.com for this), or choose to log in to an existing blog that is supported by Windows Live Writer. At this time, most of the major blogging platforms are supported, so whether you are with Blogger , TypePad, Wordpress, Atom or LiveJournal, you should have no real trouble setting up Writer. Simply select the most relevant one to you and click Next.

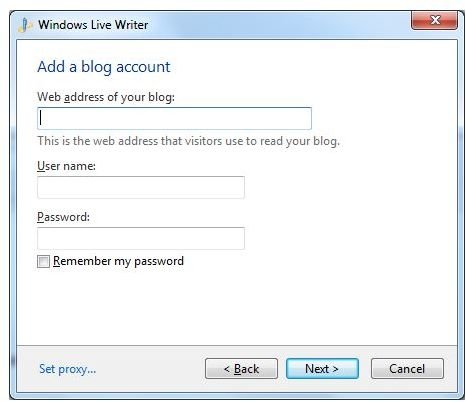
2. Next, enter the URL of your blog, and the user name and password that you use to log in to your account. Click Next and Writer will attempt to authorize your account details.
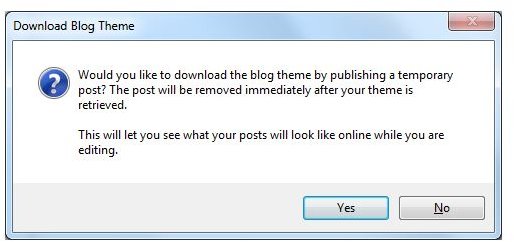
3. After your account has been verified, you will receive a pop-up window asking whether or not you want to download your blog theme to Windows Live Writer. This is a good idea as it allows you to see exactly what a published post will look like according to the formatting you have chosen online. So, click Yes and wait for Writer to download and install your theme.
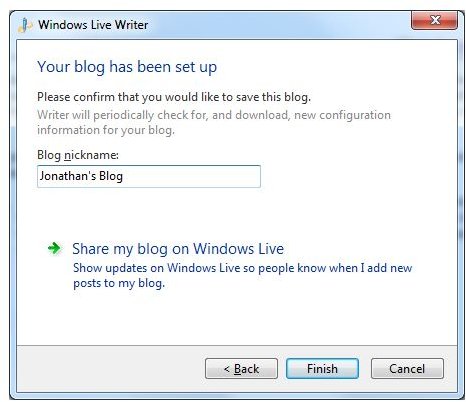
4. The last step of the initial setup is to name your blog. Naming blogs is especially helpful if you have more than one connected to your Windows Live Writer so try to choose something that will set it apart from any others you may have to help avoid confusion. Click Finish when you are done.
Publishing Posts
Now you are all set to begin writing your next blog post. Almost everything you need is on the home tab, and once you click Publish, your blog will be updated with all your latest news. Blogging has never been easier!
This post is part of the series: Windows Live Essentials Install and Setup Guides
This collection of articles will give you hints and tips on how to install and set up some of Microsoft’s most popular free programs from the Windows Live Essentials Suite.


