Windows Live Movie Maker 2011 download and install guide for Windows 7
Windows Movie Maker Perquisites
Windows Live Movie Maker 2011 is the newest version of Movie Maker released by Microsoft. It comes bundled with other Microsoft Live applications, but can also be downloaded and installed separately. In order to download and install the Live Movie Maker 2011, you will have to download the Windows Live setup package. The Windows Live Movie Maker download link can be found here . Download the setup file and save it on your computer, or choose to run from the download location.
Before you start the installation process, make sure that your system meets the minimum requirements, which are quite important. Windows Live Movie Maker 2011 will NOT run on Windows XP. Here are the minimum requirements:
- Operating system must be Windows Vista Service Pack 2 (32‑bit or 64‑bit editions) or Windows 7 (32‑bit or 64‑bit editions)
- 1 GB of RAM (2 GB of RAM or higher is recommended for editing HD video
- 2.4 GHz or higher (a dual-core processor or higher is recommended for HD video editing
- Minimum Internet Explorer 7, Mozilla Firefox 3.0.1, or Safari 3.1
- Internet connection if you want the “Publish Movie” function
- Video card or display adapter that supports Microsoft DirectX 9.0c (or later) and Pixel Shader 2.0 (or later).
- Windows Live Photo Gallery and Windows Media Player. (Windows Live Photo Gallery will be installed automatically when you install the Movie Maker)
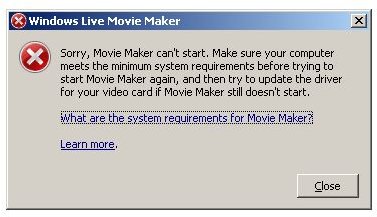
It is very important that you have the drivers for your video card installed. When you are running Windows 7 , the operating system will automatically install a generic VGA Adapter driver for your graphic card if this is not detected properly by the system and Windows Live Movie Maker 2011 will not start. If the graphic card drivers are not installed properly, Movie Maker will generate an error like the one in the image below.
Windows Movie Maker Installation
If your computer meets the system requirements, you can start the installation process. Run the wlsetup-web.exe file that you downloaded and the installation begins. After the setup starts, you will be presented with two options. You can choose to install the complete Windows Live Essentials or you can choose the programs you want to install.
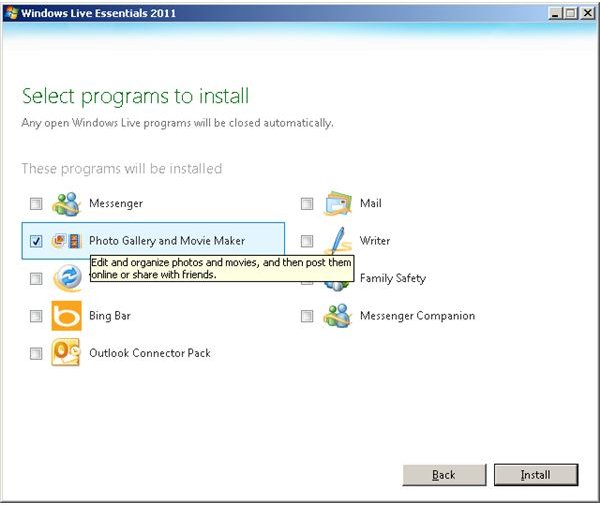
As we are only interested in the Windows Live Movie Maker, we are going to choose second option for the Custom Install. On the next screen, you will be asked which of the Windows Live Essentials programs you want to install. Select Photo Gallery and Movie Maker.
Now press Install and let the installation process do its job. Upon completion, you will have to restart the system. Now that the system has rebooted you are all set. Go to Start and type “Movie Maker” into the search field. The program should appear within the search results. Start the program and enjoy all the new features within Windows Live Movie Maker 2011.
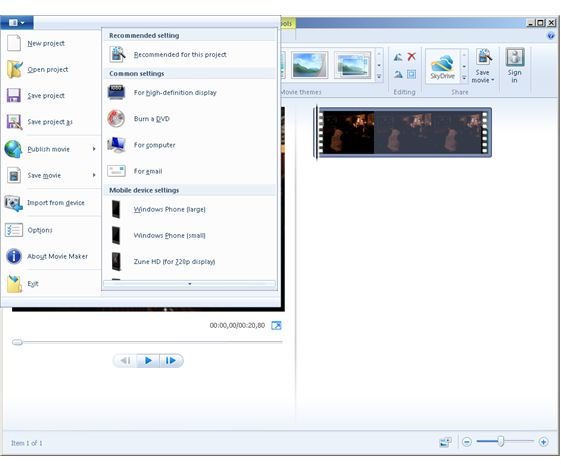
You can start editing your movies, adding themes and templates, sound tracks.
Taking a quick look at the new Movie Maker 2011 I could see a few nice features:
- Add a theme to your video
- Rotate video
- Record movies directly from your Web Camera
- Record movies from any external video device as Video Camera
- Network file support
- Full Screen Preview
- Added support for M4V, WTV, MOV, 3GP, AVCHD, MPEG-4, MT2, QT
The movies can be directly published from within the Movie Maker, to sites such as YouTube or Facebook. All in all, Windows Live Movie Maker 2011 is easy to install and setup, and has many new features that previous versions did not had.


