Lavasoft Ad-Aware is a popular anti-spyware and antivirus application that does a great job of keeping your computer safe from malware. If you find you need help getting Ad-Aware installed or want to learn how to properly configure and use it, you’ve come to the right place.
Overview
Ad-Aware is a great anti-spyware product but users new to anti-malware products may need some tips for making the most of Ad-Aware to ensure their computer is properly protected. If you haven’t decided on whether or not to use Ad-Aware, check out Brighthub’s review of Ad-Aware Free Anti-Virus and Anti-Spyware .
Before we dive into the details, we’ll want to make sure Ad-Aware is properly installed and working correctly.
- Go to the Ad-Aware site and download the latest version of Ad-Aware.
- Start the installer you downloaded by double-clicking on it. If presented, select the option to “Run” the program.
- After a few moments, you will get the Select Language box. Select your preferred language and click OK.
- Progress through the installer keeping the defaults and clicking next. Note that the free edition of Ad-Aware will ask for you to install other free applications such as Google Chrome. It’s up to you whether or not you want this.
- After Ad-Aware has finished installing it will ask you to reboot. Go ahead and restart.
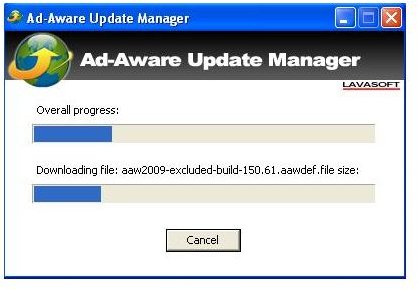
- Once back in Windows, the Ad-Aware update manager will start checking for updates (Figure 1). Be sure to let the update manager run. Note the first time update manager runs, it may take a few minutes. Subsequent updates will be much quicker.
Getting Started Using Ad-Aware
- After the update manager is done updating Ad-Aware, start Ad-Aware by double clicking on the desktop icon.
- The first time running Ad-Aware, you will be presented with the Manage License window. Click Close.
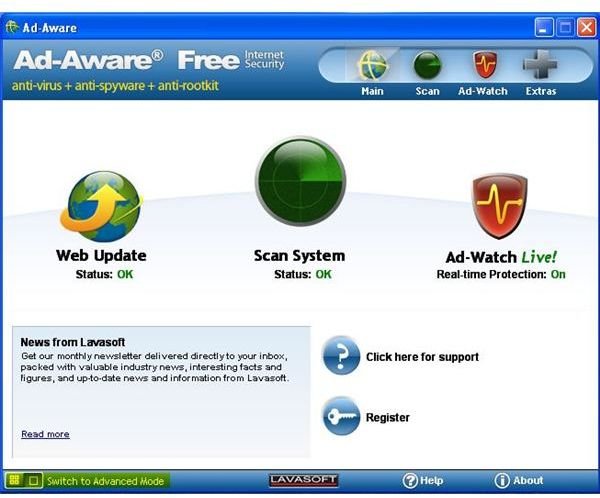
- Once in the main user interface, make sure Web Update and Ad-Watch state that they are either “OK” or “On”.
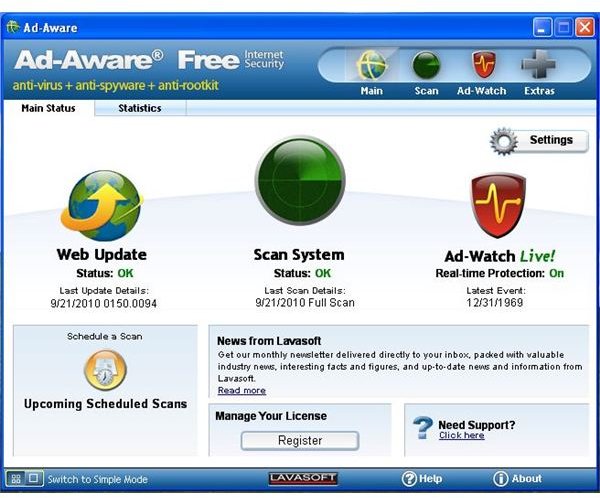
- Ad-Aware will start by default in “Basic” mode. Ad-Aware will perform basic actions on your behalf – performing updates, scans and removals according to Ad-Aware best practice. If you want some more control over your system, click the button next to “Switch to Advanced mode” (Figure 2). You can see in Figure 3 that Advanced mode adds in more details and a few extra options.
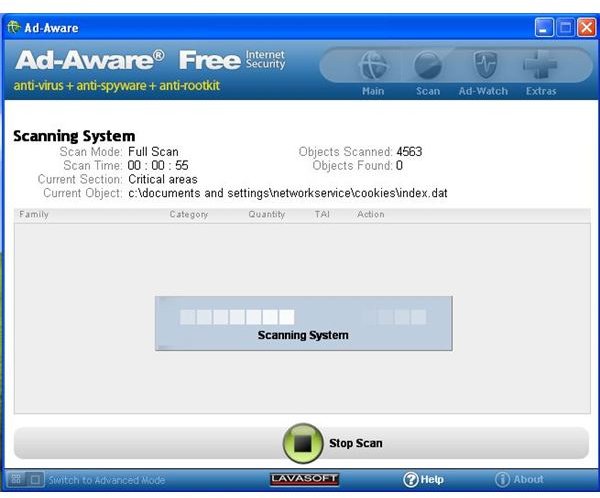
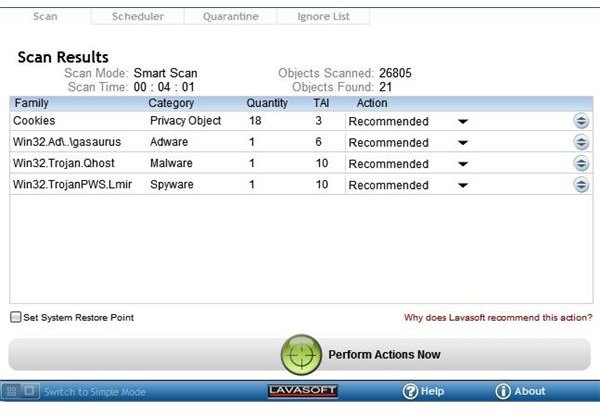
- Click the System Scan button to initiate a system wide scan (Figure 4). This is recommended to do after installing Ad-Aware to ensure anything you may have previously been infected with can be found and removed.
- If any spyware is found during the system scan (Figure 5), Ad-Aware will recommend an action such as quarantine, ignore or remove. Click on the “Perform Actions Now” button to proceed with the cleanup.
Scheduling Scans and Using the Quarantine
- Next, we’ll want to make sure we run scans on a set schedule. Although real-time protection is turned on, this may not catch all malware, so it’s still a good idea to run periodic system scans. From the main menu, click on Schedule a Scan.
- Under the Scheduler, click the ‘+’ icon and give your scan a name. Click OK.
- Select the type of scan (Full Scan is recommended), frequency (Daily recommended) and “How” – depending on whether or not you want Ad-Aware to display results or automatically take the recommended action (Figure 6)
- The Quarantine tab will be used for threats Ad-Aware detects. If you find Ad-Aware moved something to quarantine, you can either permanently delete it or remove from quarantine.
- The Ignore List tab can be used to tell Ad-Aware to ignore future detections of a specific threat (Figure 7). The Ignore List works in a similar way to the Quarantine and Scan Results list in that you can select your desired action.
With that, you should have a good set of defenses protecting your computer from harm.
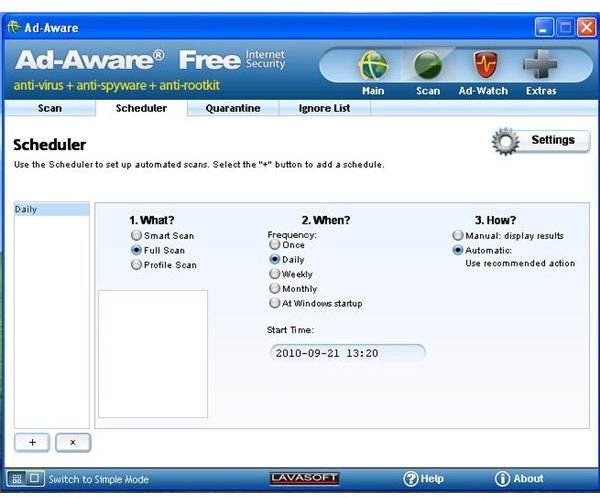
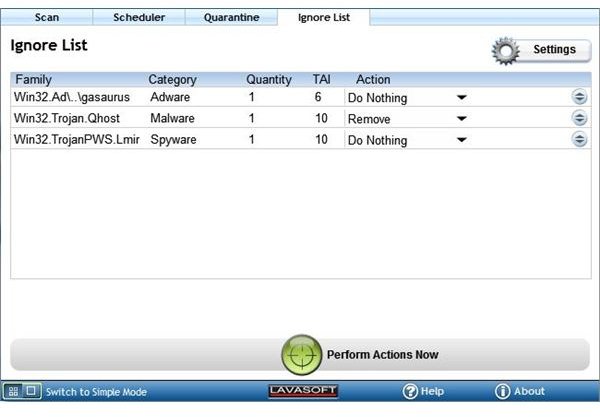
Image Credits: Screenshots taken by R. Tetzlaff


