Several people have asked me, how do I remove McAfee from my computer without facing problems in removing this antivirus software. This step-by-step guide will help you remove any McAfee product from your computer. Read on to find out how easily this can be done.
Often, people come across such problems where they are unable to install their antivirus and/or similar software products. In such a scenario, being frustrated they manually remove software related files from the system and finally end up with the entries left in the windows registry as well as in the Add/Remove programs. When they try to re-install the application software, they usually get an error message, “Please uninstall the software before re-installing.”
Several people have asked me about how to remove McAfee antivirus software from their computer without facing the above mentioned problems. This step-by-step guide will help you remove any McAfee product from your computer without having to manually remove any files. Later on, if you need to re-install the software, you can easily do so without getting any error message.
Step-By-Step Instructions to Remove McAfee
Let us first follow the general process to remove any software application from a computer system.
Step 1: In order to remove McAfee related products from your computer system, you need to first reboot the computer so that when the system restarts, any files opened earlier are closed after the system boots.You might also need to disable McAfee antivirus before restarting your computer.
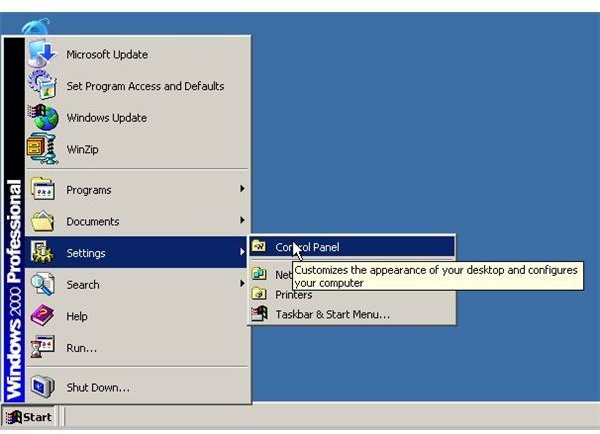
Step 2: After the system has restarted, click Start Menu button, and move to Settings, and then select Control Panel.
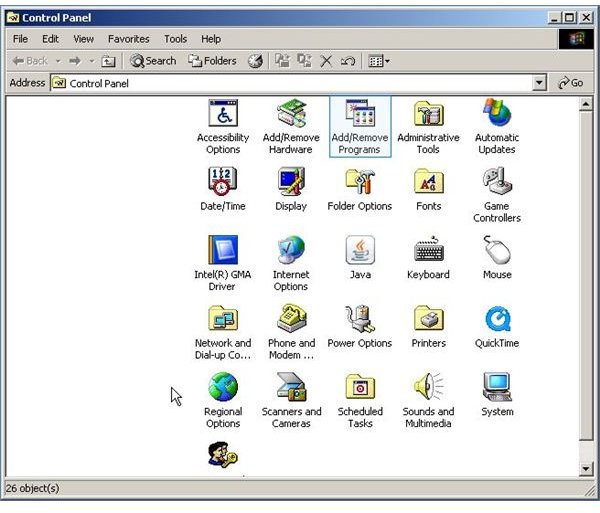
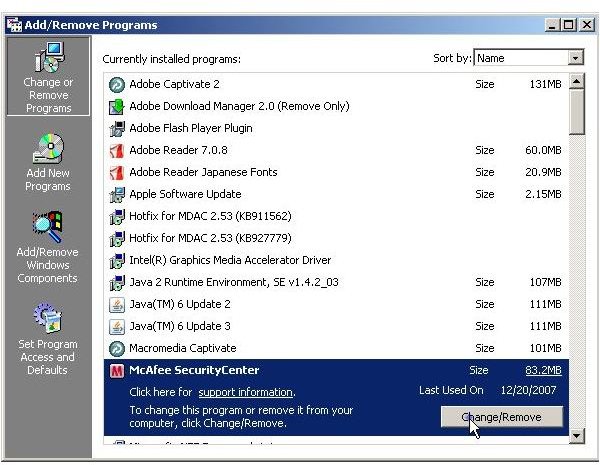
In the Control Panel window, select Add/Remove Programs. Double click on it to open the Add/Remove Programs window. Here, find the McAfee product entry and click the remove/uninstall button to uninstall the software.
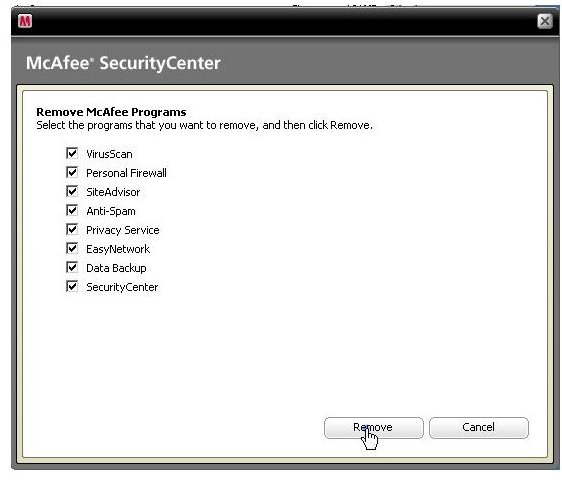
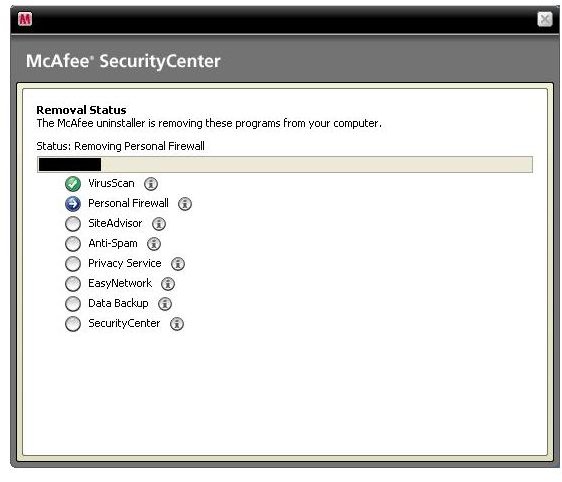
A window will appear asking you to select all the products that you want to remove. Select all the products, and click the Remove button to continue with the uninstall process.
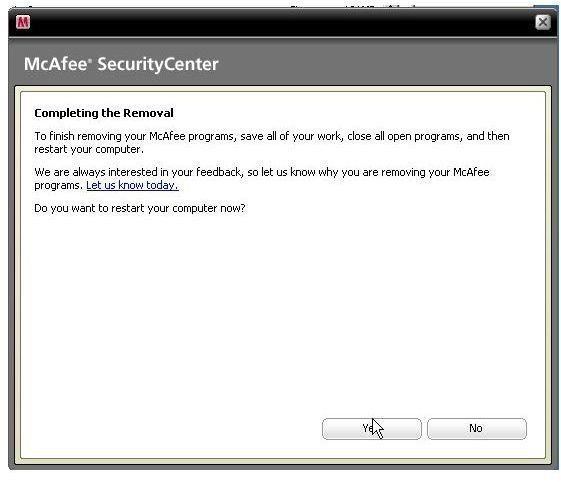
Step 3: After you have un-installed the McAfee product, you will be asked to restart your computer. Click Yes to restart the computer. After the system has restarted, download this software: McAfee Consumer Product Removal tool .
This tool will help you remove any McAfee product related files left in the system so that in future, if you want to re-install McAfee related products, you can easily do so.
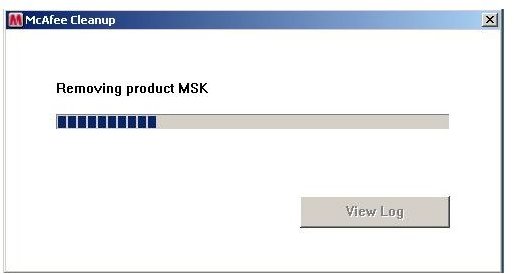
Step 4: Double click the MCPR.exe file to execute the application. The application will start removing any existing McAfee files remaining on your computer system. You will notice the progress bar as the application continues the cleanup process. After the McAfee cleanup process is complete, it will display a dialog box asking you to reboot your computer. Click the Yes button to restart your system.
You can also view the log of the McAfee Cleanup process, but for that you will have to click the No button to void rebooting the system. Make sure that you do reboot your computer system, in order to ensure a clean uninstall process of McAfee related products.
Your McAfee products should now be completely removed from your computer system. You can now download and re-install any McAfee related product on your computer system.
Instructional Images
Instructional Images Credit
Microsoft Windows screenshots by Microsoft
McAfee product screenshots by McAfee


