Virus removal is a crucial part of computer safety. I know some people have asked lately, “What should I do if my computer has windows police pro virus?” and “How do I remove windows police pro virus?” Windows police pro virus is just a predecessor of windows antivirus pro and is easy to remove.
What is Windows Police Pro?
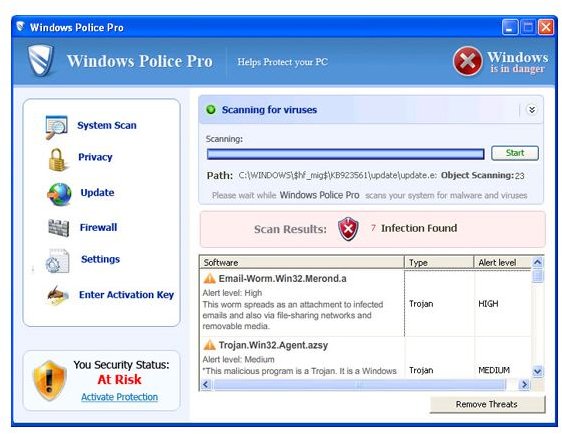
Windows police pro is the predecessor of windows antivirus pro and is very easy to remove. Just like windows antivirus pro, window police pro is not a virus but malware or spyware that installs scanning software on your computer which continuously reports infections. When you restart the computer system, windows police pro starts scanning your system and then display a message that your computer is infected with viruses and in order to clean them you need to purchase the software. It also alerts you of “infected” antivirus software whenever you try to install one, so that it cannot be removed from the system.
It also displays fake security center alert messages so that users believe it to be legitimate software issued by Microsoft. I’ve included the guide to remove windows police pro below.
Step by step instructions
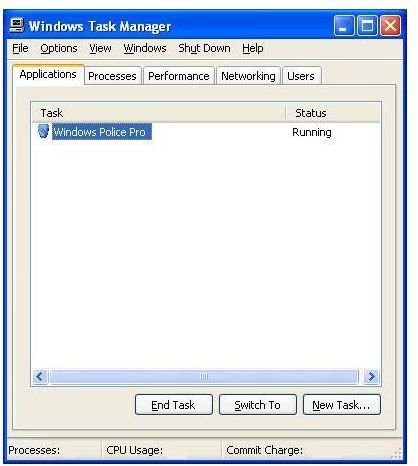
Step 1: In order to start the cleaning process, you first need to terminate the running instance of windows police pro. To terminate the running instance of the program, press CTRL + ALT + DEL (Press them all at once). This will popup the Task Manager. From there, end the running program “Windows Police Pro”.
Alternatively, you can kill the process by navigating to the Processes tab of Task Manager. Select Windows Police Pro. exe and kill the process by clicking End Process button.
Step 2: After you have killed the instance of Windows Police Pro virus, you need to kill other processes that are similar to these: svchasts.exe, svchast.exe, svohost.exe, etc.
Step 3: Now, you need to download, Malwarebytes Anti-Malware software in order to remove the entries for windows police pro malware from the windows registry and other areas. You can download the software via this link: Malwarebytes Anti-Malware . Malwarebytes is a good package of free anti-virus software (as covered in this Malwarebytes review )
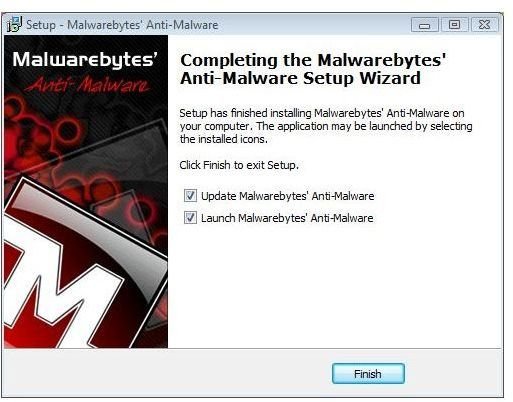
After the software has downloaded, run the setup file named mbam-setup.exe. When the installation completes, you need to update the definitions of the software by checking the update options. Finally, press the finish button to complete the installation. Please reboot the system, if prompted.
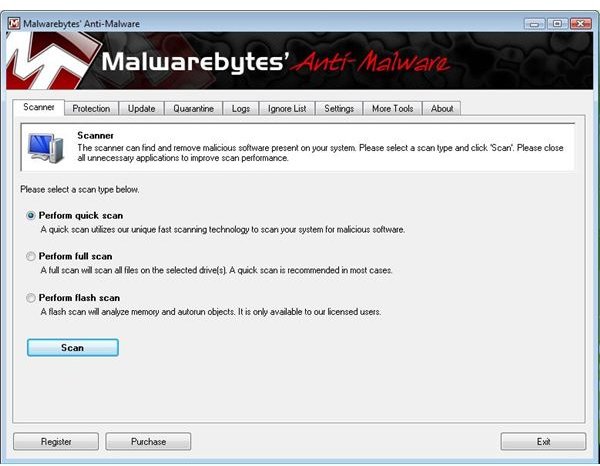
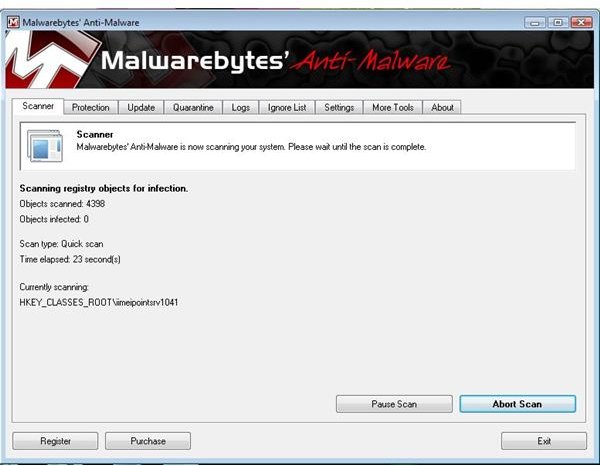
Step 4: Now, when you start the Malwarebytes Anti-Malware application, it will prompt you to update the software. As you have already updated the software during the installation, it should be an easy step for you. Just press the “OK” button to close the alert message.
Now, click the scanner tab and start with a quick scan to remove all threats from the system. Later on, you can perform a full scan. After you click the scan button, the application will start scanning your system for malwares and other threat After the scan is complete, you will receive a message. Click on the Ok button to view the results.
Step 5: You will see a list of detected threats. Select the items that you want to remove and click the button titled “Remove Selected”. If you think, an application has been wrongly detected as threat, you can select that entry and click “ignore” to ignore that entry from future scans.
After the removal process is complete, Anti-Malware opens a log for you to see the changes that it has made. You can now close the application.
You should also scan your computer with another antivirus (Brighthub has several reviews on free antivirus software ) and must not rely on Malwarebytes alone for removal of Windows Police Pro or any other malware, virus or spyware.
Instructional Images
Images Credit
Windows Police Pro screenshot by Windows Police Pro
Task Manager screenshot by Microsoft Windows
Anti-Malware screenshots by Malwarebytes


