Today, several viruses, Trojans, malwares, spywares and other similar threats have become an integral part of a computer user. This bleeping computer virus removal tool guide will help computer users remove such threats manually.
Introduction
Today, several viruses, Trojans, malwares, spywares, and other similar threats have become an integral part of computer users and no one has been left untouched by their effects. Different viruses or Trojans cause different damage to computer systems depending on their severity and risk level. There are been many antivirus removal software programs on the market that continuously research viral infections in order to protect the computer user from new viruses and Trojans. However, there are many viruses and Trojans that can’t be removed by antivirus software and in such a case, you have no option but to opt for an alternative, or manually removing the virus or Trojan.
Bleeping computer is one such website that provides a lot of guides and tutorials that will help you manually remove viruses and malwares that are hard to be detected by an antivirus. With bleeping computer virus removal tools and tutorials, you can easily get rid of known computer viruses and Trojans.
Let us now understand the common bleeping computer virus removal tool or guide that will help us remove the infections manually.
Step-by-Step Instructions for Manually Removing Viruses
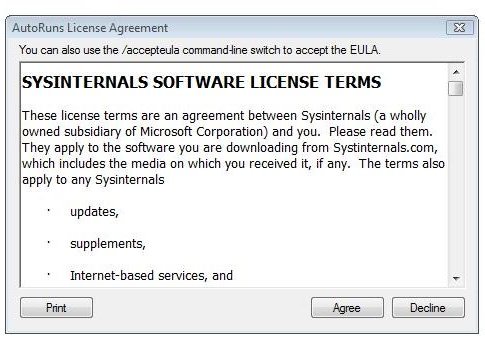
Step 1: As a first step, you need to download the Autoruns for Windows v10 software provided by Windows SysInternals that will help you monitor the programs running on startup. This program hides the Microsoft program’s entries so that you can zoom on the third party programs.
Step 2: Reboot the system in safe mode so that malwares are not loaded on startup. This is because in safe mode Windows is started with minimal configuration. Extract the software that you downloaded in Step 1 and double-click the autoruns.exe file to start the application.
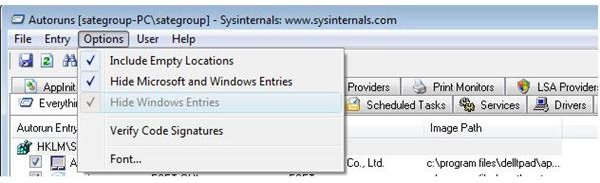
Step 3: After the application has started, click on the Options Menu and select the following entries:
- Verify Code Signatures
- Include Empty Locations
- Hide Signed Microsoft Entries
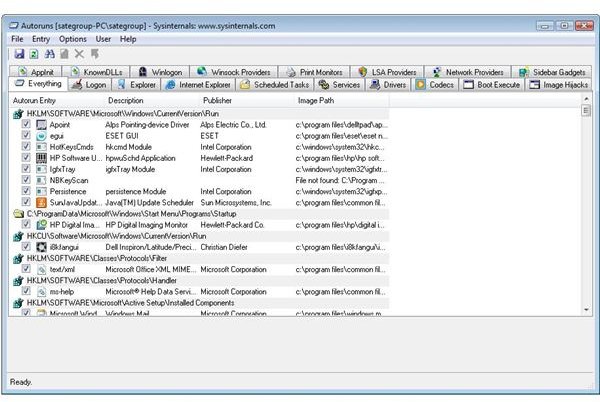
Step 4: Now, either press the refresh icon on the Menu Bar or press F5 key to refresh the list. You will be surprised to see that the program shows entries in 17 different tabs. However, you must look for entries under the Services and Logon tab. Apart from these two tabs, you should also check the other tabs to make sure that the malware is not loaded elsewhere.
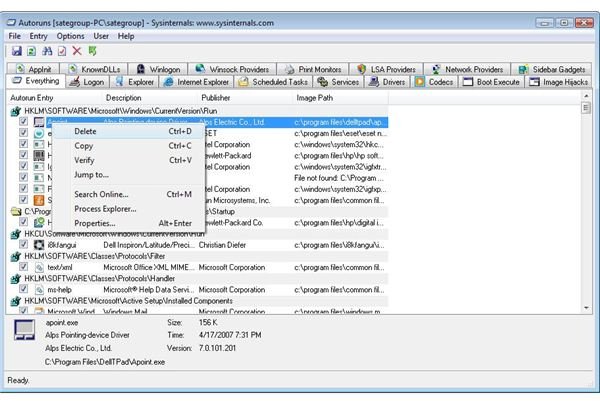
Step 5: Find the entries you want to remove and in order to delete these entries, right click on them and click the delete icon present on the Menu Bar. Alternatively, you can use the shortcut key Ctrl + D or right click the entries and select Delete from the popup menu.
Step 6: After you have deleted the invalid entries, reboot the computer and manually remove all the suspicious files that you find in the windows directory. Some files may be hidden, so you’ll need to enable the option “Show hidden files and directories” in order to remove those files and/or directories.
This bleeping computer virus removal tool and guide will definitely help you get rid of malwares and other viruses that are left undetected or uncured by popular antivirus software programs.
Instructional Images
References
Bleeping Virus Removal Website https://www.bleepingcomputer.com/virus-removal/
Screenshots from Autoruns for Windows v10 images by Microsoft


