A Quick Norton Ghost User Manual: Backup and Restore
How Do I Back Up My Data?
Norton Ghost has many options for backing up your data, ranging from your backup sources to the media you’ll use for your backups. In addition to CD’s, DVD’s and hard drives, it supports both single and dual layer Blu-ray discs. The first task you will likely want to complete is to create a full disk image or a custom disk image. Let’s take a look at how this is done.
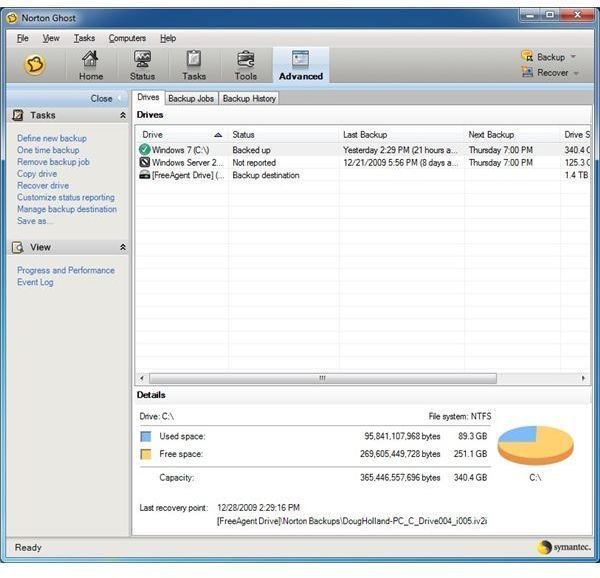
When you first open Norton Ghost, you’ll see a listing of things to do on the left side of the window. Click Tasks to open a list of what you can do in Ghost. To create your initial backup, you’re going to select One Time Backup and click Next to begin customizing your backup. Here, you get to choose the hard drive(s) that you want to back up and click Next to continue.
Now that you choose what you want to back up, you will see options for where to store your data. This is the time where you can choose to save your image to a hard drive or optical media. Once you choose your preference, click Next to configure some advanced options. Do you want to compress your image a lot so that it takes up less space? Do you need to add any command files to your image? After you answer these questions, click Next and then Finish to complete your backup. The rest of the process automates itself, and Norton Ghost will let you know when to insert optical media if you chose that option.
How Do I Restore My Data?
Now that you created your backup image, you need to learn what to do if something goes wrong. When you purchased Norton Ghost, your installation CD is more than it appears. If something happens where your computer can’t boot anymore, you can insert it and use it as a bootable CD. This allows you to get your computer running again quickly by restoring it to its previous condition. Let’s take a look at how to restore an entire computer or drive using this feature.
Insert the Norton Ghost CD into your computer and attach any external hard drives that have your Ghost data. Restart your computer. If you have not already configured your computer to boot by CD, consult your manufacturer’s manual for these instructions as they do vary. Once the Norton Ghost software loads, click Recover My Computer and eject the Norton Ghost CD if you need to recover data from optical discs. Insert your first disc if necessary and click Next on the screen. Choose the Ghost recovery point you created and click Next again. Now you will choose the drive or drives you need to restore and click Next. Click Finish to start recovering your data and click Yes when you are asked for confirmation.
In addition to restoring your entire computer or an entire drive, you can restore specific files. In order to do this, open Norton Ghost after logging in to Windows and click Recover My Files on the home screen. Click File and Folder on the left side of the recovery window and type the file name that you need to recover in the Find box. If you don’t know the whole name, you can use a partial name to try to find it. Once you locate the file, click it once and click Recover Files. Hold down SHIFT if you need to select multiple files to recover. Now you will be asked if you want to recover the file to its original folder and if you want to overwrite any existing data in that folder. You can also choose to restore the files to an alternate location or the desktop. Click Recover to restore your files and click OK.
Beyond the Basics
While Norton Ghost includes many advanced features, this article has covered the bare basics. The Norton Ghost user manual can help you set up recurring back ups, perform an advanced system recovery, create customized recovery CD’s and more.
