While it is always smart to perform a daily backup of your hard drive, accidents happen at the worst possible time. That’s why having Mac OS X file recovery software is a vital tool for your office. Read how Data Rescue 3 works and how it retrieved a file that I thought I had lost four years ago.
Data Rescue 3 Scanning Tools
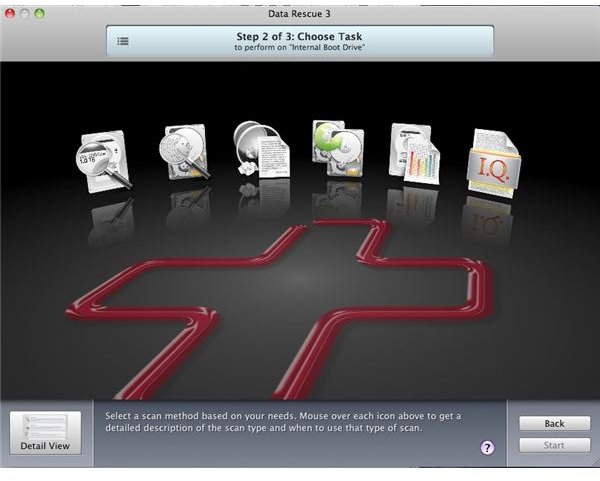
Data Rescue 3 offers six tasks to help you recover lost files. Quick Scan takes a few minutes and should be tried first in most cases. Deep Scan will try to find every recoverable file on your hard drive and should be used in more severe cases of data recovery. Deleted Files Scan will help you retrieve any file that you delete.
The Clone function will make an exact, scannable duplicate of your hard drive in the event of a hard drive crash. The Analyze function is used to troubleshoot the most severe cases of data loss as it verifies your drive’s ability to read data. File IQ is a utility that learns the new file types that you place in its bin.
The Scanning Process
For the purpose of this guide, I decided to scan my 1GB memory stick to see how the program works and to check for corrupted files. When I first got the stick, I made the mistake of not dismounting it correctly before I removed it from the USB port. This mistake cost me I don’t know how many ebooks and documents. Let’s see if they are still lost.
The first step is to authorize yourself as the administrator by entering in your computer’s password. Now you are ready to begin the scanning process.
Start by selecting the drive or volume that you would like to scan. Choose what task you would like to perform. I tried the Quick Scan, but Data Rescue couldn’t retrieve any of my files on the drive. So, I followed the program’s advice and selected the Deep Scan task.
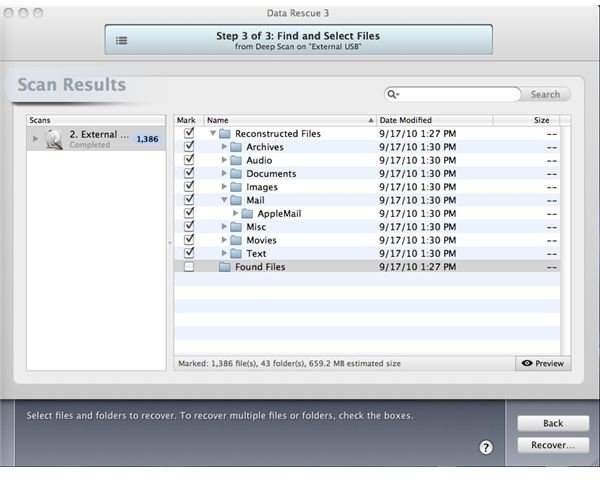
The process took about a minute because of the small drive size. Although I couldn’t recognize any of the file names, I was surprised to find how many files there were. I put a checkmark next to all of the files that I want to recover. The Found Files folder appears to have nothing in it because it wouldn’t select. Then I clicked on the Recover button.
Data Rescue 3 would have retrieved every file and put it on my iMac’s desktop, had I used the full version of the software. Since I used the demo, I was only able to download a single file that was under 10MB. It recovered the file that I thought I had lost permanently.
Conclusion
Losing files due to human error or hard drive crashes is a frustrating, sometimes terrifying experience, depending on the situation. That is why sophisticated programs like Data Rescue 3 were developed. A personal license costs $99. You can also order a Windows-compatible copy, which also costs $99.
I haven’t tested out the other file recovery programs yet, but I am very impressed with what Data Rescue 3 can do. The only thing I didn’t like was having to give my email in order to download the demo copy. Other than that, I would recommend this software to anyone who is looking for a file recovery program.