Have you ever wanted to create a CD of your favorite songs so you can avoid having to swap discs in and out of your car? Creating a mix CD does just that and this article will show you how.
How To Create and Burn A CD
iTunes is a great music player allowing users to import all of their MP3 files into one single location. The only problem is that you cannot take that library with you unless you have an iPod. For those of you who do not have an iPod, you can make a cheap investment in a package of blank CD-R’s and create your very own CD.
The first thing you are going to want to do is get all of the songs that you want on your CD into iTunes. This is done very simply by clicking on File and then click Add To Library. Here you can choose which songs on your computer you would like to add to your iTunes library. You can also purchase songs from the iTunes store that is built into iTunes.
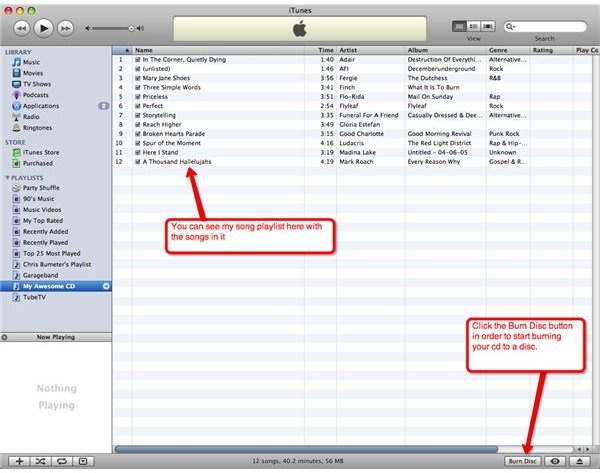
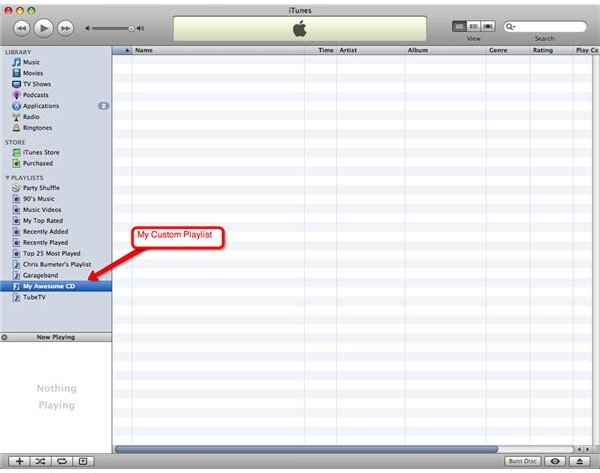
Once all of your songs are imported into iTunes you are ready to organize the tracks you want on your CD. In order to put various songs onto a CD you must create a playlist with the songs on it. Again you will click on File and then on New Playlist. You will see a new playlist appear on the left hand side. Click on it once and you can change the name of this playlist to anything you wish it to be called. Now that you have the playlist created you can start dragging the songs from your library, directly to your playlist. Keep in mind that most cd’s hold only about 75 to 80 minutes of music. This will allow for about 15-20 songs.
As you drag in your songs to the playlist you can also drag the songs up and down in order to put them in the order you wish. I personally like to drag all of the songs I want on to the playlist and then choose shuffle. That will put the songs in a random order, otherwise you are free to continue to move them up and down.
Once you have that perfect playlist arranged to your liking with all of the songs that you love you are now ready to burn your CD. Place the blank CD into the computer (this step can be done beforehand, it doesn’t matter). When you see the blank CD pop up in iTunes you are ready to burn. Make sure you have your playlist selected so your song list is in front of you. At the bottom right of the iTunes screen you will see a button that says Burn Disc. Click on this and the burning of your newly created CD is off and running. It normally can take about 10 minutes give or take. The CD will eject itself when it is completed.
Please keep in mind that it is fine to burn songs from albums you have already purchased but downloading music from pirate sites is illegal, so make sure that the songs you add to your library are ones that you have legally purchased. Nobody wants you to get in trouble for pirating.
When the song ejects you are fresh on your way to playing it in your car or in any standard CD player. You can save the playlist for future use or you can go ahead and delete it by clicking it and pressing the delete key on the keyboard.
Enjoy that newly created CD and make sure to label it so it won’t get lost and misplaced.
Screen shots