Have you ever wanted to password protect just a few folders on your computer? Perhaps you have some confidential data that you’d like to ensure no one has access to besides you.This tutorial will walk you through creating a password protected disk image with the Mac OS software.
Password Protecting Your Important Files Using Apple’s Disk Utility
This is a useful tip I picked up during my Genius training in Cupertino, California. I have a variety of files on my computer that I prefer to keep private. For each of my clients I maintain a spreadsheet which contains vital information for their business. In order to offer my clients a bit of security I store these items in an encrypted disk image utilizing 128-bit or 256-bit encryption (it’s secure!).
Creating Your Folder to Store Your Protected Files
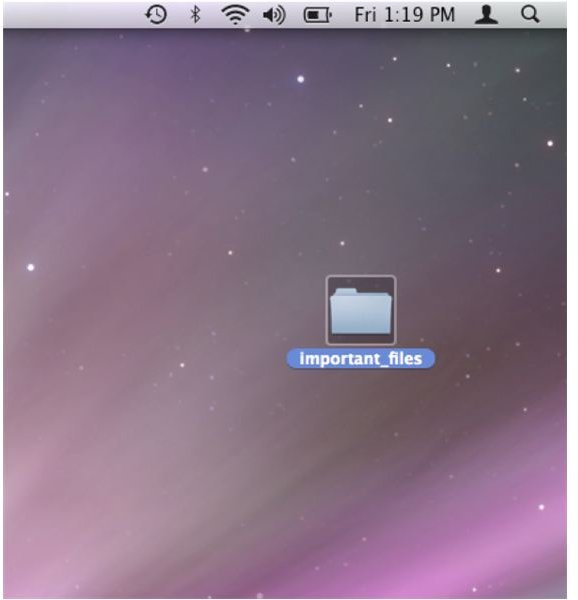
The first thing to do is create a folder on your Desktop which will eventually contain all of our important data.
Next, you should place any important files in this folder.
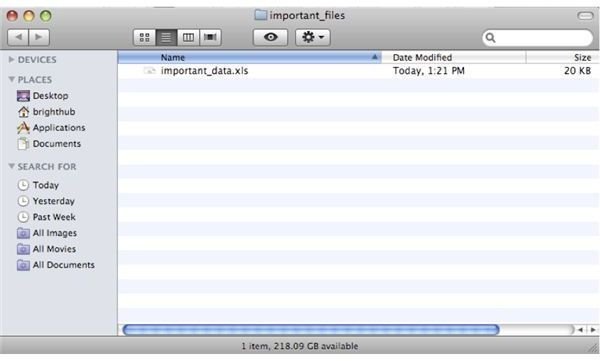
Now that you have your important files neatly filed in your folder you will want to pay a visit to the Utilities folder. Here is the path to your Utilities folder: Macintosh HD > Applications > Utilities
Once you have found your Utilities folder you should open the application Disk Utility.
Creating Your Protected Disk Image With Disk Utility
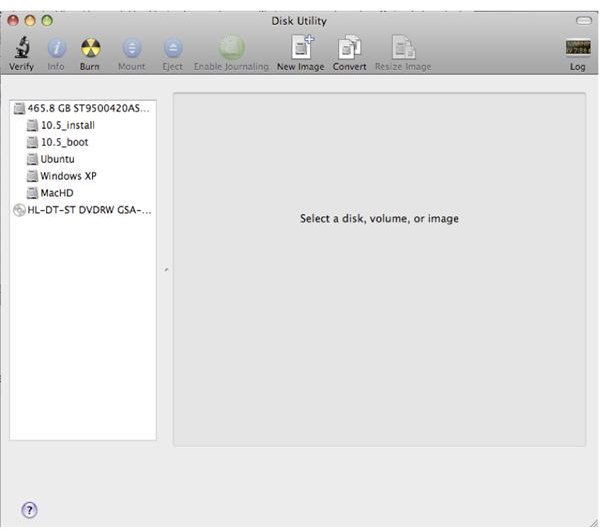
When you launch Disk Utility go to File > New > Disk Image from Folder…
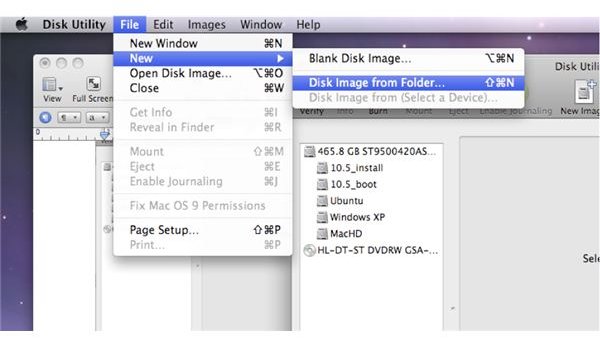
Next, once you click on the Disk Image from Folder… you should then navigate to the important_files folder we just created on the Desktop and click image.
Once you click on Image you will have to give the Disk Image a name. Next, you should look towards the bottom of the screen and click on image format and choose read/write so you can modify the encrypted disk image. After you choose to format the disk image as read/write you want to click on encryption and choose your encryption type.
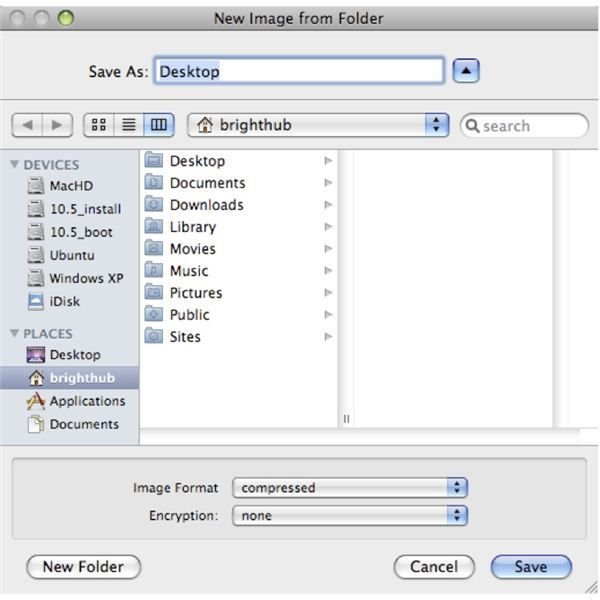
In the encryption field I prefer to use 128-bit which gives me security and doesn’t take too long to open.
Choosing Your Password
When you click on Save Disk Utility will speed a few seconds compressing and encrypting your folder and should prompt you to enter a password. You should use a password with a minimum of 8 characters and a combination of numbers and letters. I would recommend unchecking the Remember password in my keychain. Otherwise, if someone gains access to your computer it will supply the password for the encrypted Disk Image.
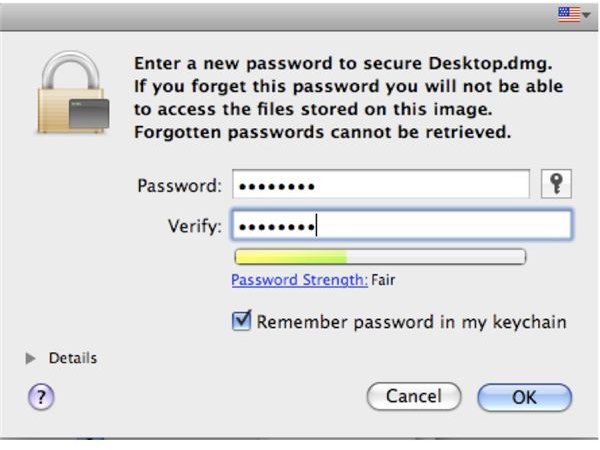
Now that you have created a password and saved your encrypted disk image you will want to delete the original folder(since you now have its encrypted twin in the .dmg file).
Finally, locate the saved .dmg and double-click the file to open it. You should be prompted for a password, so enter the one you previously created and you are good to go.
That’s it. You now have an encrypted .dmg file that you can place on a USB drive or burn to a CD or DVD and never have to worry about someone intercepting it and having access to your data. Enjoy!