
Rather than take disks of documents or sending emails to and from work and home every weekend, why not create a virtual machine and swap it between the Windows PC at work and your Apple Mac at home? Using VMware products, this is quite easy to do!
More and more people are taking advantage of virtual machines to perform even the most basic computing tasks – but did you know that these systems can be setup in such a way that you can literally take your work home with you?
Using a virtual computer setup in VMware you could be losing hours of productivity by ignoring the portable aspect of the VMX format. While virtual machines created in this system are likely to be several gigabytes in size, with a suitable storage device and a similarly equipped PC elsewhere, you could be carrying on any VM-related work at home after dinner or over the weekend.
Rather than saving documents and emailing them home, this method might enable you to forget about emailing – simply save the virtual PC to disc and load it up when you get home for the weekend! What’s more, you’re not limited to the same operating system. Thanks to VMware Workstation and VMware Fusion’s close ties, it is possible to create a VM on Mac OS X and run it on Windows, and vice versa, as we shall see…
Hang on – is This for Real?
I know what you’re thinking: “this is insane!” But it’s true, you really can export a virtual machine from VMware Workstation to VMware Fusion. The possibilities that this opens up are of course amazing. For instance, you might find that you have been working on a project in a virtual machine all week-long and then have to leave it behind when you go home on Friday. The project could be in .NET, for instance, and therefore very difficult to work on at home where you have a shiny new iMac and no Windows machines.
But with VMware Fusion installed on your Mac, it would be just a matter of exporting the VM you’re your work PC, saving it to disk and then importing it to your Mac, a process of just minutes!
So that’s a virtual PC, created on a Windows computer, exported and loaded into a VM on Mac OS X that you can then run as if you were using a Windows PC!
What You Will Need
This whole process could prove expensive in the long run, but short-term you can take advantage of various trial versions depending on whether you’re exporting your VM from VMware Fusion to VMware Workstation/Player or from VMware Workstation/Player to VMware Fusion.
On Windows, VMware Player is free, but the other applications will require you to purchase after the first 14 day trial period expires.
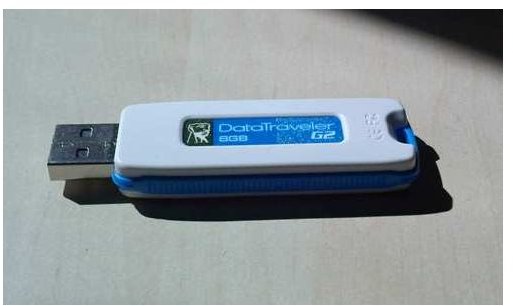
You will also require some heavy-duty storage – an external hard disk drive with enough free space to handle your VM, for instance – as well as plenty of hard disk space on the target computer.
This hard disk space is required both for processing the VM and for the VM itself to be copied to. If you’re copying to a Windows computer, for instance, the system volume (typically C:\) will need to have plenty of free space (around 15 GB) to cope with processing the VM. Insufficient space will lead to performance issues.
Exporting Your VM from VMware Workstation to VMware Fusion
We’ll carry on with the “taking work home” scenario, and explain how to export a virtual machine from VMware Workstation to VMware Fusion in just a few easy steps.
This can be done with any VMware virtual machine, whether it is running Windows or any of the Linux distros. Note, however, that migration of a Linux VM may be difficult if the originating host PC is equipped with an AMD processor.
You should also be aware of some differences between VMware Workstation and VMware Fusion that may affect the success of the operation. While both Fusion and Workstation support snapshot trees (snapshots being a method of creating a restore point in VMware environments) the way the snapshots are listed differs between the applications.
Meanwhile, VMware Fusion does not support the teams, virtual multi-tier environments, and curiously it will not run on any Mac that has a parallel or serial port.
To export your virtual machine from VMware Workstation on Windows and import it into VMware Fusion, open browse to the location where the VM is stored (typically a single folder for each VM) and copy this onto your storage device. Next, eject the storage safely when the data has fully copied across and then connect the device to your Mac, and copy the VM folder into the required location.
Finally, open VMware Fusion, select File > Open and browse to the VMX file. A few moments later the virtual machine will be imported and ready to run on your Mac!
When the weekend is over and it’s time to head back to work you can simply reverse the process to export your VM from Fusion to Player or Workstation!
References
- Author’s own experience.
- Image credits:
- Wikimedia Commons/JohnHWiki
- Photograph provided by author.


