You don’t have to run out of space on your Mac mini - an internal hard drive upgrade can make all the difference, allowing you to double or even triple the available storage on your Apple Mac!
I Need More Storage Space!
Most Mac mini computers come with a fairly low hardware specification, their main purpose being to act as an entry level desktop that can be used for design and development just like a top end MacBook or iMac.
However, this doesn’t mean that customization is not available. While the Mac mini might not have the same expansion options as a Mac Pro, the small desktop computer does have a few tricks up its sleeve. The Mac mini does enable you to add and remove the network card, expand the current memory and change the internal hard drive. This last option might prove particularly useful if your original drive has become damaged or is simply too small, where a new disk drive will offer various storage advantages.
While straightforward, upgrading a Mac mini cannot be described as easy. They are small devices that are unsuitable for people with adult-sized fingers to poke around in, which can make adding and removing components particularly tough.
Image credit: apple.com
Choosing a New Internal Drive
If you have come into a few pieces of hardware and thought “I wonder if any of these will fit my Mac?” and discovered a hard disk drive ready and waiting to use, give it some thought before spending time making this upgrade. The standard spec of a Mac mini hard disk drive is 320 GB. If your new disk is considerably lower than this then adding it as a second device or a replacement would be pointless.
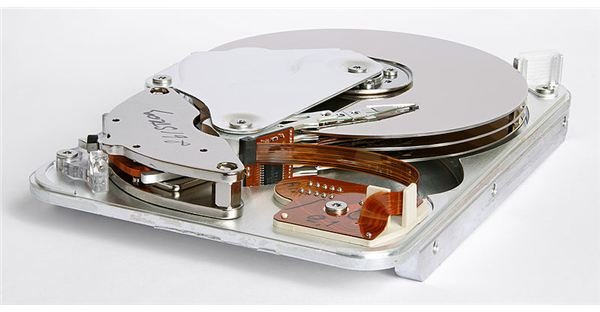
Similarly, if the disk that you intend to add into your Mac mini is a 5.25 inch device then you need to think again, as a device this size is unsuitable. You need to be looking for a 3.5 inch hard disk drive as a second or replacement disk for your Mac mini, with at least the same amount of storage space as the main drive.
Image credit: Wikimedia Commons/Sting
Before You Add Your New Drive…
There are various trains of thought on the steps that you should take before fitting your new internal hard disk drive. Some people believe that you should be fine once the disk is installed and your Mac switched on to just format and use the drive, whereas others prefer to make all necessary preparations before opening the Mac mini and adding the new drive.
It totally depends on what you intend to do with the drive and your Mac mini. Most users choose a new hard disk drive in order to expand their storage options, and in models with an optical drive this will result in the data from the original drive being cloned to the new device. If your Mac mini doesn’t have a super drive, or you’re planning to remove this in favour of having two hard disk drives, then this won’t prove a problem.
Removing the Outer Case
The very first thing that you should do before opening any electronics hardware is to discharge yourself of any static electricity . This is best performed by touching a radiator or any pipes found nearby, or preferably using an anti-static band. You should also remove any jewellery, and in this particular situation place your Mac mini on a soft, anti-static material on a sturdy, non-conductive flat surface.
Whereas adding and removing additional memory or swapping out the Airport card involves opening the Mac from below, adding a new hard disk drive requires you to completely remove the upper portion of your Mac mini chassis.
Before you start, you will need suitable screwdrivers and a thin but sturdy plastic tool to push the clips away from the outer case. You should also have a thin blade ready and waiting; note that these devices will be used to remove the outer chassis from your Mac, so you don’t want anything that is too thick or else you will damage the computer.
Replacing the Hard Disk
With the outer case removed, you will need to remove the optical drive if it is present. This means unscrewing and unplugging the device, making sure that you have kept the screws for this to one side so that it can be replaced.
If your Mac is super drive-free, then you should find one of your hard disk drives sitting beneath the chassis. This might be the one that you wish to replace, or you might intend to change the other disk drive, situated below. In either case you will need to remove the six screws that hold the upper disk and its caddy in place. Once removed, the disk and caddy will lift away.
Once you have exposed the disk that you wish to replace, it should simply slide away from the SATA connectors , allowing you to quickly and easily insert the new disk drive. This simple process can then be repeated by following the steps above in reverse to replace the upper disk caddy or optical drive. Finally, you will replace the outer case and put your Mac back together again.
References
- Author’s own experience.
- Apple; Mac mini specs
- EveryMac; Intel Mac mini Q&A


