In this article I will give you two tips to restrict access to certain websites in Firefox (or other browsers). One is a very simple way involving one file while the other is advanced and for more sophisticated systems. The advanced configuration option isn’t advised for the faint of heart!
Introduction
In this article I will show you a couple of ways to restrict some sites in Ubuntu. All of these methods are global so affect not only Firefox but everything else as well. The first tip I will show you is a very simple one using the hosts file in Ubuntu; this file contains which IP addresses link to which domains. If you have a domain in there pointed at another IP, you cannot access the site anymore.
The second one is more sophisticated, and involves using a proxy program. While it takes longer to install and configure, it is more flexible once you get it going.
Hosts file
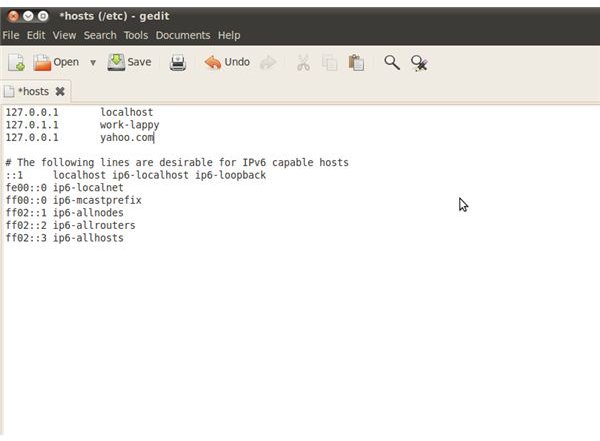
The hosts file in Ubuntu is located on /etc/hosts and is a text file which lists where each domain goes. You can use “sudo nano /etc/hosts” to access the file from the terminal. It usually already has 127.0.0.1 as localhost so it is easy to copy and use whatever domain you want (example.com) in place of localhost. This will then make the example.com domain do a loopback to 127.0.0.1 so you can’t access the actual server.
This is very useful and very quick to set up, but can be very limited in what it can do. However, it is perfect for a simple home environment where you are just looking to block a couple of websites. You can see an example to the left.
Squid3 Proxy Server
This is where things get a little bit more fun. You can filter traffic through a proxy which can block websites from a file; it can even do it at a certain time and for certain users of the computer (or network). Squid is a very flexible proxy server but takes a little bit of set up to begin with. Run the following command in your terminal: “sudo apt-get install squid3”
Now you need to use your favorite text editor to delete everything in /etc/squid3/squid.conf and replace it with this text . Then run the following in the terminal: sudo touch /etc/squid3/squid-block.acl
Once you have done that, go into Firefox and change the proxy settings from the toolbar by clicking Edit -> Preferences -> Advance -> Network -> Settings. Now that you have the window open, click “Manual Proxy Settings”, put into the HTTP proxy field “localhost” and port 8080, check the box saying “Apply to all protocols” and finally click ok.
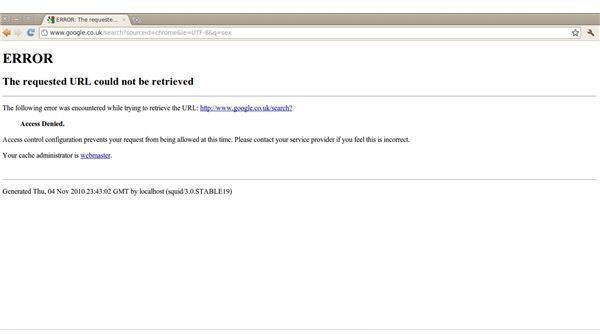
You can now block websites by editing /etc/squid3/squid-block.acl and putting in your websites. For example: “.example.com” will block example.com and any subdomains. You can also block keywords such as “social” or “proxy” which will block any URL with those words, but this will not work until we stop the bypass as described below.
Stop the common bypass
You have now configured your proxy to use port 8080. However, people can just ignore this and use port 80 to continue with a direct connection to the internet. What you need to avoid this is to allow one user to connect to port 80, and make this user manage squid. To do this, first create your new user by typing into the terminal: sudo useradd squid
Once you have done this you want to ensure that the user has permissions on the correct folders. This will be different in most cases but you mainly want to ensure that /var/log/squid3 is able to be accessed by the user. You can then restart the daemon using: /etc/init.d/squid3 restart and now attempt to use port 8080 on firefox to access the internet through the proxy.
The final thing to do is block port 80 for all users except the user you just added and gave the squid3 process to. This way any other computer user is forced to use the proxy and does not have direct access to the internet. All you need to do this is a rule in iptables much like the following: sudo iptables -I OUTPUT -p tcp –dport 80 ! -d 127.0.0.1 -m owner ! –uid-owner squid -j DROP
Conclusion
In this article I have gone through two methods which you can use to block access to websites. You may want to do this for a number of reasons. The second method is of course more flexible because you can apply different rule sets (in the terminal: squid3 -f [file]) at different times. For example you may want to block a social networking website whilst your clients are working.
If you need help with squid configuration or do not understand anything I have mentioned in the article, feel free to drop me a comment in the box below and I will get back to you.


