Want to take advantage of the most recent features of Skype in Ubuntu or other Debian-based Linux? It’s easy, but there may be some back-versioning of libraries needed for Ubuntu 9.04 and 9.10. Let’s walk through the steps involved in downloading, installing, and using Skype for voice and IM.
Setting up Ubuntu and getting ready for VOIP? Whether you’ve used Skype previously in Windows or not, setting it up in Linux versions based on Debian like Ubuntu is not difficult. In fact, most of it can be done in your package manager.
Downloading and Installing the Skype Beta in 64-bit Ubuntu
First, you’ll need to download the latest version from the Skype website . As this was written, it was beta version 2.1, and it was available for Ubuntu +8.04 (both 32 and 64-bit), Debian Lenny, Fedora 9 and 10+, and OpenSUSE 11+. The 64-bit Debian download for Ubuntu 64 was about 19.0 Mb.
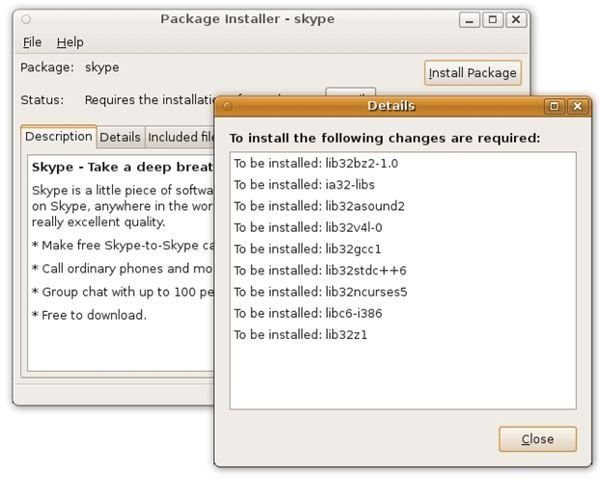
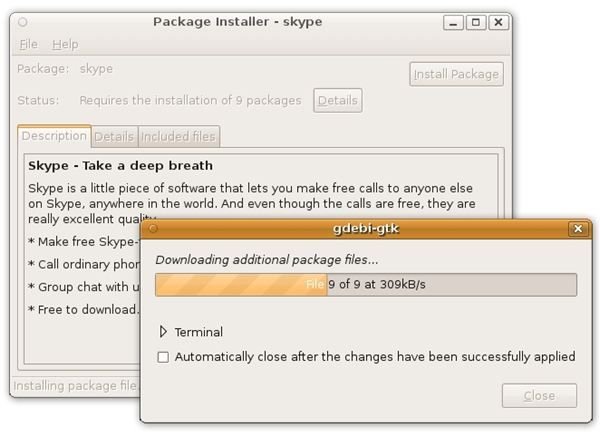
Double-clicking the file opened the GDebi Package Installer. The installation required nine additional packages.
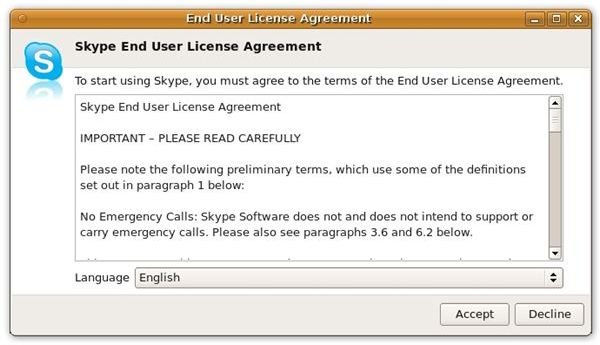
And this led to the license agreement that we’re expected to agree to. There were no surprises here, and it’s the same agreement used in Windows.
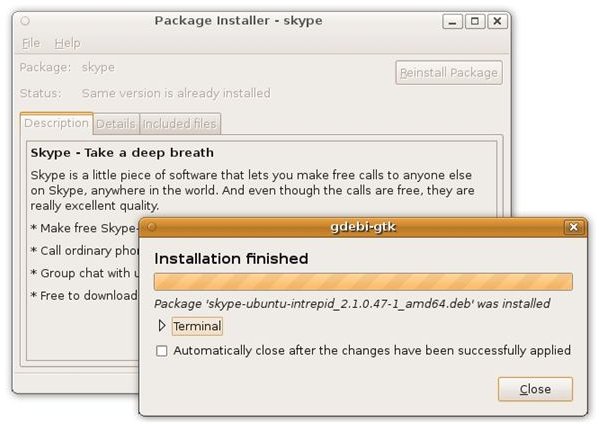
The complete download and installation process only took about three minutes.
Setting Up the Headset
Before logging in to Skype, downloading your contacts, and making your test call, you should check to see if your headset is recognized. We had on-hand a Logitech “Clear Chat Comfort USB ” headset that was recognized by Ubuntu (as a “Logitech USB Headset Sound Card”), which was a pleasant surprise.
Image: Logitech.com
To adjust sound levels for the microphone and headset speakers, select System → Preferences → Sound (or type “gnome-volume-control” into a console session).
The “Hardware” tab should show both the PC’s onboard audio and the headset. In our case, it was showing “Analog Stereo Output + Analog Mono Input,” so no changes were needed.
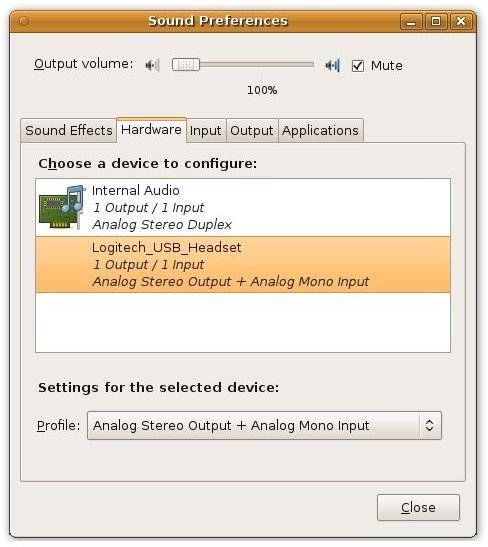
.
Next, click on the “Input” tab. Put on your headset, click the radio-button next to your headset in the dialog, and speak into the microphone. Observe the indicator next to “Input Volume.” Speaking in your normal voice, adjust the slider to the right until the input level deflects almost fully to the right, but not quite there. This will be a good starting point for your test call, although you might want to have this dialog open in case you need to do any fine tuning.
Then click on the “Output” tab. Click the radio-button next to your headset and then click “Close.”
And that’s it! You’ll find Skype under Applications → Internet → Skype. Sign in using your Skype user name and password, and try out your test call by clicking the Skype icon at bottom left of the main window and then selecting Options → Sound Devices → Make a test sound. You should hear it in the headset. (Adjust the headset on-board volume control if necessary.) And if that works, go for it - you’re ready to try your test call.
Thank you for reading this, and thank you for visiting Bright Hub. I hope this helped you get Skype beta 2 up and running on your Ubuntu PC.
Related Reading
How to Install Hulu Desktop in 64-bit Linux - Want to watch Hulu Desktop, a “Better TV than TV” on your 32 or 64-bit Ubuntu or Fedora system? It’s available now and it works with your MCE or eHome remote (with some setup). Interested? Let’s try a walk-through of downloading and installing it, and then trying it out.
Change the Capslock and Windows Key Functions in Ubuntu - Windows users soon learn that it’s easy to go to Control Panel and choose “Keyboard” to access properties that allow them to alter or disable keys like Capslock and the Windows (Start) key. Does Ubuntu offer similar capabilities?
How to Install “Device Manager” in Ubuntu - Is there an Ubuntu equivalent for the Windows Device Manager application? Yes, there IS a similar application, but it’s not installed by default, and the focus of the program has less to do with drivers than it does with properties, which are, in fact, types of different messages in Linux.
Using “Task Manager” in Ubuntu - Windows users soon learn that pressing Ctrl-Alt-Delete starts the Task Manager when an application bogs down the system, but is there a similar “Kill Bill” utility in Ubuntu Linux? Sure there is, and in some ways, it’s better than the Windows version.


