Modern Dell laptops are optimized for running open source operating systems such as Ubuntu, but this isn’t the case for older devices. Follow these steps, however, and you should be able to resolve any display issues that you are experiencing.
Whether you’re using a new Dell laptop or have upgraded an older device, you might encounter initial problems running your preferred version of Linux (typically Ubuntu). This is all down to differences between different models, different operating system releases and available drivers.
As Linux/Ubuntu drivers are not made available by many hardware suppliers, third-party, open source alternatives must be utilized instead. These might resolve issues such as wireless card connectivity, problems with sound or even keyboard and trackpad problems.
Although Dell now stock their own line of laptops that come pre-installed with Ubuntu, some older devices may still experience these driver-related problems that are largely caused by default Ubuntu drivers being unsuitable for the host device. To get around this, you will need to spend a few moments installing new drivers.
There are various Ubuntu display problems that you might experience on a Dell laptop, with the most common issues and their resolutions featured here.
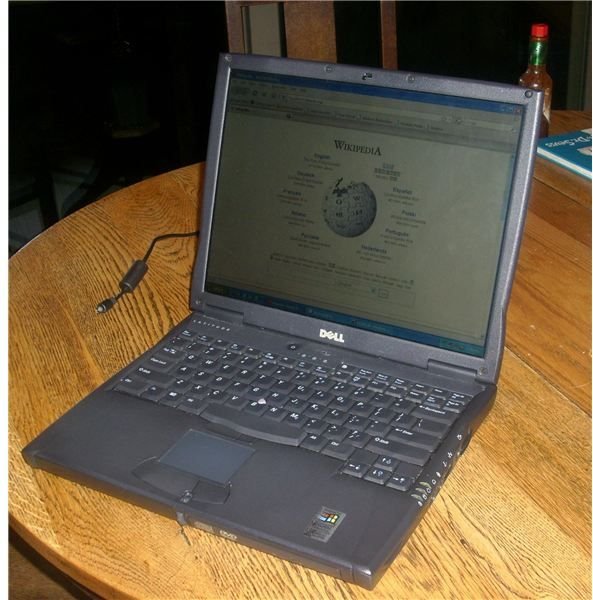
Dell Latitude C600/C500 Video Problems
Although older models, the Dell Latitude C600 and C500 machines enjoy a new lease of life running Ubuntu. These can unfortunately experience limited video resolution issues, however, something caused not by the graphics card (an ATI Rage 128 Mobility) but by the configuration of the X library.
Begin by downloading this pre-configured xorg.conf file from Ubuntu Geek – this can only be used on a fresh system, so you will need to reinstall Ubuntu before trying this fix. The xorgconf.txt file should be saved to your desktop – do not rename it. We will be using this to replace the contents of the system default xorg.conf file.
In Ubuntu, start the Terminal, and enter:
cd /etc/x11
(Note that there is a space between “cd” and “/etc”.)
Next, enter the command that allows you to open and edit the original xorg.conf file:
sudo gedit xorg.conf
You will be prompted for your password, which you should enter. The xorg.conf file will then open in the text editor.
Select and delete all of the contents of this file, and then copy the contents of the xorgconf.txt file into the empty xorg.conf and click Save.
All you need to do then is restart the laptop, and a higher 1024x768 screen resolution will be available!
Testing Your Computer with the Live CD
If you’re new to Linux, you should probable avoid installing any distro on a computer until you can be sure that it will work. This is something that is made very simple with a live CD, something that is available as part of the Linux installation disc.
Linux distros can be downloaded from a variety of sources, and are usually in the ISO format, meaning that they should be burned to CD or DVD for use. With the disc created and inserted into an existing computer operating system, you will find three options – one to install Linux within the computer OS as an application, another to install onto your hard disk drive and a third to sample Linux by running it from the CD.
This choice is ideal for testing whether or not you like using the operating system as well as checking that it will work with your laptop. See Using a Linux Live CD for more information on this subject.
Generic Display Issues
One of the most common complaints in Ubuntu is that the screen will unexpectedly turn black or white, leaving the user with no icons or open applications. There are various reasons why these things might happen:
Screen turns black – either your computer has gone into sleep mode (which you can come out of by moving your mouse, trackpad or tapping Esc on the keyboard) or the display drivers have crashed. A replacement driver might be advisable (see below).
Screen turns white – an issue with your screensaver is causing this, and again this can be fixed short-term by exiting the screensaver via mouse or keyboard, and long-term by installing a different display driver.
The correct Ubuntu display driver for your Dell laptop depends on the display adaptor/graphics card that the device is equipped with. You can find out what this is via the Terminal (available in Applications > Accessories) – simply enter:
lspci -nn | grep VGA
This will display the name of the display adaptor and its manufacturer/chipset. With this information you can then track down a suitable driver to use as a replacement for the default choice.
Using Restricted Drivers
You might find suitable drivers by searching the Synaptic Package Manager (System > Administration) but you should also be aware that you might not be able to find and activate restricted drivers for your graphics card.
These drivers are not open source, which means they cannot be included in a Linux distro by default, but often they are approved card manufacturer drivers for Linux distros such as Ubuntu, which basically means that you will be able to enjoy the full functionality of the card, including graphic acceleration if available.
To check if this is available, open System > Administration > Hardware Drivers (or Additional Drivers in some releases) and check to see if your video adaptor is listed – if it is, activate it!
Note that before carrying out this step you will need to remove the existing driver using the purge command.
References
- Ubuntu Documentation, “Radeon Driver”.
- Ubuntu Forums
- Image credit: Wikimedia Commons/OldLaptop321


