Gparted is a live linux CD that allows you to format a hard drive as Mac HFS and many other file systems. It is a distributed as an ISO, which is burnt onto a CD or DVD. Once successfully burned, it can be used to boot your computer instead of the hard drive.
What You Will Need
There are a few items you will need to successfully format your hard drive as Mac HFS using Linux. First and foremost, you will need a CD or DVD burner, a blank CD or DVD, and an application to write disk images to them. For Windows Users, download Infra Recorder from SourceForge . Mac OS X users can use Disk Utility, which is included with OS X and located in APPLICATIONS>UTILITIES. Users on Ubuntu can right-click on the ISO file and choose ‘Write to Disk’. There are fundamental differences between creating a data disk and writing an image to a disk. An ISO file is a clone of the original disk. Writing this image to a blank disk will produce an exact copy of the disk it was created from. A data disk only holds files, and thus is not able to be used as a boot disk.
Prepare to Format your Hard Drive as HFS with Linux
Preparations should be taken when preparing a hard drive for formatting to prevent data loss. Back up your data before initiating the format, as the process will likely be irreversible. If you are planning on formatting your internal hard drive, this will likely remove any data currently on the drive. Once all of your data is in order, and you are sure you have the installation disks for any software which may be installed on the drive, you will need to prepare your Gparted Live CD.
Preparing Gparted Linux Live CD
Gparted is a Linux distribution released as a live CD. The Gparted live CD is a tool that helps you format your hard drive as Mac HFS using Linux. You will need to download the ISO file at the Gparted SourceForge website. Once the download is finished, open your preferred ISO burning application and write the ISO file to a CD or DVD at the lowest speed possible. Burning slowly will help avoid errors with the disk’s file system. Be sure you write the ISO image to the disk, rather than just burning the file onto a disk, as you would with a data CD or DVD.
Format Your Hard Drive as Mac HFS
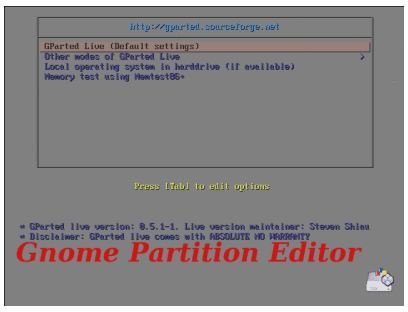
Check your Basic Input/Output (BIOS) settings to ensure that your computer is set to boot from the CD or DVD drive before it tries to boot from the hard drive. The method of doing this varies from computer to computer, though common ways include pressing one of the function keys (F1-F12) or the DEL key. Once you are sure your BIOS is setup correctly, save any changes and exit. Your computer will now restart, so be sure to keep the Gparted live CD in your drive.
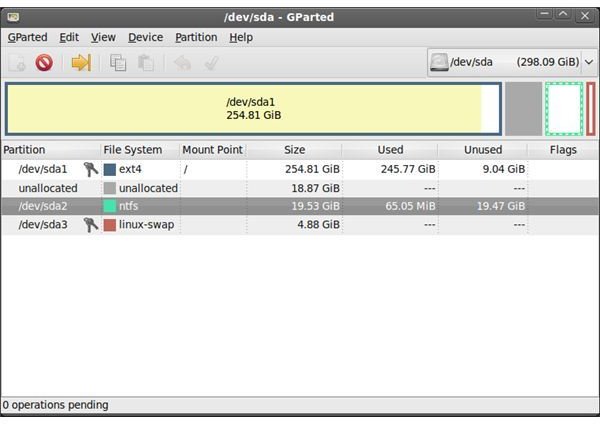
Once Gparted has loaded, locate your target hard drive and right-click on its entry in Gparted. In the following contextual menu, choose ‘Format’. Select HFS to format the hard drive as Mac HFS. Double-check to make sure that you have selected the correct hard drive. Once you are satisfied with the settings for your drive, click the green check mark to apply your changes. This will permenantly delete all data on the selected hard drive and format it as Mac HFS.
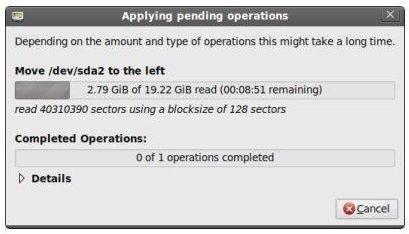
After Gparted is finished applying the changes to the hard drive, it will be formatted with the Mac HFS file system. At this point, you may shutdown or restart your computer. If you formatted an external hard drive or a spare partition on your main, internal hard drive, your previous operating system (such as Windows or Linux) will start up as normal.


