Does the DVD/CD drive light on your HP notebook stay on all the time? Here are a few things to check if this is causing a problem.
HP DVD/CD Drive Problems
If the DVD/CD drive light on your HP notebook or laptop computer stays on all the time, it could indicate a problem. Maybe the drive isn’t working properly because it’s not fully seated in the slot, or maybe a bad disc is causing it to constantly spin. In this article, we’ll discuss several ways in which you can fix the problem of when your HP notebook DVD CD drive light stays on.
Try Another CD or DVD
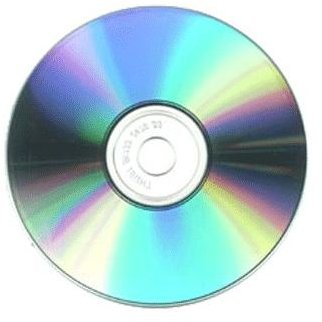
Optical media like a CD or DVD will go bad from time to time. Sometimes they can be all scratched up and still work and other times the discs will look physically flawless and not work at all. You really can’t tell just by looking at them. If you are having a problem reading one particular disc, try another before blaming the problem on the drive itself. If the computer is having trouble reading a disc, it will often hang up the drive and spin relentlessly with the light on as it tries to read the disc. Also trying using a commercial pressed CD, like an audio disc, if you are having problems reading recordable media like a CD-RW.
(Image credit: Wikimedia Commons)
Check the BIOS
When you first turn on the computer, you’ll see a screen that shows an HP logo and at the bottom you will see something to indicate how to get into the system options, or BIOS . It’s usually the F10 or DEL key, depending on which model HP notebook you have. Press the button to enter the BIOS, then scroll through the options until you see where it shows storage devices and make sure that your DVD/CD drive is showing in the list. In most HP BIOS screens, the optical drive will be listed under Secondary Master in the Main screen.
If the drive is not showing in BIOS, turn off the computer and follow the instructions below for reseating the drive, then go back into the BIOS and see if it shows up. If not, you may have a bad drive.
Reseat the Drive
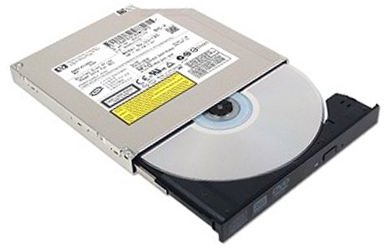
The connector for the DVD/CD drive is all the way to the back of where the drive fits into the bay, and sometimes it can cause problems if the drive isn’t properly seated. To unseat the drive, you may be able to just pull it straight out using a tab or you may have to remove a small screw. The method depends on the particular model HP notebook you have, so if you can’t figure out how to remove the drive then look up the documentation for your model on HP.com .
Once the drive has been removed, check the inside for any obstructions like pieces of paper or maybe even a staple that could get in the way of the drive making a solid connection. After you have made sure everything is clear, reinsert the drive and make sure it is firmly in place. Also try to eject the tray at least once to verify that it has power, then try to read a CD or DVD.
(Image credit: HP.com)
Uninstall in Windows
After checking for the drive in BIOS and reseating it, boot into Windows and go to the Device Manager. In the hardware tree, you should see a section called DVD/CD-ROM drives. Locate your drive, then right-click on it and select Uninstall. This will remove the device from the hardware listings. Now reboot your computer and let it re-detect the hardware and see if that fixes the problem. If the drive reinstalls but doesn’t read discs or if it is not redetected, then it may need to be replaced.
If you’re old laptop is wearing out, you may consider getting a new notebook with an SSD drive for better speed and reliability.


