Wireless networking is the easiest way to connect computers in your home. You don’t have to run wires and you can move any mobile devices, like laptops or tablets, around your home.
For most folks, setting up a home wireless network is intimidating. Yet it is also something that is commonly required. Wired networks are faster and more reliable, but unless your house is pre-wired with Ethernet connections in every room it is difficult to set up. Wireless networks don’t require this, so you can set them up with less effort.
Step 1: Buying the Router
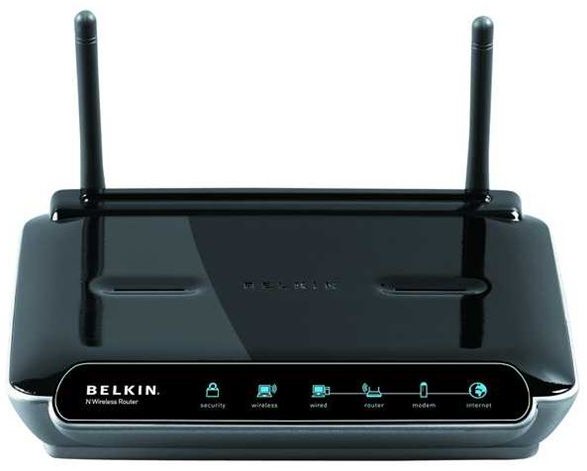
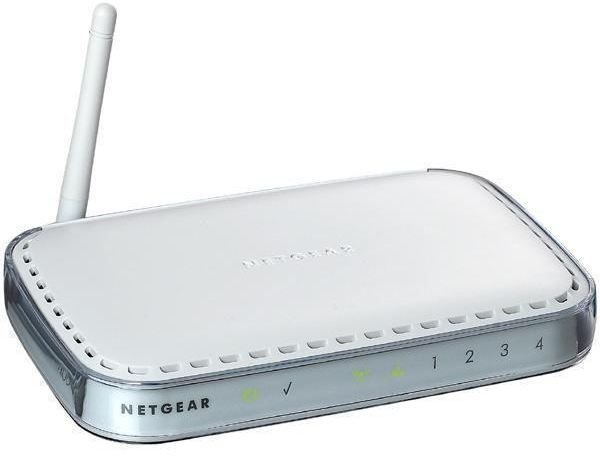
The first thing you need for a wireless network is the proper hardware, and the first piece of hardware to check out is a wireless router. The wireless router plugs in to your Internet connection (be it cable, DSL, or other) and in turn creates connections with wireless devices in your house.
There are a few important things to consider when looking at wireless routers. The first is the connection types available. Currently the most popular wireless standards are wireless g and wireless n. Wireless g is older but more common - wireless n is faster but relatively new.
Wireless n routers are usually the most expensive, but you don’t need to buy one if you don’t own anything that can connect via wireless n. For example, if you have a laptop built a few years ago you may not want to spring for the wireless n router. Wireless n routers are backwards compatible with few exceptions, but you may need to manually switch the router to a “legacy mode” or “compatiblity mode.”
Another important trait is the number of wired ports that are available and the speeds they offer. If you don’t intend to use any wired PCs at all, then don’t worry about this. However, you may have one PC near your modem that you intend to connect via an old-fashioned Ethernet cable. If you want to do this you should buy a router offering 1000Mbps Ethernet speeds. This is also referred to as Gigabit Ethernet .
Finally, consider range. A large house will need a router with better range than a small house. Those with the best range are typically the most expensive. Routers will usually have a stated range on the box, but be sure to read a few reviews to double-check it. Router manufacturers due tend to exaggerate.
Step 2: Buying Adapters
Once you have purchased a router, you’ll need to make sure your computers have wireless adapters. Most laptops come with built-in wireless adapters , but some older laptops may not have one. Desktops rarely have built-in wireless, so you’ll have to purchase an adapter for them.
USB adapters are the most commonly available. They’re small, light and inexpensive. Performance isn’t always great, however, and the USB adapter can be easy to knock out of the hub.
Another common option for desktops is the PCI expansion card. This is card that is slotted into an internal PCI expansion slot. These cards offer good performance and are usually very inexpensive. However, you may need to buy an antenna extension so that you receive the best reception.
For more information, check out our article on wireless networking adapters.
Step 3: Setting Up the Network
Once you have purchased and installed the hardware, your final step is setting up the wireless network.
Most wireless routers default to an unsecure connection when you boot them up. This unsecure connection is usually given the same name as the brand of router you purchased. To finish setting up your network you will want to change the network name and then apply wireless security .
Wireless security is encryption that prevents strangers from acquiring information that you send wirelessly. Remember, a wireless signal is essentially a radio signal that is sent out in all directions. If that signal is unencryptied it can be picked up and read rather easily, which poses an obvious security risk. You don’t want your neighbors reading your emails, and encryption will help ensure that doesn’t happen.
There are a few different types of security available, but the most common and best available will be WPA or a variation of that. You’ll also be given the option to use WEP encryption - avoid this. It is an older method of encryption that is easily cracked using modern techniques.
The exact method of applying security will depend on your router, so you’ll have to refer to your router manual. This will tell you what you need to do to log in to your router and change the security settings. During the process of setting up your wireless security you will be asked to set up a security passphrase. Be sure to remember this, because you’re going to need to have it when you try to connect your computers to your wireless network.
While you’re at it, look up how to change your router’s login and password. Routers ship with default information that is commonly known. Although it is unlikely that someone would be able to gain access to your router if you are using a secured wireless network it is better to be safe than sorry.
Once security is applied, you will need to connect each computer to your network. Connect to your network and, when prompted, enter the passphrase you set up while your were configuring your router’s security. If correct, your computer will connect wirelessly to the network and remain connected.


