Power management increases battery life but may result in extra noise and a noticeable delay before your hard drive returns to use. Learn how to disable hard disk drive power management, and why you might not actually want to.
Advantages and Disadvantages
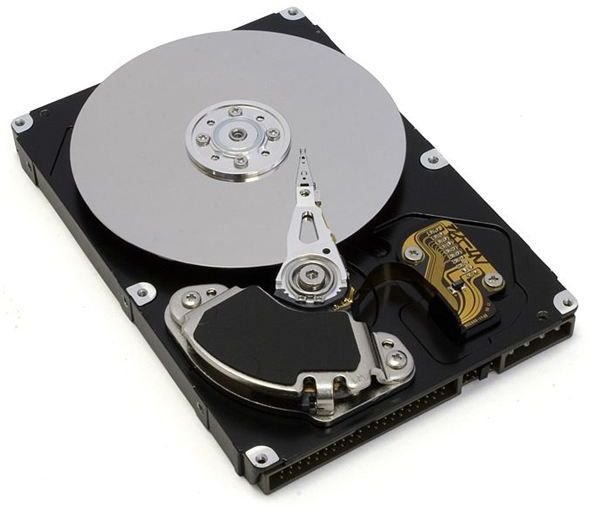
Hard disk drive power management is a power-saving feature that ‘spins down’ hard drives when they are not in use. Hard drives physically spin when in use, which requires more power. By halting the spin of the hard drive when it is not in use; for example, when your computer is running software stored in RAM and no data is being saved, less energy is used.
Less energy use translates to increased battery life for laptops, and also produces less excess heat caused from the operation of the hard drive inside the computer’s case. Excess heat requires fans to spin up and cool the laptop, using additional energy and shortening the laptop’s battery life further, as well as causing additional wear on the hardware.
However, hard drive power management may inconvenience some users. When the hard disk drive spins down, a clicking noise may be heard when the hard drive parks its heads. There may also be a delay resulting from the hard drive spinning up again when loading data from the hard drive after it stops. While disabling hard disk drive power management will fix these problems, battery life will be reduced, since the hard drive uses a significant portion of the battery life in a laptop.
How To Disable Hard Disk Drive Power Management on Windows 7 and Vista
1. Open the Power Options Control Panel by clicking the battery icon in the system tray, then clicking “More Power Options” in the popup. If you don’t see the battery icon, click “Start,” “Control Panel,” “System and Maintenance,” then “Power Options” on Windows Vista. On Windows 7, instead type “power” into the search box at the top right of the Control Panel window, then click “Power Options.”
2. Click “Change Plan Settings” next to the currently enabled power plan.
3. Click “Change Advanced Power Settings.”
4. Click the plus sign next to “Hard Disk,” then the plus sign next to “Turn Off Hard Disk After.”
5. Set the hard drive to never power off by clicking “Setting,” typing in “0,” hitting “Enter,” then clicking “OK.”
Image Source: Wikimedia Commons/Zzubnik
How To Disable Hard Disk Drive Power Management on Windows XP
1. Open the Power Options Control Panel by right-clicking the battery icon in the system tray, then clicking “Adjust Power Properties.” If you don’t see the battery icon, click “Start,” “Control Panel,” “Performance and Maintenance,” then clicking “Power Options.”
2. In the Power Schemes window, click the boxes next to “Turn Off Hard Disks,” then click “Never.” You can disable hard drive power management when the computer is plugged in, when it’s running on battery power, or both.
3. Disable hard drive power management by clicking “OK.”


