Space requirements or a lack of suitable replacement hard disk drives might require you to strip down your external HDD and install it into your PC tower - this guide explains how!
Make Your External HDD Internal!
Many PC users own an external hard disk drive – a useful device that adds a huge amount of external and portable storage to your PC setup.
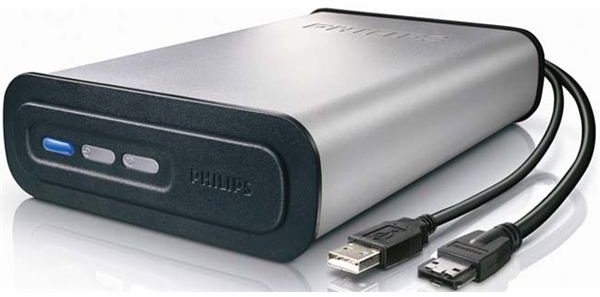
Housed inside the casing of an external hard disk drive a high volume disk that connects via USB to your PC – but did you know that it is possible to remove this drive from its housing and install it into your PC?
Hard drive manufacturers have been making use of surplus PATA/IDE hard disk drive stock since the arrival of SATA by selling them as external devices – with the right motherboard you can migrate your external disk drive out of its portable housing and secure it inside your PC!
This might also be a way to get around problems reading an external hard drive - see this article for further assistance with this fault . You can also use this guide as an additional step to recovering data from a crashed external drive .
(Note: if you’re using the “slimline” external hard disk drive, chances are that this guide won’t be of any use to you).
Use an External Disk Drive inside Your PC
It is fair to say that the majority of owners of external hard disk drives are happy with their purchases – but if you’ve found a hard disk drive has died or need to add extra storage internally for whatever reason then installing an external disk drive into your PC case is probably the answer.
There are several overheads when using an external disk drive – a USB port must be available for the drive at all times, and if you don’t have a hub then finding a free connection might be difficult at times. Similarly, you might have lost your USB cable for your external disk drive, or the mains adaptor might be damaged. These two cabling issues alone are reason enough to consider opening the external hard disk drive housing to see if it can be installed inside your PC.
Opening the External Disk Drive
Getting inside your external HDD housing can be troublesome – they are usually heavy devices with plenty of additional plastic in order to protect the disk drive inside.
You’ll need to remove this plastic or rubberised coating, and this is best done with the aid of a flat edged, blunt knife. Once you’ve revealed the screws holding the casings together, you can then get to work on disassembling the housing until you are able to free the HDD.
Before removing the hard disk drive, take a look at the interface it is connected to. While a standard IDE/PATA connector should give you no problems – you can go ahead and disconnect the device before setting it up as a disk drive inside your PC case in the traditional manner – a non-standard connector can potentially bring an end to the project. In many cases HDD manufacturers have made their own interfaces to take advantage of the USB 2.0 interface, resulting in a hard disk drive that you can’t remove and install into your PC.
However don’t rule out using the device entirely. If you have space in your PC for the USB interface as well as the external disk drive and have an internal USB connector on your motherboard or on a PCI card, you should be able to connect the device this way, provided you can also get a suitable molex adaptor to power the device!


