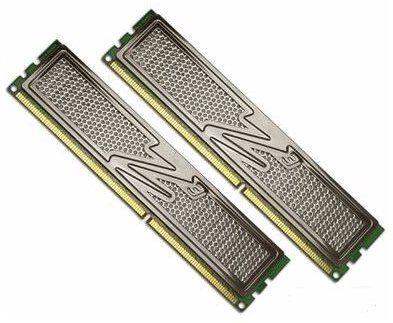
System RAM is often the fastest component in a computer, but that doesn’t stop us wanting to make it go just a little bit faster. If you’re looking to learn how to overclock RAM then you’ve come to the right place.
Most PC enthusiasts want to squeeze a few more cycles out of their rigs without spending any money, and overclocking is the way to go. There are plenty of resources online about overclocking because is a popular subject. So here we’re going to concentrate on RAM. If you want to know how to overclock your memory, you’re in the right place.
Overclocking RAM is actually quite quick and easy to do. It’s the testing that takes the time. The RAM clock is controlled from the BIOS and can be easily adjusted, but each change needs testing to ensure stability. So while the overclock itself might take a couple of seconds, making sure the system can cope might take 20 minutes. To ensure your memory is up to the task, check this article on running memory diagnostics before overclocking them.
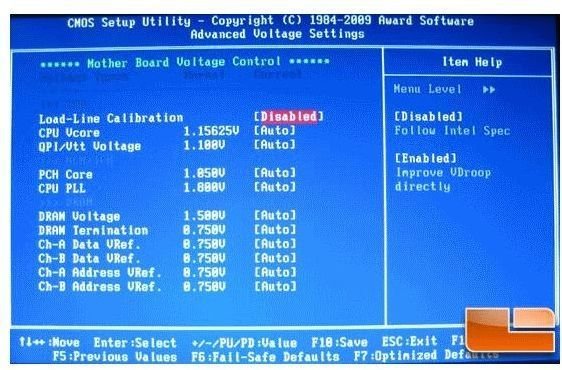
Some motherboards will only allow you to change the memory clocks with the CPU clock, and not independently. So before you begin, access your system BIOS, and find the section that has your RAM speed. Different manufacturers call it different things, but you’re looking for a setting called “Memory Clock” or “Memory Frequency.” If you have those and can change them, you’re in business.
Overclocking memory has two stages. The first is to increase the speed of the memory clock to make it work faster. The second is to increase the voltage in order to allow it to work faster. Both are done in increments, which is why the testing can take a while.
Firstly increase the “DDR Timing Setting” or “Memory Timing Setting” to manual, expert or whatever setting allows you to change it. Somewhere underneath that should be a setting called “Memclock” or “Memory Frequency." It should be measured in Mhz so you can identify it from that.
Increase this setting gradually, boot the PC, run it for a bit and repeat the process until you find a setting that’s unstable and causes the PC to crash. Record it somewhere, reboot into the BIOS and set the RAM clock to the last stable speed.
IMPORTANT: Read the following
RAM works on a standard of 1.5v. Making the memory work faster means it’s also going to need more power. However, that power need is tiny, so any increases should be done in .1v increments. Never take the voltage over 2.8v. If you rush this bit you risk frying your memory and rendering it useless, so be careful.
Go to the “Memory voltage” setting if you have one and slowly increase it. Some motherboards will have infinite options, others will have a set few. Whichever you have, choose the smallest change each time and test it. The test is exactly the same as before, run the machine for a while to ensure stability and find the voltage that works.
Once the system starts crashing again, move the voltage down to the last stable one and run the system for a few hours with these new settings. Tax the system, run games, benchmarks, whatever to make sure your memory is stable.
That’s how to overclock your RAM in a nutshell. You can also increase your CAS latency timings, but this can sometimes have the opposite effect and slow things down, so it isn’t always worth the hassle.


